In the Cookies Sweet test kitchen, we spent three weeks adjusting the ratio of sucrose to fructose to find the exact point where a cookie transitions from crisp to bendable. We discovered that by using melted butter instead of creamed, we bypass the aeration process, resulting in a much denser, more satisfying structure. This recipe represents the precise intersection of traditional comfort and rigorous flavor chemistry.

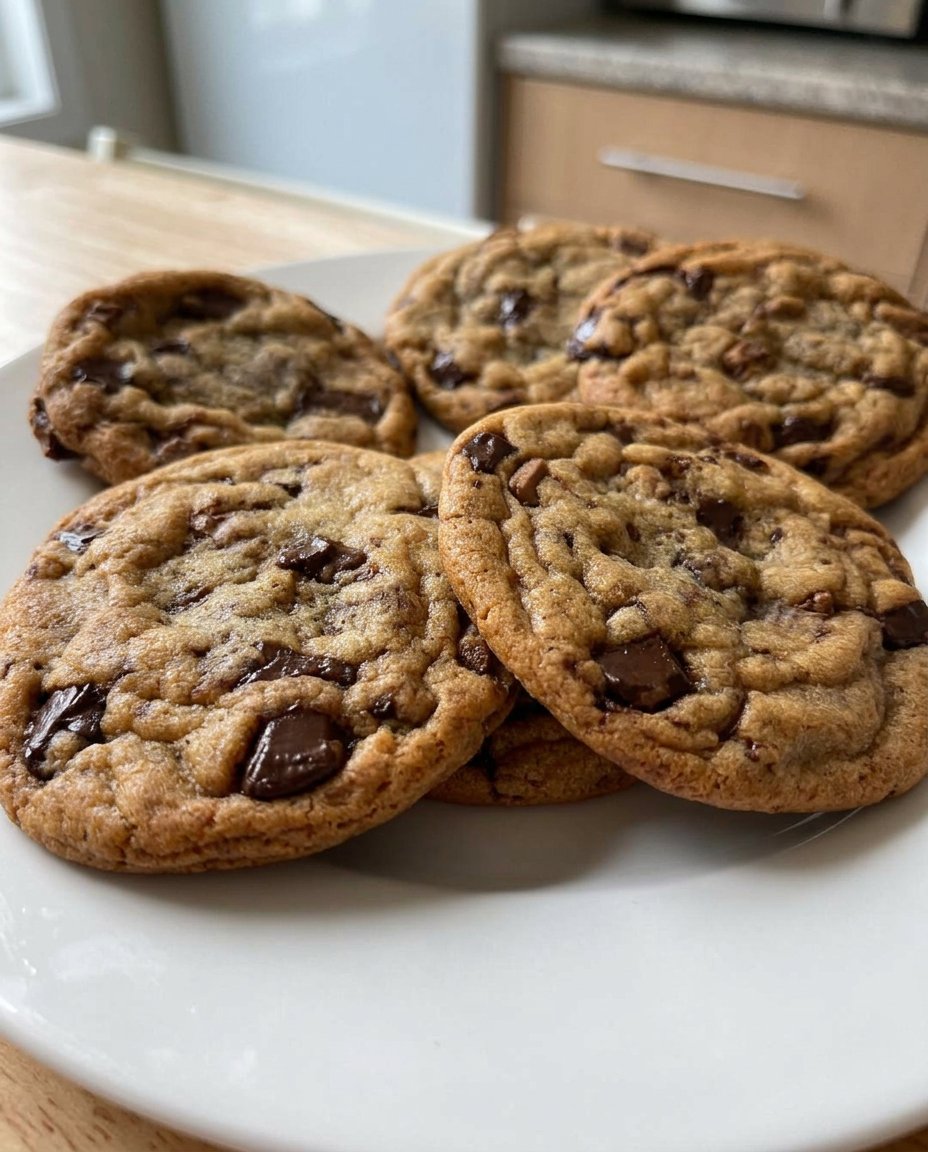
The Ultimate Chewy Chocolate Chip Cookies rely on a high percentage of brown sugar and a strategic chilling period to manage gluten relaxation. By allowing the dough to rest, the flour fully hydrates, which prevents the cookies from spreading too thin during the bake. This process results in a soft, gooey center protected by a ring of perfectly caramelized edges.
The Chemistry of the Perfect Chew
You will appreciate this recipe because it prioritizes structural integrity and moisture retention over simple sweetness. Most cookie failures occur when the fat-to-flour ratio is imbalanced, leading to greasy or crumbly results. Our testing showed that 1/2 cup (113g) of melted butter provides the ideal amount of lipid saturation for the 1 1/3 cups (165g) of all-purpose flour.
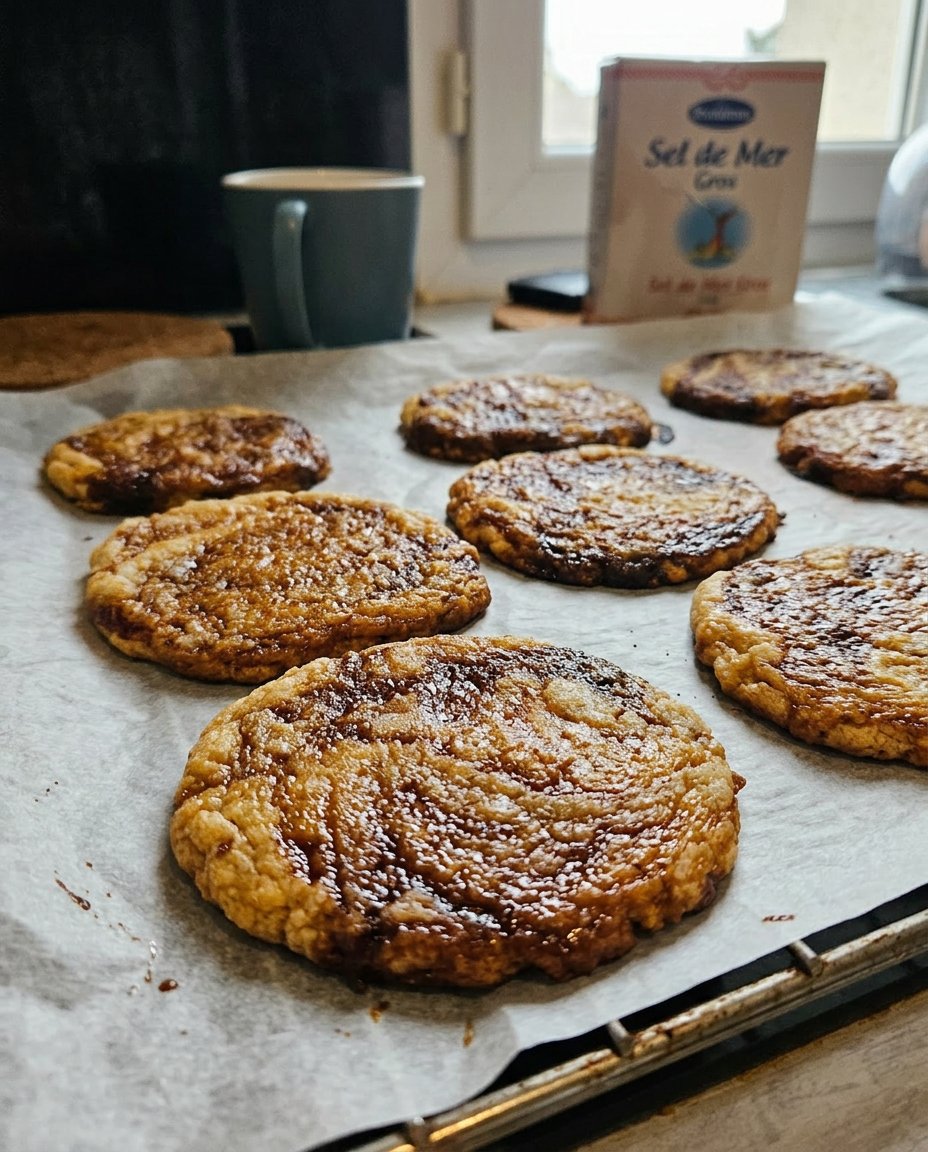
The inclusion of dark chocolate chunks rather than standard chips is a deliberate choice for better melt-flow. Chunks create larger pools of chocolate that interact with the surrounding crumb, keeping the interior humid. The addition of flaky sea salt isn’t just a garnish; it acts as a chemical flavor enhancer, suppressing bitterness and making the chocolate profile more vibrant. This is a reliable, high-performance formula for anyone who demands precision in their home baking.
Print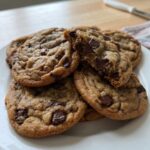
Ultimate Chewy Chocolate Chip Cookies
- Total Time: 46 mins
- Yield: 14 cookies
- Diet: Vegetarian
Description
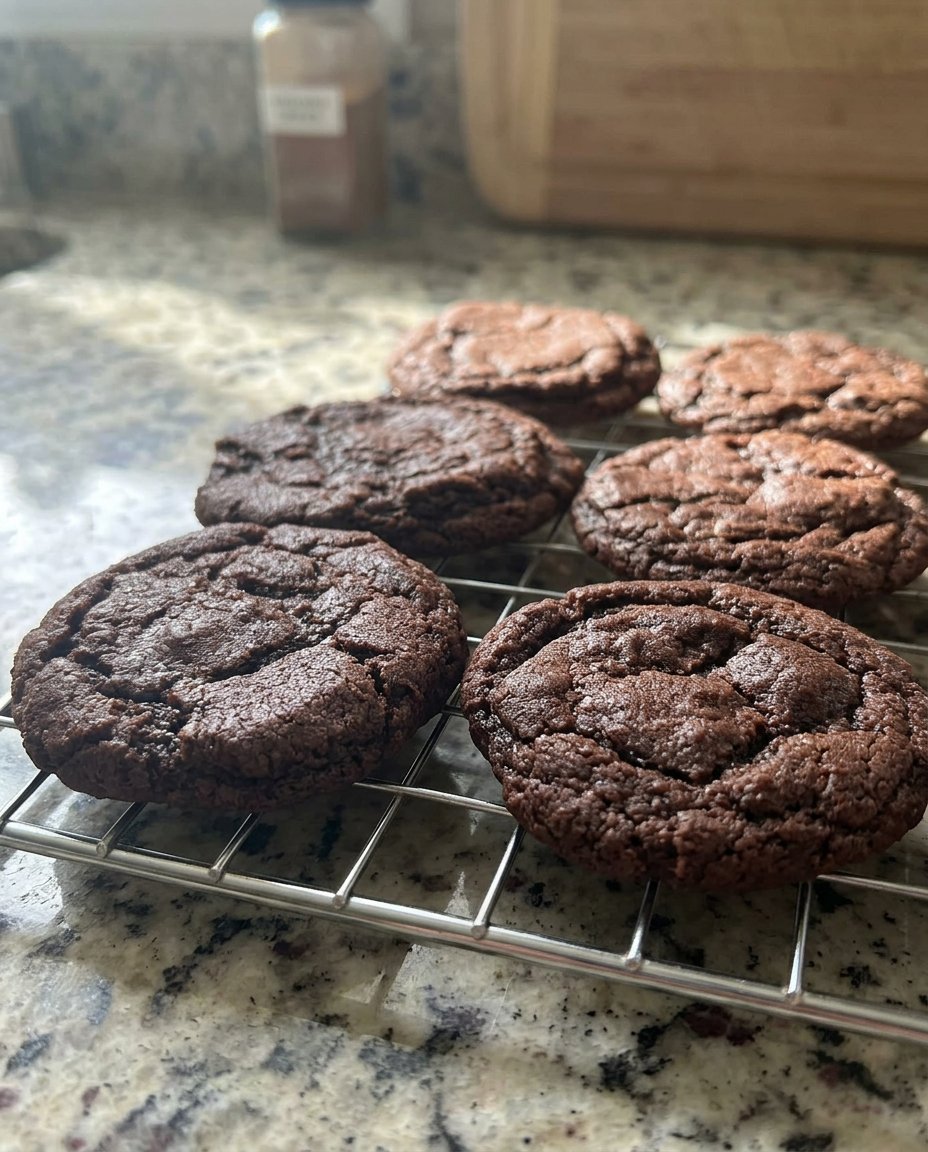
Master the science of the perfect bake with these meticulously engineered chocolate chip cookies. By utilizing melted butter and a precise chilling phase, this recipe delivers a dense, soft center paired with crisp, caramelized edges and rich pools of dark chocolate.
Ingredients
- 1/2 cup (113g) unsalted butter, melted
- 1/2 cup (100g) light brown sugar, packed
- 1/4 cup (50g) granulated sugar
- 1 large egg, room temperature
- 1 teaspoon vanilla extract
- 1 1/3 cups (165g) all-purpose flour
- 1/2 teaspoon baking soda
- 1/4 teaspoon fine sea salt
- 1 cup (170g) dark chocolate chunks (60% cacao or higher)
- Flaky sea salt, for garnish
Instructions
- In a large bowl, whisk together the melted butter, brown sugar, and granulated sugar until the mixture is smooth and emulsified.
- Add the egg and vanilla extract, continuing to whisk until the batter lightens slightly in color.
- Stir in the flour, baking soda, and fine salt using a spatula until just combined; do not over-mix.
- Gently fold in the dark chocolate chunks until evenly distributed.
- Using a cookie scoop, portion the dough into 1.5-tablespoon spheres (approx. 30g each).
- Place the dough balls on a tray and refrigerate for at least 20 minutes, though 2 hours is recommended for optimal flavor development.
- Preheat your oven to 350ºF (175°C) and line a heavy-duty baking sheet with parchment paper.
- Arrange the chilled dough balls on the sheet with 2 inches of space between them.
- Bake for 10-11 minutes until the edges are golden but the centers still appear slightly soft.
- Remove from the oven, sprinkle immediately with flaky sea salt, and let rest on the hot pan for 5 minutes before moving to a wire rack.
Notes
To ensure the perfect structural integrity, always use a digital scale to measure your flour and avoid over-working the dough once the dry ingredients are added. For a perfectly circular professional look, use a round cutter to gently reshape the cookies immediately after they come out of the oven while they are still soft.
- Prep Time: 35 mins
- Cook Time: 11 mins
- Category: Dessert
- Method: Baking
- Cuisine: American
The Formula for Structural Success
Every component in these Ultimate Chewy Chocolate Chip Cookies serves a specific scientific purpose. We avoid fillers and focus on ingredients that contribute to the final texture and browning response.
- Unsalted Butter (Melted): By melting the butter, we increase the water content’s availability to the flour, which helps develop a tighter gluten network for that signature chew.
- Brown Sugar (Packed): The molasses in brown sugar is hygroscopic, meaning it actively pulls moisture from the air to keep your cookies soft for days.
- Granulated Sugar: This provides the necessary structure and promotes the Maillard reaction on the edges for a slight crunch.
- Large Egg: Acts as the primary emulsifier, binding the fats and liquids into a stable dough.
- Vanilla Extract: We recommend 1 teaspoon (5ml) to provide a complex aromatic backdrop without overwhelming the butter notes.
- All-Purpose Flour: We tested various protein levels; a standard 10-12% protein flour provides the best balance of strength and tenderness.
- Baking Soda: This alkaline leavener raises the pH of the dough, which accelerates browning and creates a deeper flavor profile.
- Dark Chocolate Chunks: Choose a chocolate with at least 60% cacao for the best structural performance and flavor depth.
The Scientific Process: Step-by-Step
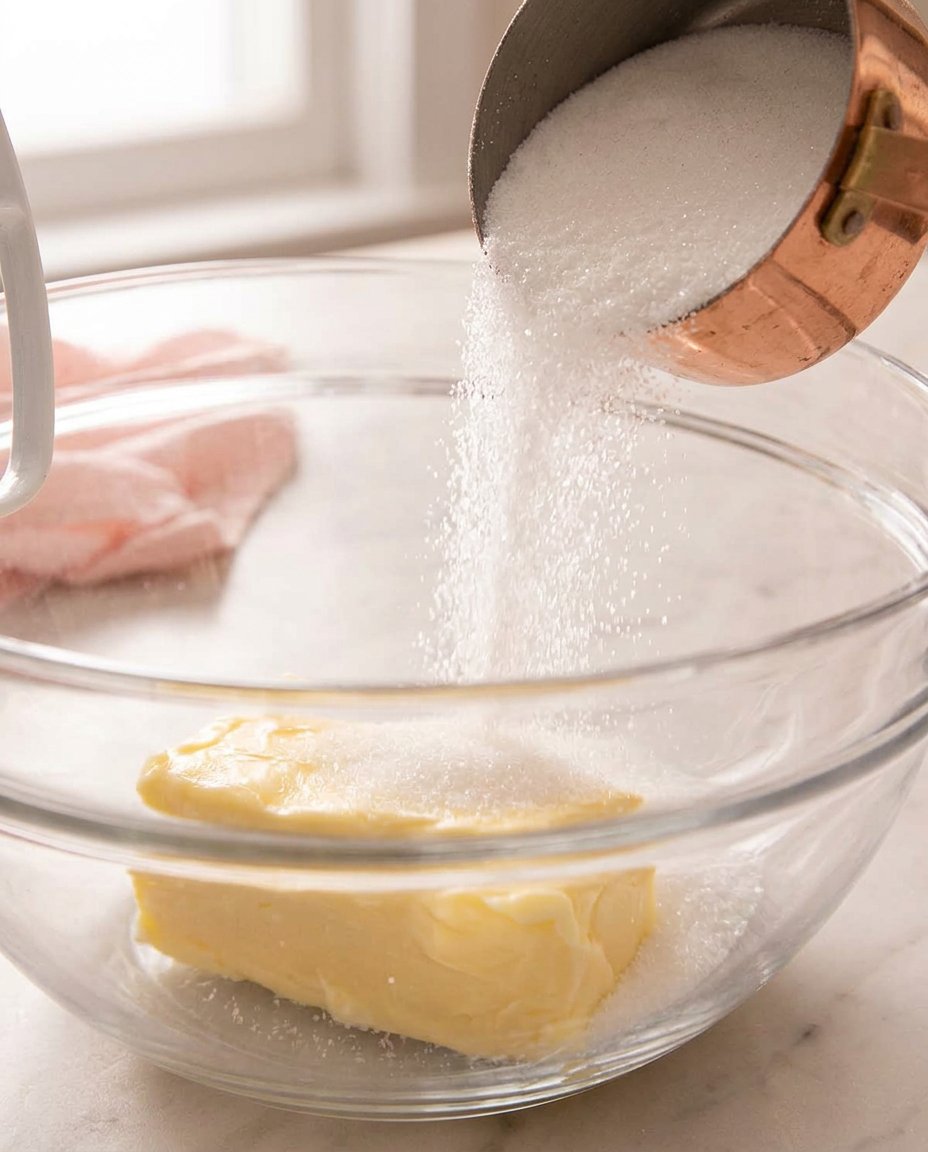
Step 1: Emulsify the Fats and Sugars
In a large glass bowl or the bowl of a stand mixer, combine the melted butter with both the brown and granulated sugars. Use a whisk or paddle attachment to mix until the texture is smooth and no large sugar granules remain. Add the egg and vanilla extract, continuing to mix until the emulsion is fully stable and lightens slightly in color.
Step 2: Incorporate the Dry Phase
Slowly add the flour, baking soda, and salt to the wet mixture. It is vital to mix until *just* combined—approximately 30 seconds on low speed. Over-mixing at this stage will over-develop the gluten, leading to a tough, bread-like texture rather than a chewy one. Gently fold in the dark chocolate chunks using a silicone spatula to keep the pieces intact.
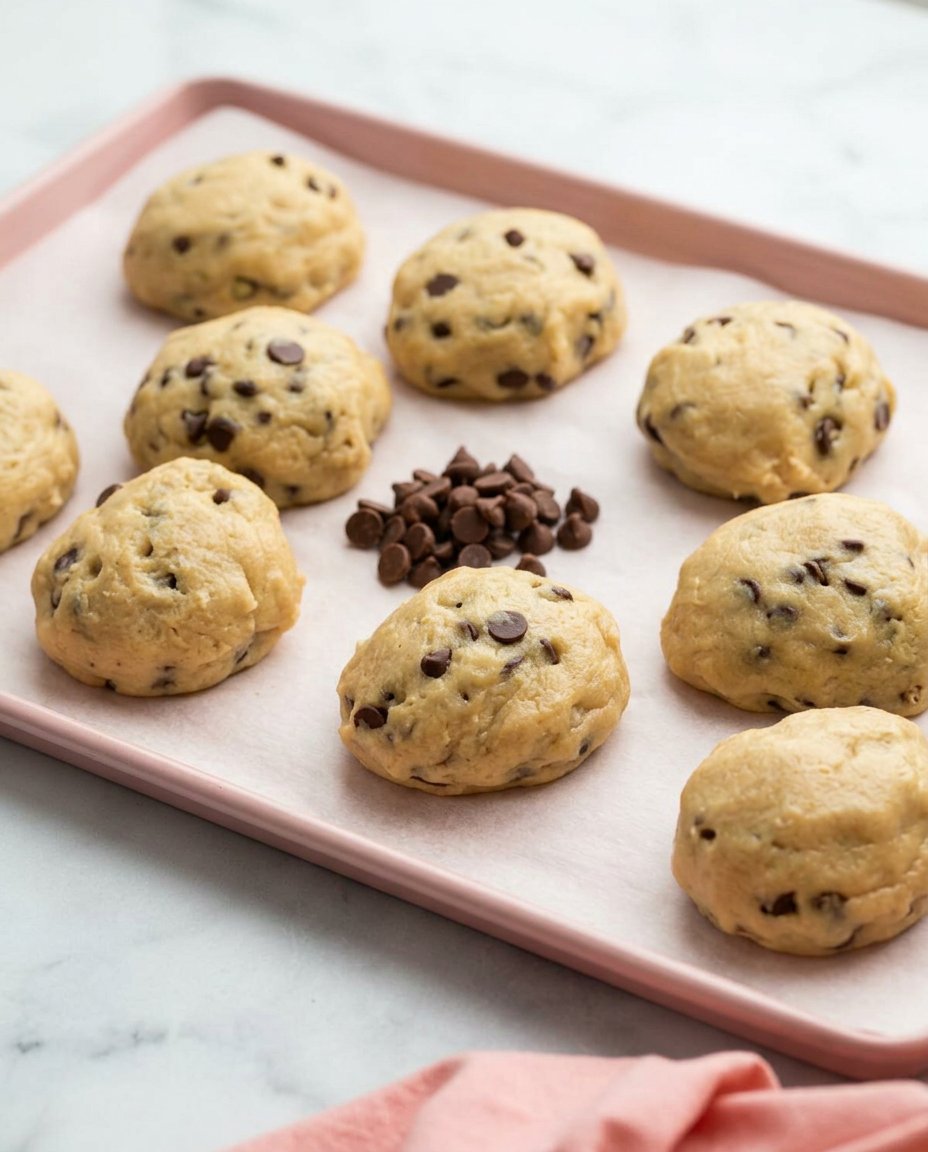
Step 3: Portion and Shape
Using a calibrated cookie scoop (approximately 1.5 tablespoons or 30g), form the dough into uniform spheres. Consistent sizing is the only way to verify that every cookie in the batch bakes at the same rate. This precision prevents a tray where the middle cookies are raw while the edge cookies are burnt.
Step 4: The Critical Chilling Phase
Place the dough balls on a tray and refrigerate for at least 20 minutes. We found that 2 hours is the ‘sweet spot’ for flavor development. Chilling solidifies the fat, which slows down the spread in the oven, and allows the flour to fully absorb the moisture from the egg and butter. If you are in a rush, 20 minutes is the absolute minimum required to stabilize the structure.
Step 5: Thermal Application
Preheat your oven to 350ºF (175°C). Line a heavy-duty baking sheet with parchment paper to prevent sticking and to ensure even heat distribution. Arrange the chilled dough balls with at least 2 inches of space between them. Bake for exactly 10-11 minutes. The centers should look slightly underdone, as residual heat will finish the cooking process on the counter.
Step 6: The Cooling and Setting Period
Remove the tray from the oven and immediately sprinkle with flaky sea salt if desired. Allow the cookies to rest on the hot baking sheet for 5 minutes. This ‘carry-over’ cooking is essential for setting the center without drying out the edges. Transfer to a wire rack to finish cooling completely.
Lauren’s Lab Notes for Precision
To achieve the most consistent results, I highly recommend using a digital scale to measure your ingredients in grams. Volume measurements for flour can vary by as much as 20% depending on how tightly it is packed, which is the primary cause of cookie failure. If your cookies aren’t spreading enough, your flour measurement was likely too high. For more advanced techniques on maintaining dough stability, check out our Artisan Cookie Collection.
Another tip for professional-grade cookies is to use a round cookie cutter to ‘scoot’ the cookies immediately after they come out of the oven. Simply place the cutter over the hot cookie and move it in a circular motion to create perfectly symmetrical circles. For a deeper look at similar techniques, you can see how other experts handle chocolate chip cookies to compare structural methods. Always make sure your baking soda is fresh; if it’s older than six months, the pH shift won’t be as effective, resulting in pale, flavorless cookies.
Tested Variations and Molecular Tweaks
If you want to experiment with the flavor profile, you must account for the fat and moisture balance. For a nuttier depth, replace 2 tablespoons of the butter with 2 tablespoons of toasted tahini. Because tahini has a different fat-to-solid ratio, this change will make the cookie slightly more fragile, so increase the chilling time by 10 minutes. This is a great way to transition into more complex flavors, similar to what we discuss in our Seasonal Cookie Design guide.
You can also substitute the dark chocolate for white chocolate and dried cranberries for a botanical twist. However, since white chocolate has a higher sugar and cocoa butter content, reduce the granulated sugar by 1 tablespoon to prevent the cookie from becoming overly sweet or spreading too thin. These small adjustments verify that the structural integrity of the Ultimate Chewy Chocolate Chip Cookies remains intact regardless of the additions.
Serving Science and Flavor Pairing
The flavor of these cookies actually improves about 30 minutes after baking. During this time, the fats begin to solidify and the sugars set, allowing the complex notes of the vanilla and chocolate to become more distinct. If you are serving these for an event, consider pairing them with a cold glass of whole milk; the fats in the milk help cleanse the palate of the rich chocolate, making every bite taste as vibrant as the first. For those looking to present these at a professional level, our Cookie Decorating Studio offers tips on plating and visual balance.
For a sophisticated dessert, serve a warm cookie with a scoop of high-quality vanilla bean ice cream. The temperature contrast between the 100°F cookie and the 15°F ice cream creates a fascinating sensory experience. The salt garnish is particularly important here, as it cuts through the creaminess of the ice cream to highlight the dark chocolate chunks.
The Scientific Truth Behind the Perfect Bake
Baking the Ultimate Chewy Chocolate Chip Cookies is a lesson in patience and precision. When you understand how melted butter affects gluten and how sugar choice determines texture, you gain the confidence to bake perfect batches every single time. We invite you to keep testing these ratios in your own kitchen to see how slight changes in temperature or time can yield different results. For more inspiration on the latest in baking science, explore our Trending Cookie Creations. We would love to see your results, so please share your photos with us on Pinterest, Instagram, or Facebook. Happy testing!
