Growing up in a kitchen filled with the scent of toasted sugar and vanilla, I learned that the best cookies aren’t always the thickest ones. My grandmother always said that a thin chocolate chip cookie has more room for the butter to shine and the edges to crisp up into something truly special. These thin chocolate chip cookies are a tribute to those quiet Sunday afternoons spent waiting for the oven timer to chime, bringing a familiar Southern comfort to every bite.

This recipe is designed for those who appreciate the delicate balance between a chewy heart and a golden, lacey rim. By melting the butter and giving the sugars plenty of time to dissolve, we create a toffee-like base that supports heavy helpings of rich chocolate. It is a simple, grounded approach that transforms basic pantry staples into a sophisticated treat that still feels like home.
Why These Thin Chocolate Chip Cookies Are a Classic
There is a specific kind of magic that happens when a cookie spreads across the baking sheet, creating a wide, buttery landscape of flavor. Unlike their puffier cousins, these cookies offer a concentrated richness because the moisture from the melted butter and the sugars creates a dense, chewy texture that lingers. You will love how the milk chocolate and semi-sweet chunks create ripples of sweetness throughout the thin dough, making sure no two bites are exactly the same.
This recipe is perfect for the home baker who wants a reliable, tried-and-true treat that never goes out of style. It’s a comfort food favorite that honors the traditional chocolate chip cookie while leaning into the beautiful textures of a thinner profile. Whether you are baking for a bake sale or just a quiet night in, these cookies provide that quintessential Southern hospitality in every golden disc. This method is inspired by the wonderful techniques found at Modern Honey, focusing on high-quality ingredients and patient preparation.
Print
Thin Chocolate Chip Cookies
- Total Time: 28 mins
- Yield: 18 cookies
- Diet: Vegetarian
Description
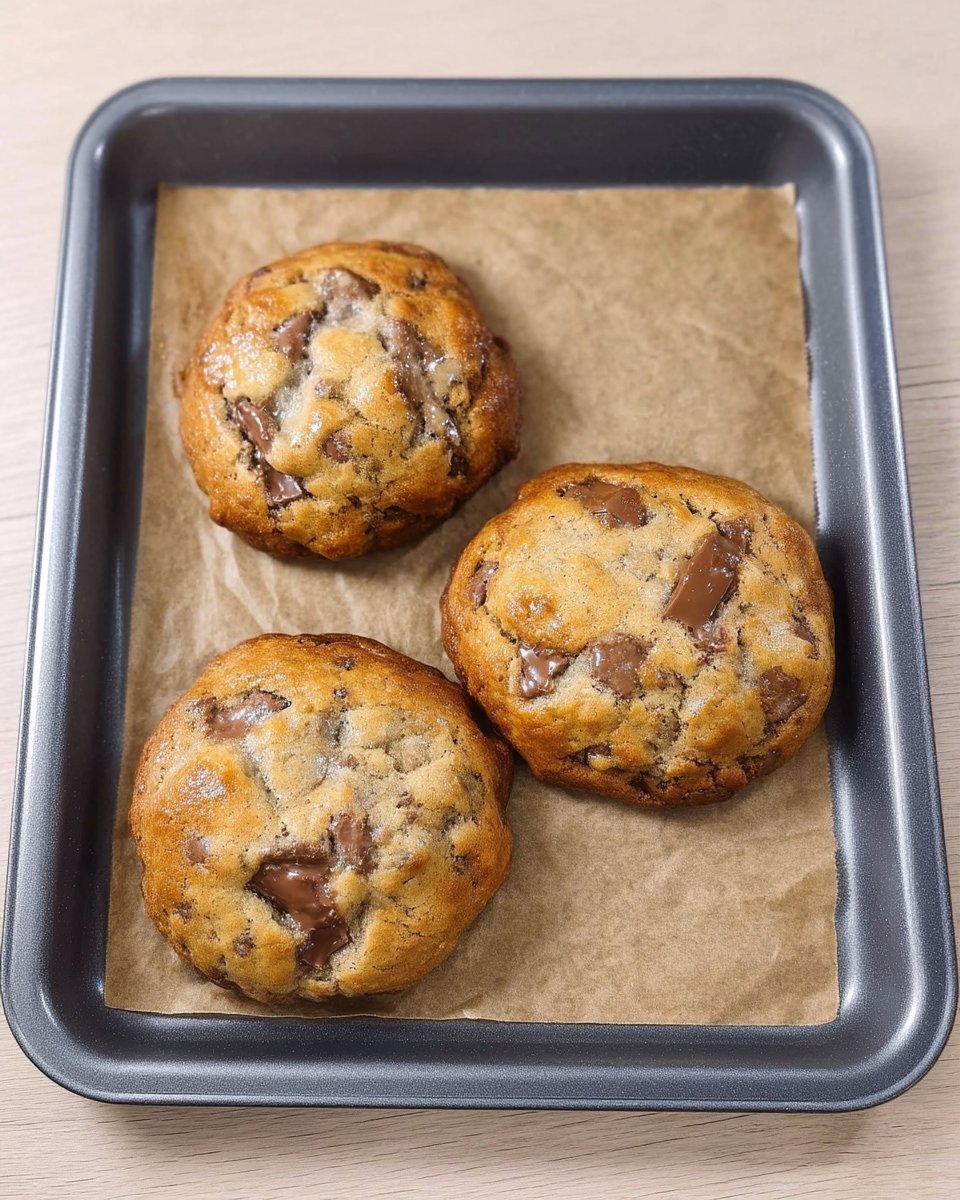
These elegant cookies feature a toffee-like base with crispy, golden edges and a chewy center, packed with pools of melted milk and semi-sweet chocolate. They are a classic Southern-style treat that spreads beautifully on the pan for a sophisticated yet comforting snack.
Ingredients
- 1 stick (1/2 cup) butter, melted
- Packed brown sugar
- Granulated white sugar
- 1 large egg
- 1 teaspoon vanilla extract
- All-purpose flour
- Baking soda
- Salt
- Milk chocolate and semi-sweet chocolate chunks, roughly chopped
Instructions
- Melt the butter in a microwave-safe bowl at 50% power until completely liquid but not boiling.
- Add the brown and white sugars to the melted butter and stir for approximately two minutes until the mixture is smooth and glossy.
- Incorporate the large egg and vanilla extract, stirring vigorously for at least one minute until the batter lightens in color.
- Slowly add the flour, baking soda, and salt, stirring until just combined, then let the dough rest on the counter for 5 to 10 minutes.
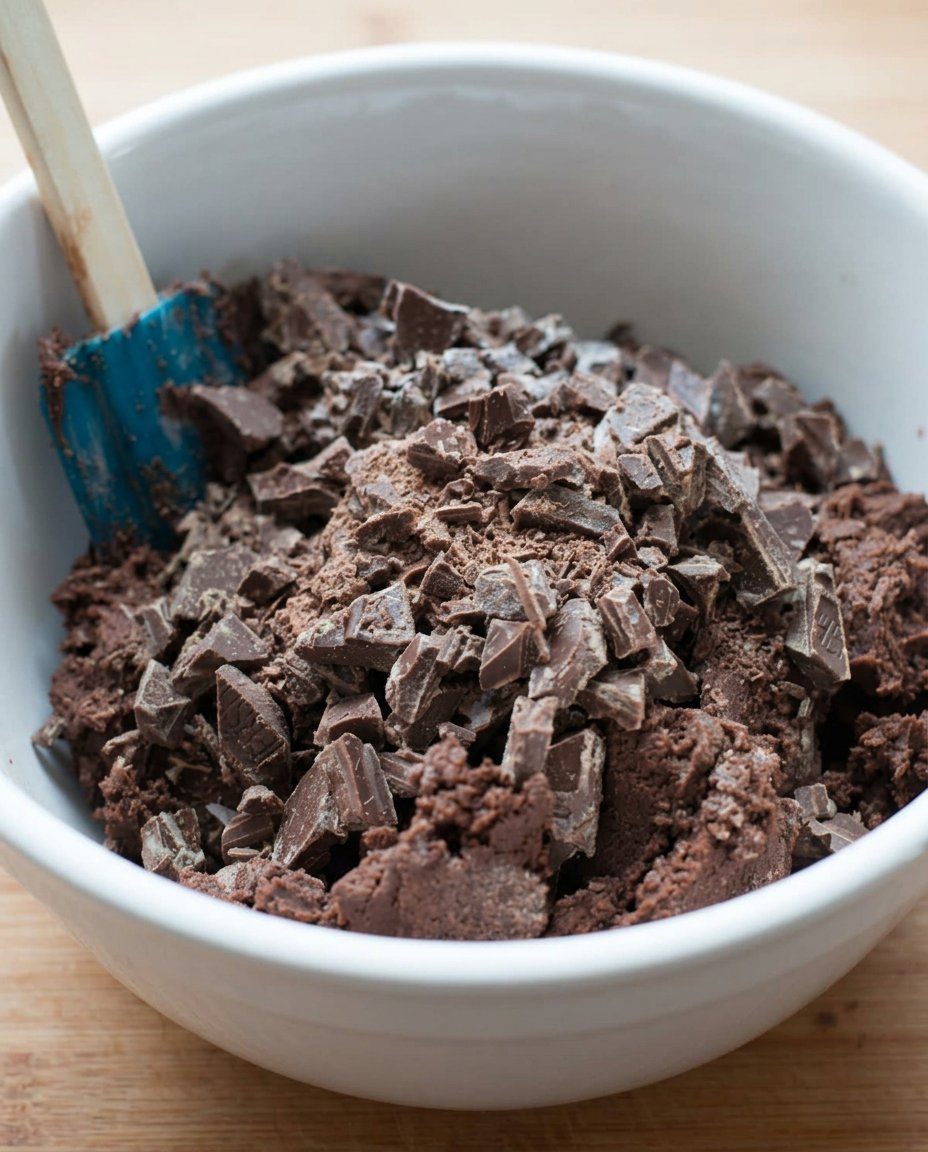
- Fold in the chopped chocolate chunks with a spatula and, if time permits, chill the dough for 30 minutes to 24 hours for deeper flavor.
- Preheat your oven to 350°F (175°C) and line a light-colored baking sheet with parchment paper.
- Scoop dough onto the sheet, leaving at least 4 inches of space between each cookie to allow for spreading.
- Bake for 11 to 15 minutes until the edges are a light golden brown and the centers remain soft.
- Let the cookies cool on the baking sheet for several minutes before transferring them to a wire rack to firm up.
Notes
Using a light-colored aluminum baking sheet is essential for this recipe to prevent the thin bottoms from browning too quickly before the edges crisp. For the most impressive texture, chop a high-quality chocolate bar by hand to create irregular pools of chocolate rather than using uniform chips.
- Prep Time: 15 mins
- Cook Time: 13 mins
- Category: Dessert
- Method: Baking
- Cuisine: American
What You Will Need for Thin Chocolate Chip Cookies
To achieve the perfect spread and that signature chew, we rely on a few key ingredients that work together in harmony. Each component is chosen for its ability to create a reliable foundation for the chocolate.
- Melted Butter: Using one stick of melted butter is the secret to the cookie’s thin profile. Melting the butter breaks down the fat structure, allowing the dough to spread more easily in the oven compared to using softened, creamed butter.
- Brown and White Sugars: A higher ratio of brown sugar provides the moisture and molasses depth needed for a chewy center, while the granulated sugar helps the edges get that beautiful golden crisp.
- Large Egg: The egg acts as the binder, giving the thin dough enough structure to hold the chocolate chunks without falling apart.
- Vanilla Extract: Quality vanilla is the backbone of any Southern bake. It rounds out the sweetness of the sugars and adds a warm, aromatic layer to the dough.
- All-Purpose Flour: We use just enough flour to give the cookies body without making them cakey. It’s a delicate balance that keeps them thin.
- Baking Soda and Salt: These essentials provide the lift and the contrast needed to make the chocolate flavors truly pop.
- Chocolate Chunks: I highly recommend using a mix of milk chocolate and semi-sweet chocolate. Cutting a chocolate bar into irregular chunks creates those wonderful pools of melted chocolate that you just can’t get from standard chips.
How to Make Thin Chocolate Chip Cookies
Step 1: Melt the Butter Gently
Start by melting your butter in a microwave-safe bowl. To make sure it doesn’t splatter or get too hot too quickly, use 50% power. You want the butter completely liquid but not bubbling fiercely. This liquid state is what guarantees the cookies will spread into those beautiful, thin shapes we are looking for.
Step 2: Dissolve the Sugars
Add both the packed brown sugar and the white granulated sugar to the melted butter. Use a sturdy spoon to stir this mixture for about two minutes. You want the sugars to mostly dissolve into the butter, creating a smooth, glossy paste. This step is vital for a toffee-like flavor and a consistent texture throughout the batch.
Step 3: Add the Wet Ingredients
Incorporate the large egg and the teaspoon of vanilla extract into your butter and sugar mixture. Stir vigorously for at least one minute. You will notice the batter becoming lighter and slightly more aerated, which helps the cookies stay chewy rather than just being flat and greasy.
Step 4: Combine the Dry Ingredients
Slowly add the flour, baking soda, and salt to the bowl. Stir until just combined, making sure no streaks of dry flour remain. Once the dough is formed, let it sit on the counter for 5 to 10 minutes. This resting period allows the flour to hydrate and the dough to cool slightly so it doesn’t melt your chocolate chunks immediately.
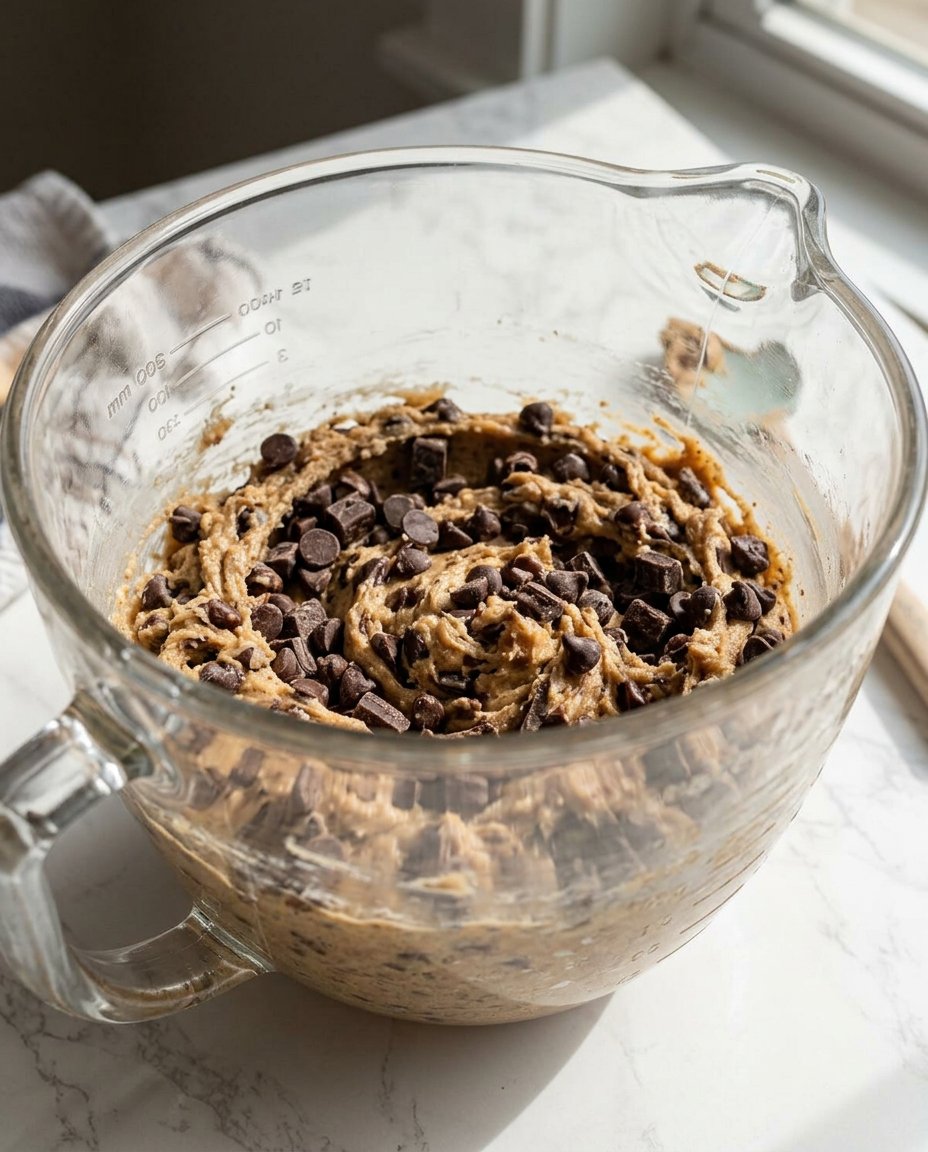
Step 5: Fold in the Chocolate
Take your roughly chopped chocolate chunks and fold them into the dough with a spatula. Distribute them evenly so every cookie gets a fair share of those sweet treasures. If you have the patience, wrap the dough in plastic and chill it for 30 minutes—or up to 24 hours for a deeper, more developed flavor profile.
Step 6: Prepare for the Spread
Preheat your oven to 350 degrees Fahrenheit (175 degrees Celsius) and line a light-colored baking sheet with parchment paper. Use a cookie scoop to drop balls of dough onto the sheet, leaving at least 4 inches of space between them. These cookies will spread significantly, and giving them room makes sure they don’t run into each other.
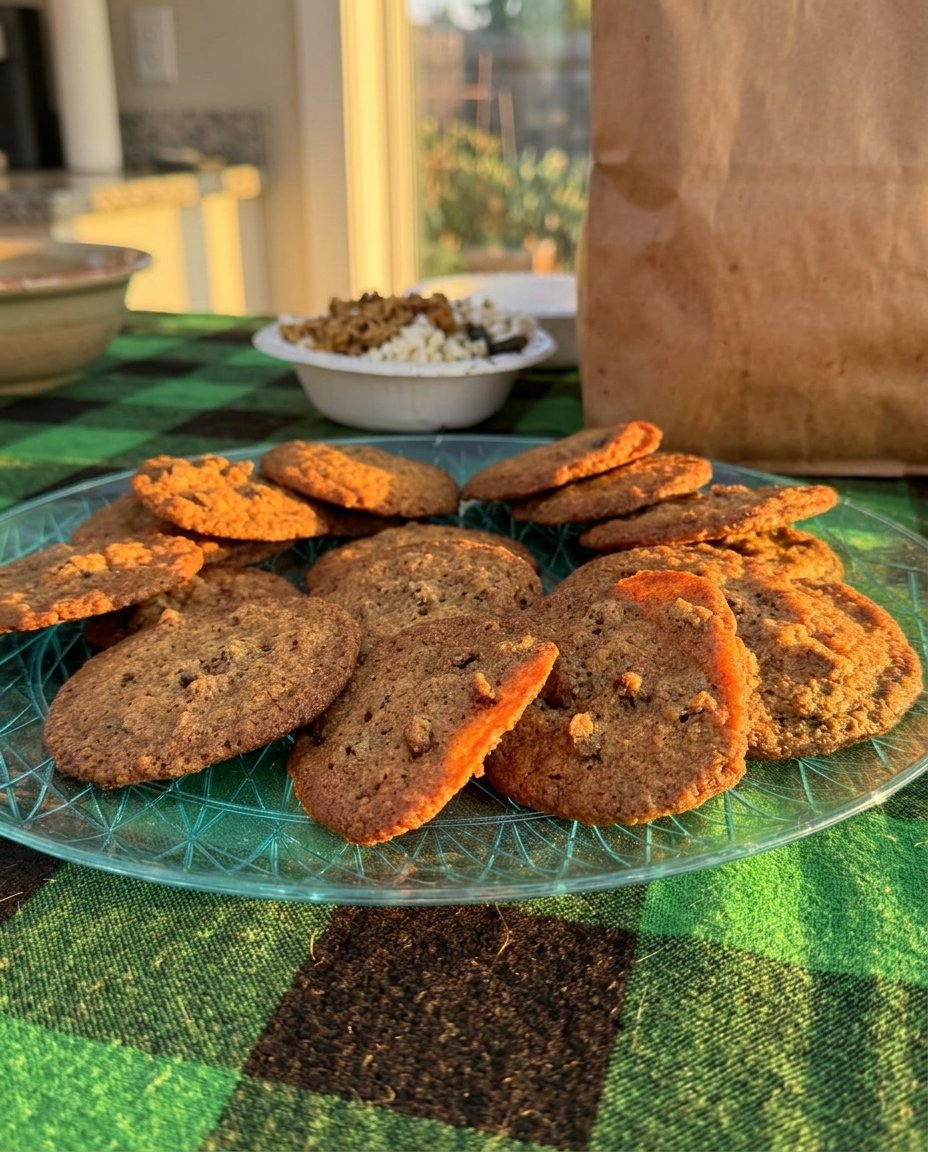
Step 7: Bake to Golden Perfection
Bake for 11 to 15 minutes. Keep a close eye on them toward the end; you are looking for the edges to turn a light golden brown while the centers still look slightly soft and pale. Let them cool on the baking sheet for a few minutes to firm up before moving them to a wire rack.
Jesse’s Comfort Secrets
To get the absolute best results with your thin chocolate chip cookies, always use a light-colored aluminum baking sheet. Darker pans absorb more heat and can cause the bottom of these thin cookies to burn before the edges have a chance to crisp up properly. If you are looking for more ways to master your oven, our Artisan Cookie Collection has wonderful advice on heat distribution. Also, don’t skip the resting time for the dough; it gives the flavors a chance to meld and prevents the cookies from spreading too thinly into a puddle. For the best flavor, try using a high-quality chocolate bar and chopping it yourself to create different sizes of chocolate pockets.
Classic Options for a Familiar Twist
While this recipe is a classic, you can always add a little spark to suit your taste. For a subtle flavor upgrade, try adding a teaspoon of espresso powder to the dough to make the chocolate taste even richer. If you enjoy experimenting with different textures and additions, look through our Effortless Cookie Elegance guide for more inspiration. You could also swap half of the chocolate chunks for toasted pecans or walnuts to add a bit of Southern crunch. Another favorite of mine is sprinkling a tiny pinch of flaky sea salt over the cookies the moment they come out of the oven to balance the sweetness.
Cozy Enjoyment and Sharing
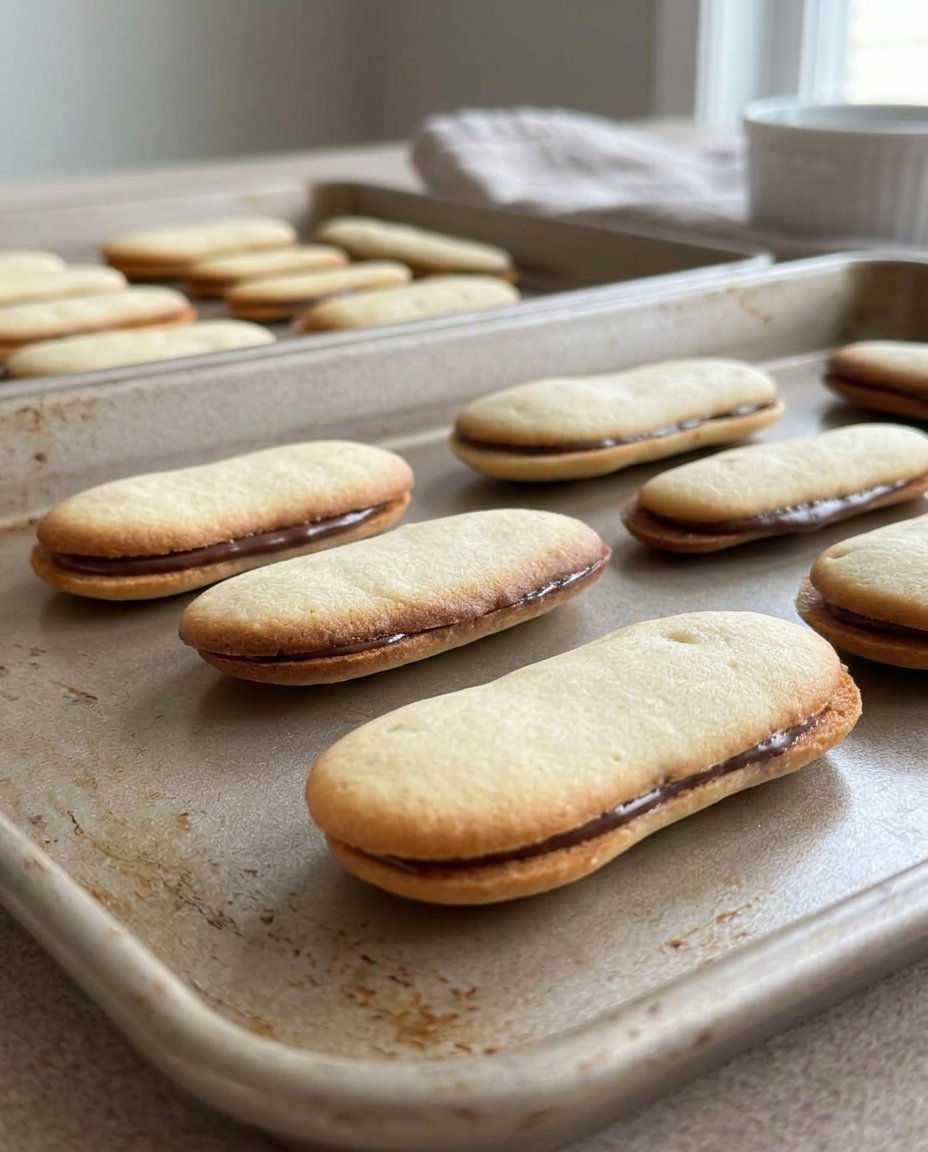
These cookies are at their absolute best when served slightly warm with a tall, cold glass of milk. They are the perfect addition to a family gathering or a simple afternoon tea. If you want to present them beautifully for a special occasion, you can find lovely ideas in our Cookie Decorating Studio. These thin treats also make wonderful ice cream sandwiches; just place a scoop of vanilla bean ice cream between two cookies and press gently for a summer treat that feels like a warm hug.
The Comfort Truth for Every Baker
Baking a batch of thin chocolate chip cookies is about more than just satisfying a sweet tooth; it is about the joy of sharing something handmade and heartfelt. These cookies represent the balance of tradition and a little bit of flavor curiosity that makes home baking so rewarding. For more recipes that bring a bit of spiced joy to your kitchen, look through our Seasonal Cookie Design collection. I would love to see how your cookies turn out, so please share your photos with us on Pinterest and Instagram. May your kitchen always be warm and your cookie jar always be full.

