Growing up in the South, peanut butter cookies were a staple at every church social and porch gathering. There’s something about that crisp, salty-sweet crunch that feels like a warm hug from home. This Nutter Butter Copycat takes that familiar childhood favorite and adds a little extra love with real butter and a touch of vanilla for a taste that still feels like home.

These sandwich cookies are more than just a snack; they are a labor of love that honors the traditions passed down through my family. We are using a mix of ground peanuts and rice flour to get that signature snap, filled with a creamy center that is better than anything you will find in a plastic package. It is a wonderful way to bring a classic twist to your kitchen with simple, honest ingredients.
Comfort Meets Flavor
Finding that perfect balance between a crisp wafer and a creamy filling is what makes these cookies a treasure. Most store-bought snacks rely on preservatives and artificial flavors, but here we focus on the natural richness of roasted peanuts and quality butter. You will love how these cookies manage to be both sophisticated and deeply nostalgic, providing a reliable treat for kids and adults alike. There is a special kind of joy in making something from scratch that tastes exactly like a memory, only better because you know exactly what went into it. The texture is the real winner here—that light, sandy crunch from the rice flour makes every bite feel like a special occasion. Whether you are baking these for a weekend treat or sharing them at a community potluck, they carry a sense of Southern hospitality that is hard to beat.
Print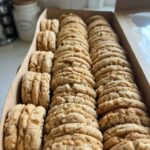
Nutter Butter Copycat
- Total Time: 57 mins
- Yield: 24 sandwich cookies
- Diet: Vegetarian
Description
Experience a nostalgic trip down memory lane with these homemade peanut butter sandwich cookies that perfectly replicate the classic crunch and creamy center of the original snack. By using ground peanuts and rice flour, these wafers achieve a signature brittle texture that is elevated by a rich, smooth peanut butter cream filling.
Ingredients
- 1 cup roasted unsalted peanuts
- 1/2 cup unsalted butter, softened
- 1/2 cup creamy peanut butter
- 1/2 cup granulated sugar
- 1/2 teaspoon baking soda
- 1/4 teaspoon salt
- 1 teaspoon vanilla extract
- 2 egg yolks
- 1 1/4 cups rice flour or all-purpose flour
- 1 teaspoon hot water
- 4 ounces cream cheese, softened
- 1/2 cup creamy peanut butter for filling
- 2 tablespoons unsalted butter for filling
- 1 cup powdered sugar
- 1/2 teaspoon vanilla extract for filling
Instructions
- In a large bowl, cream together the softened butter, peanut butter, granulated sugar, baking soda, salt, and vanilla extract until just combined.
- Incorporate the egg yolks one at a time while the mixer is running, then scrape down the sides of the bowl to ensure a uniform mixture.
- In a food processor, blend the flour and roasted peanuts for one minute, then sift through a fine-mesh sieve, regrinding any remaining large chunks.
- Add the peanut and flour mixture to the wet ingredients on low speed, mixing until a stiff dough forms, then lightly knead into a smooth disc.
- Wrap the dough disc in plastic and refrigerate for at least 30 minutes to allow the butter to firm up for easier rolling.
- Preheat the oven to 350°F (180°C) and roll the chilled dough on a floured surface to a 1/8 inch thickness.
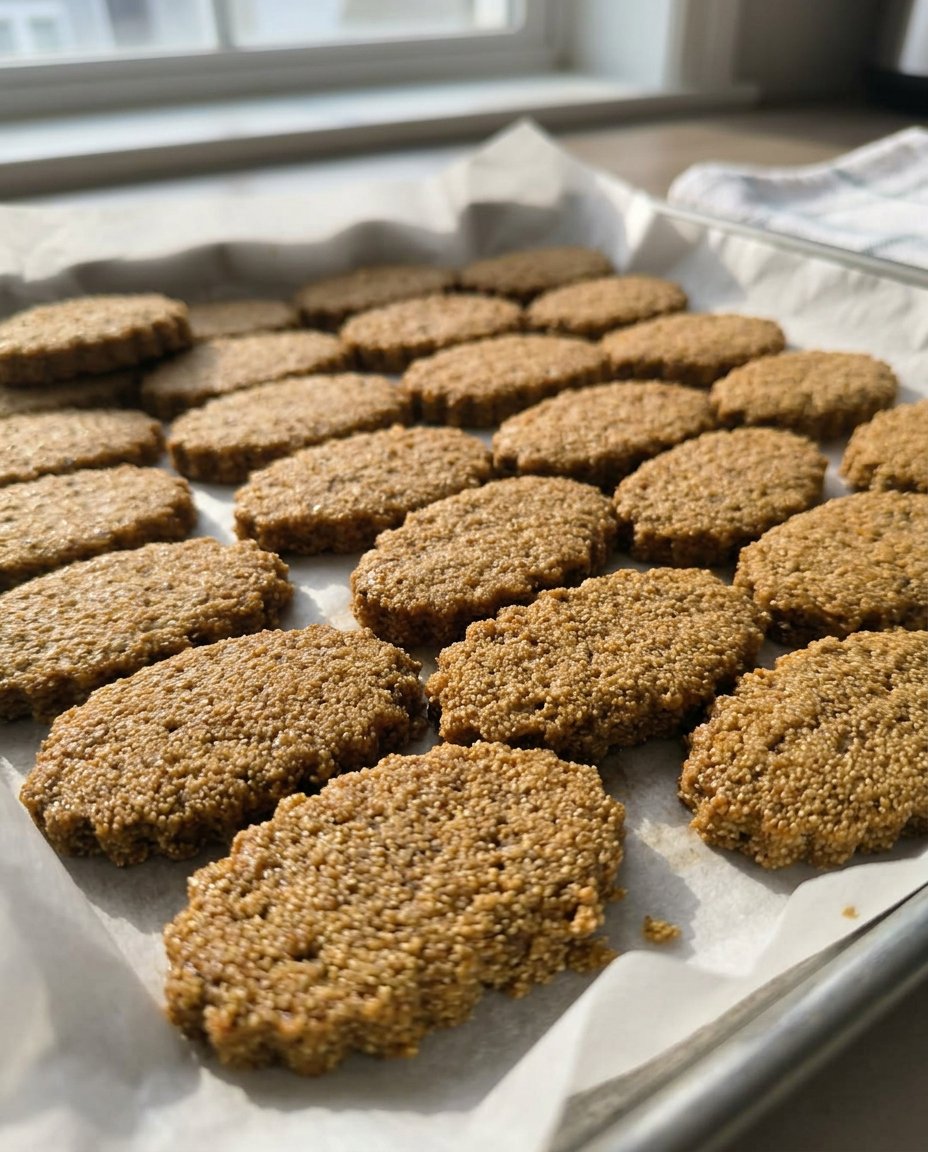
- Cut the dough into peanut shapes and transfer to a parchment-lined baking sheet.
- Mix dough scraps with hot water to form a paste, then pipe a cross-hatch design onto each cookie before baking for 12 minutes.
- For the filling, cream together butter, peanut butter, cream cheese, powdered sugar, and vanilla on medium speed for 5 minutes until completely smooth.
- Pipe the filling onto the flat side of half the cooled wafers and top with the remaining cookies to complete the sandwiches.
Notes
To ensure the most authentic texture, do not skip the sifting step for the ground peanuts, as fine particles are essential for a smooth dough that can be rolled thin. If the dough becomes too warm while rolling, return it to the refrigerator for several minutes to maintain clean edges when cutting out your shapes.
- Prep Time: 45 mins
- Cook Time: 12 mins
- Category: Cookies
- Method: Baking
- Cuisine: Southern American
Familiar Ingredients
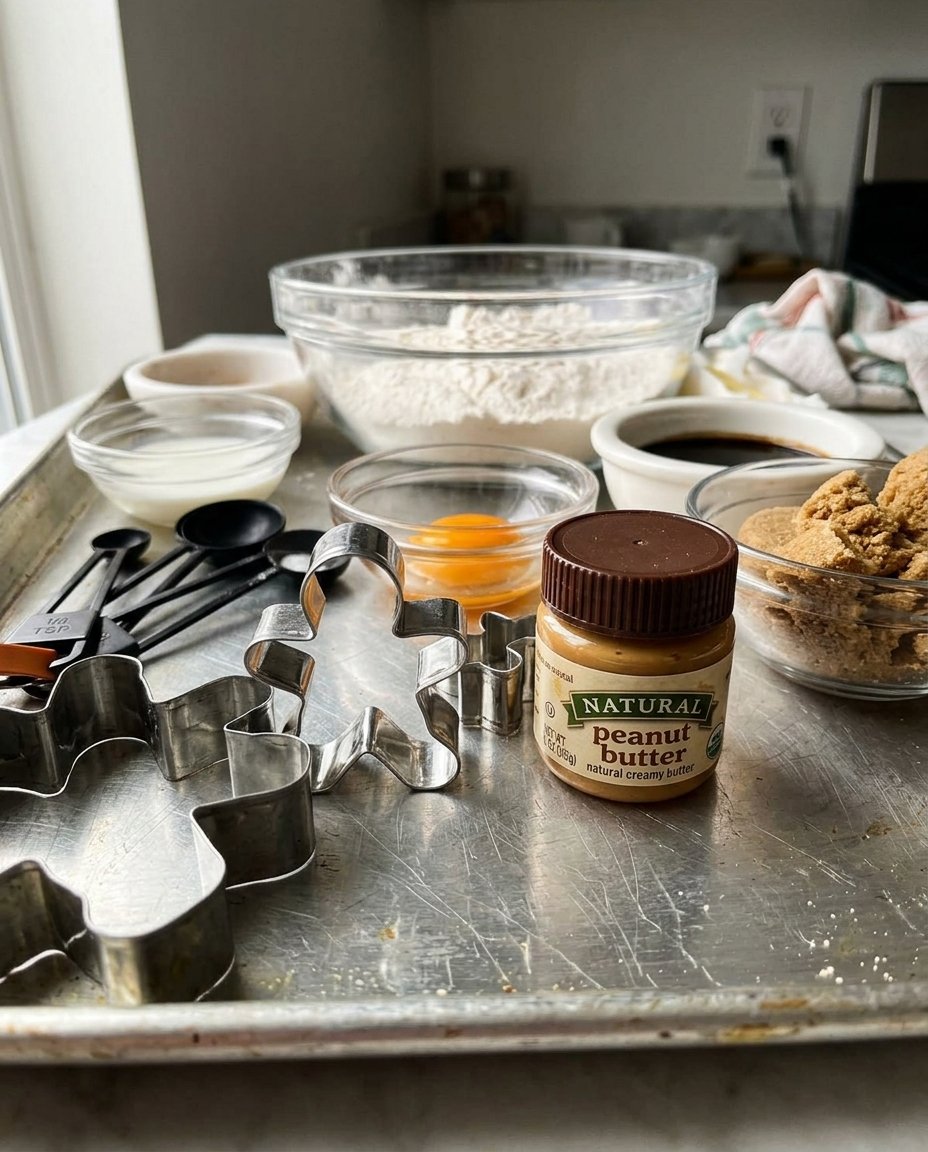
To start this journey, you will need a few pantry staples and a big bag of roasted, unsalted peanuts. We use unsalted butter to control the saltiness, allowing the peanut butter and the 1/4 teaspoon of salt to shine through without being overwhelming. The rice flour is my secret for that authentic Nutter Butter snap; it provides a crispness that regular all-purpose flour sometimes misses.
- Roasted Unsalted Peanuts: These are ground fine to provide a deep, earthy base.
- Creamy Peanut Butter: Adds that signature flavor and a smooth texture to both the cookie and the filling.
- Rice Flour or All-Purpose Flour: Rice flour is preferred for a classic, brittle crunch.
- Egg Yolks: These provide richness and help bind the dough without adding too much moisture.
- Vanilla Extract: A good quality vanilla carries the foundation of the cookie’s aroma.
- Cream Cheese: A small amount in the filling adds a subtle tang and keeps the texture smooth.
The Comfort Method
Step 1: Cream the Base
Using a hand or stand mixer set to medium speed, cream together the butter, peanut butter, sugar, baking soda, salt, and vanilla extract. You want to mix these just until they are combined. Take care not to over-mix during this stage; we want to keep the air out of the dough to maintain that dense, crisp wafer texture.
Step 2: Incorporate the Yolks
With your mixer still running, add in the egg yolks one at a time. Once they are fully incorporated into the butter mixture, shut off the mixer and use a rubber spatula to scrape down the sides of the bowl. This helps everything stay uniform as we move toward the dry ingredients.
Step 3: Prepare the Peanuts
In the bowl of a food processor, combine your flour and roasted peanuts. Process the mixture for about one minute until the peanuts are finely ground. Sift this mixture through a fine-mesh sieve into a separate bowl. If there are any chunks left, regrind them and sift again. Discard any bits that simply won’t pass through; large chunks will make it hard to roll the dough thin and might clog your piping bag later.
Step 4: Mix the Dough
Turn your mixer to its lowest setting and add the rice flour and ground peanut mixture all at once. The dough will become quite stiff, which is exactly what we want. Continue mixing until the color is uniform and then finish by hand, lightly kneading the dough into a smooth ball. Flatten it into a disc for easy rolling later.
Step 5: Chill the Dough
Wrap your dough disc and place it in the refrigerator for at least 30 minutes. This chilling time is vital because it allows the butter to firm up, making the dough much easier to handle when you start rolling it out to that very thin 1/8 inch thickness.
Step 6: Roll and Cut
Preheat your oven to 350°F (180°C). On a lightly floured surface, roll the dough as thinly as you can. Aim for 1/8 inch so they don’t get too thick after baking. Use a bikini or sunglass-shaped cutter to get that classic peanut shape, then carefully transfer the wafers to a parchment-lined baking sheet.
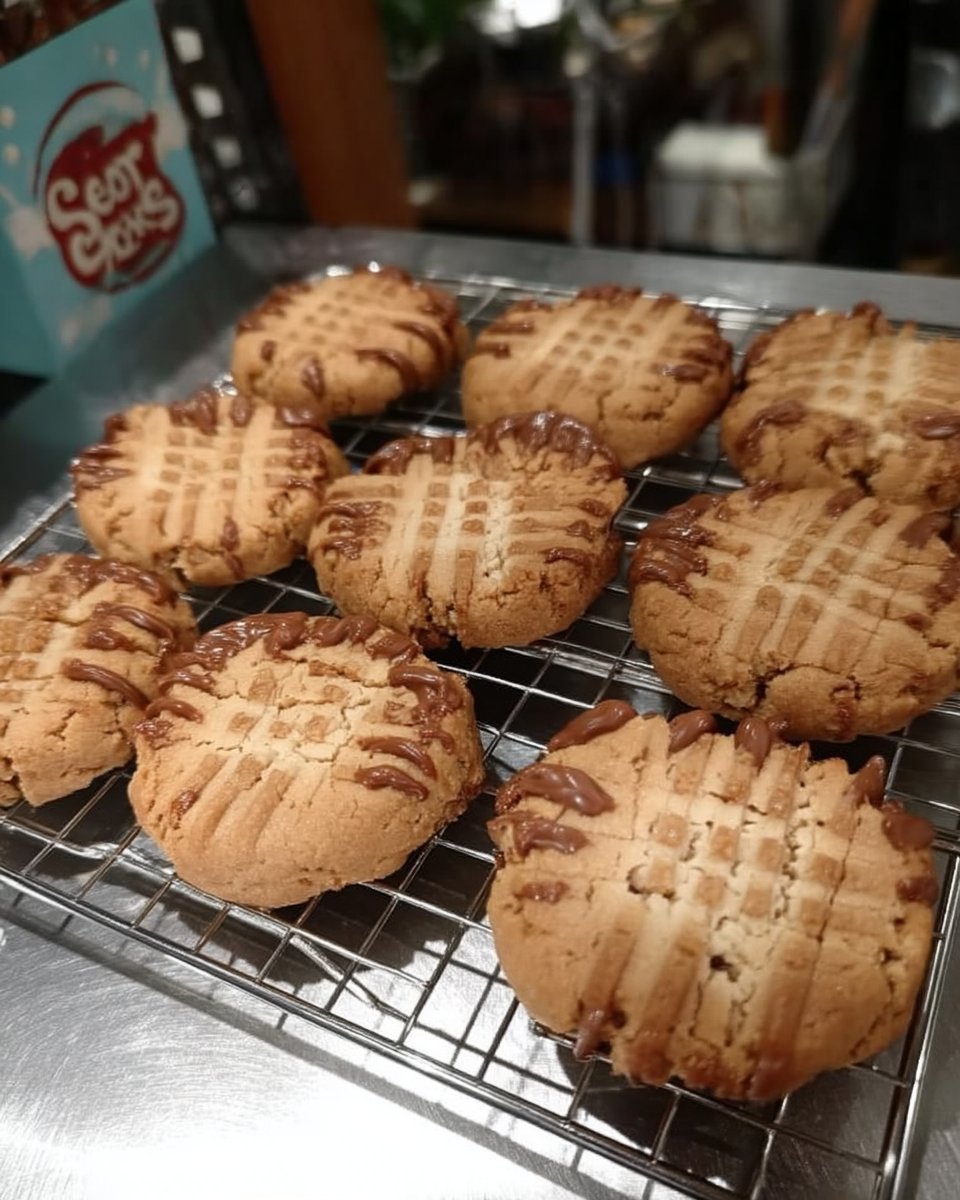
Step 7: Create the Pattern
Take your remaining dough scraps and mix them with a teaspoon of hot water at a time until you have a smooth paste. Transfer this to a piping bag with a tiny tip and pipe a cross-hatch design on top of each cookie. This little detail makes them look like the real deal.
Step 8: Bake and Cool
Bake the decorated cookies for about 12 minutes until they are firm to the touch. Let them cool completely on the baking sheet to allow the structure to set. A cool cookie is a crisp cookie!
Step 9: Make the Filling
Cream together the butter, peanut butter, cream cheese, powdered sugar, and vanilla for the filling. Mix on medium speed for at least 5 minutes. This longer mixing time is a Southern secret for removing the grittiness from the powdered sugar and making the center incredibly smooth.
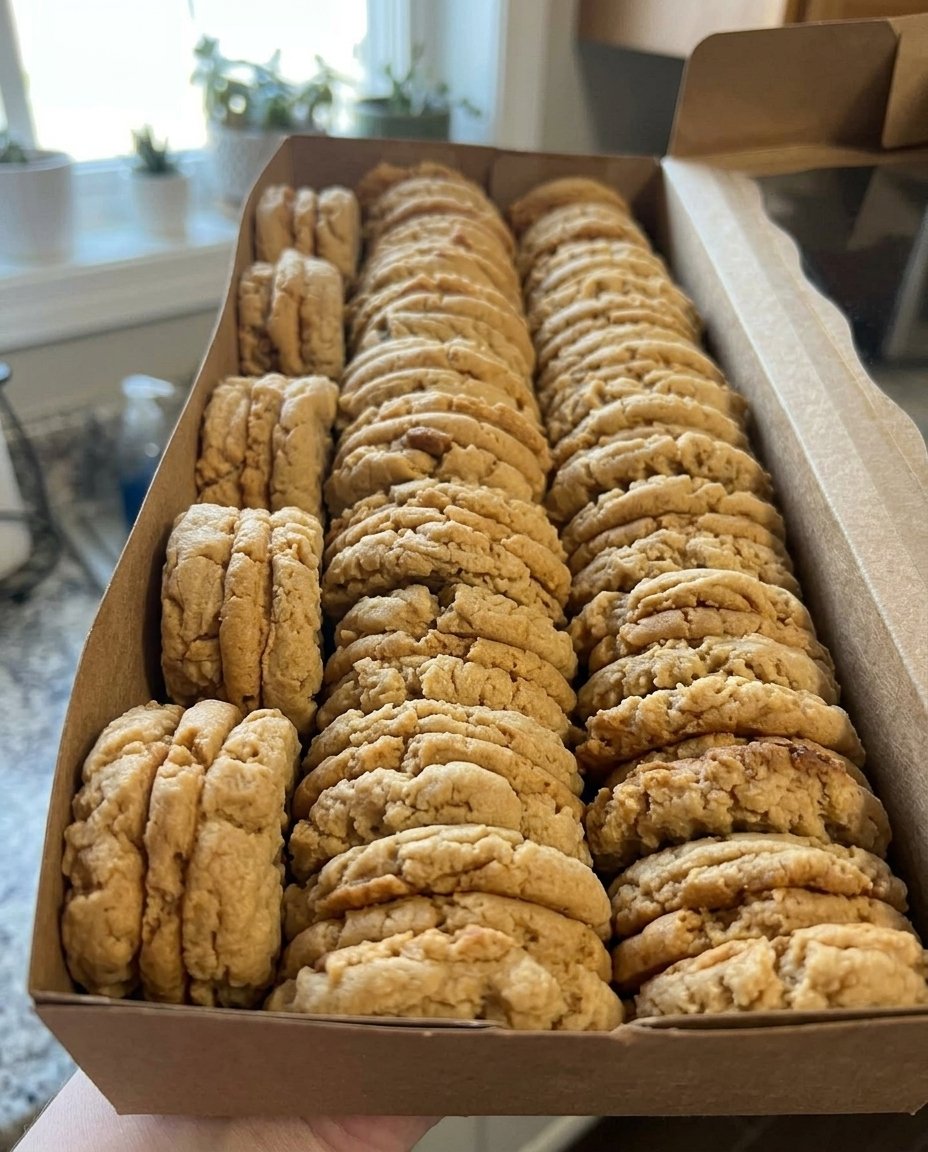
Step 10: Assemble the Sandwiches
Flip half of your cooled wafers over. Pipe a barbell-shaped line of frosting down the center of each, then top with another wafer. Press gently to spread the filling. Store these in an airtight container in the fridge for a few hours to let the filling set perfectly.
Flavor Balance and Technique

To get the best results, I highly recommend using a digital scale for your measurements. Baking is as much about precision as it is about love, and weights provide a reliable outcome every single time. When you are rolling out the dough, if it starts to get too soft, don’t be afraid to pop it back in the fridge for ten minutes. Keeping the dough cool is the key to those clean, beautiful edges. For more ideas on perfecting your bakes, check out our Artisan Cookie Collection. Also, remember that the thinness of the dough is what dictates the final crunch. If you find your cookies are a bit soft, try rolling them even thinner next time or leaving them in the oven for an extra minute. You can find more technical guidance at Serious Eats regarding the science of these wafers.
Classic Options with a Spark
If you want to move away from the traditional peanut flavor, you can try adding a bit of orange zest to the dough for a citrusy brightness that pairs wonderfully with the nuttiness. Another favorite of mine is to use brown butter instead of regular butter for a deeper, toffee-like flavor profile. For those who enjoy a bit of holiday flair, a pinch of cinnamon in the dough can offer a warm, spiced feel that is perfect for the colder months. For seasonal inspiration, visit our Seasonal Cookie Design page. You might even try sprinkling a tiny bit of sea salt on the filling before closing the sandwich for a sophisticated salted peanut butter version.
Cozy Enjoyment and Sharing
These cookies are best served with a tall glass of cold milk or a warm cup of coffee in the afternoon. In the South, we believe that good food is meant to be shared, so these make a wonderful gift for a new neighbor or a friend who needs a little pick-me-up. For more tips on making your treats look as good as they taste, explore our Cookie Decorating Studio. Arrange them on a wooden platter for a rustic, comfortable feel that invites everyone to dig in. They also hold up well in a lunchbox, making them a special surprise for the little ones during their school day.
The Comfort Truth
There is a simple joy in mastering a classic like this. These cookies remind us that taking the time to do things right—like grinding your own peanuts and rolling the dough by hand—leads to a reward that no machine can replicate. I hope these Nutter Butter copycats bring a little bit of Southern warmth to your kitchen and become a new favorite for your family. For more modern twists on timeless treats, visit our Trending Cookie Creations. Be sure to share your baking journey with us on Facebook, Instagram, and Pinterest. Happy baking!


