We spent three weeks in the Cookies Sweet lab calibrating the hydration levels of this yeast-leavened dough to achieve the exact structural integrity required for slicing. Finding the precise balance between the 6 ounces of melted butter and the room-temperature eggs was critical for a dough that splits cleanly without crumbling under the knife. This recipe for stroopwafel cookies 2 represents our most rigorous formula for achieving that iconic Dutch texture in a home kitchen environment.

Authentic stroopwafels rely on a specific thermal window; the waffle must be sliced while the internal steam is still active and the crumb is pliable. This scientific method produces a thin disc that anchors the spiced caramel filling through capillary action and sugar adhesion. By following these tested instructions, you can recreate this street-food staple with the precision of a professional test kitchen.
The Chemistry of the Perfect Caramel Bond
The appeal of stroopwafel cookies 2 lies in the fascinating interaction between a lean, yeasted dough and a highly viscous syrup filling. Unlike a standard cookie that relies on chemical leaveners like baking soda, this recipe uses biological leavening to create a sturdy yet flexible structure. The yeast provides a complex flavor profile while the eggs and butter contribute to a short crumb that can withstand the high heat of a waffle iron without becoming brittle.
What makes this recipe a breakthrough is the specific ratios used in the stroop filling. By combining Dutch stroop with brown sugar and butter, we create a non-crystalline sugar mass that remains tacky at room temperature. This prevents the cookies from becoming rock-hard as they cool, a common failure in amateur recipes. The salt and cinnamon act as flavor modulators, cutting through the intense sweetness to provide a balanced profile that highlights the toasted notes of the waffle.
Furthermore, the physical act of splitting the waffle while hot allows the syrup to penetrate the pores of the dough. This creates a structural laminate that is both chewy and crisp. Our testing confirmed that the 50g dough ball size is the ideal mass for a standard waffle iron, providing enough thickness to split without leaving the walls too thin to support the filling. It is a triumph of culinary engineering that results in a remarkable texture.
Print
Stroopwafel Cookies 2
- Total Time: 2 hours 5 mins
- Yield: 18 cookies
- Diet: Vegetarian
Description
These authentic Dutch stroopwafels combine a yeast-leavened dough with a spiced caramel syrup for a perfectly chewy and crisp texture. Master the art of the precision-sliced waffle and the rich, cinnamon-infused filling for a professional-grade treat at home.
Ingredients
- 15 oz (425g) all-purpose flour
- 9 oz unsalted butter, divided
- 2.25 tsp active dry yeast
- 7 oz Dutch stroop
- 4 oz brown sugar
- 5 oz granulated sugar
- 2 oz whole milk
- 2 large eggs, room temperature
- 1 1/2 tsp ground cinnamon, divided
- 3/8 tsp table salt, divided
Instructions
- In a small heavy-bottomed saucepan, combine 7 oz Dutch stroop, 4 oz brown sugar, 3 oz unsalted butter, 1 tsp ground cinnamon, and 1/8 tsp salt; bring to a boil, stir until smooth, then transfer to a bowl to cool.
- Warm 2 oz whole milk to 105°F and combine with 2.25 tsp active dry yeast in a stand mixer bowl; let sit for 5 minutes until foamy.
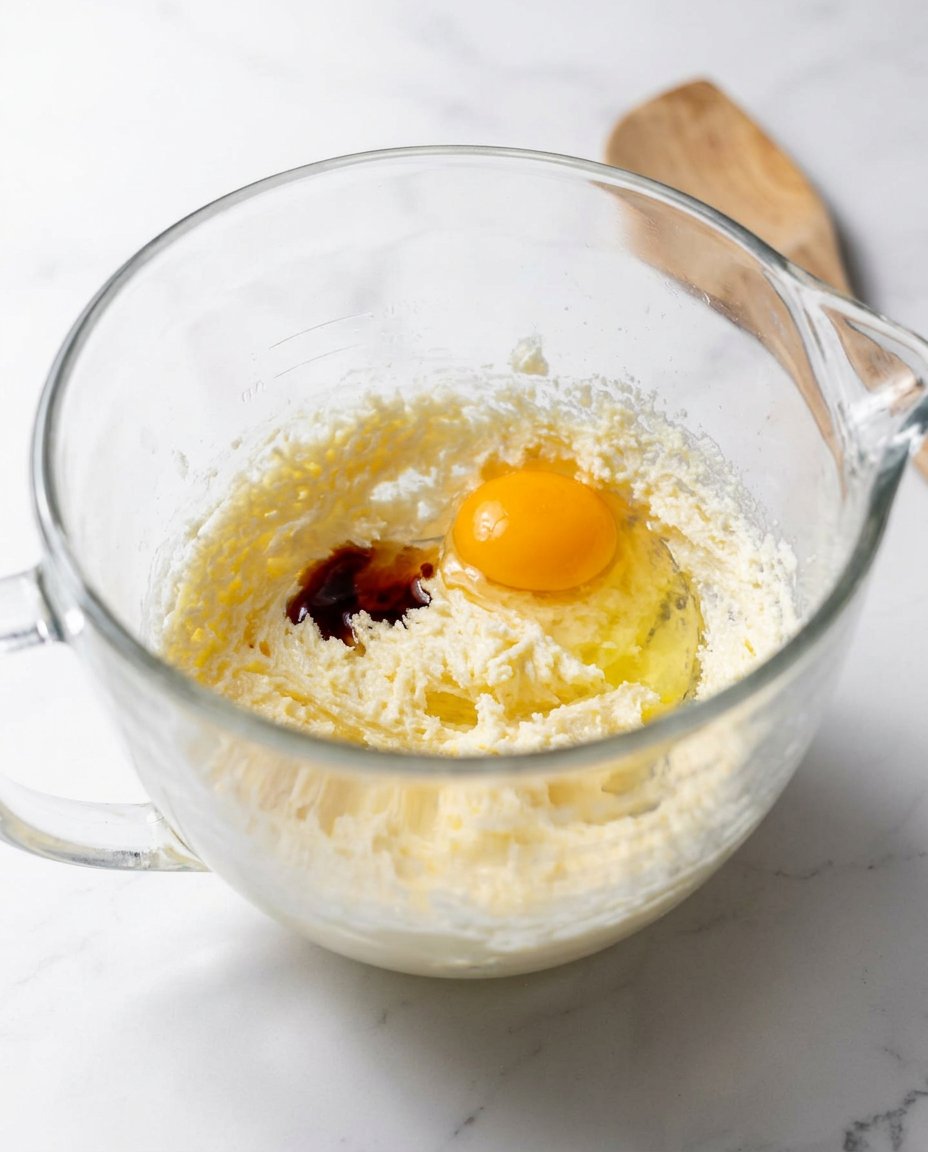
- To the yeast mixture, add 2 room-temperature eggs, 6 oz melted butter, and 5 oz granulated sugar, then whisk with the paddle attachment until homogenous.
- Gradually add 1/2 tsp cinnamon, 1/4 tsp salt, and 15 oz all-purpose flour, then knead the dough by hand for 2-3 minutes until soft and supple.
- Divide the dough into 18 pieces (50g each), roll into spheres, and let them rest on a covered, parchment-lined sheet pan for 1 hour.
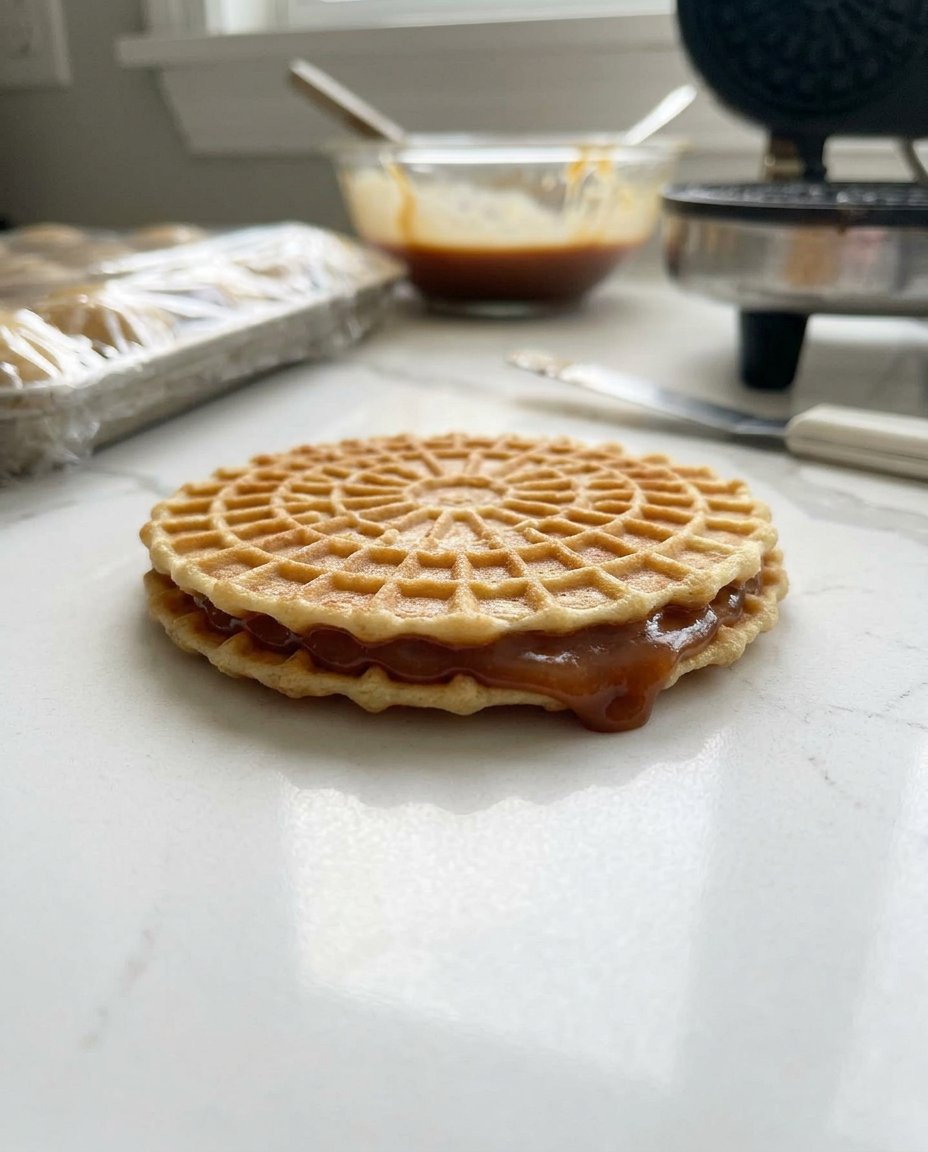
- Bake each flattened dough ball in a preheated waffle iron for 2-3 minutes; while steaming hot, slice the waffle horizontally and sandwich with 1 tablespoon of the cooled stroop filling.
Notes
To ensure a clean horizontal cut without crumbling, use a sharp serrated knife and slice the waffle immediately after removing it from the iron while the internal steam is still active. If the stroop filling becomes too thick as it cools, you can gently re-warm it over low heat to regain a spreadable consistency.
- Prep Time: 1 hour 20 mins
- Cook Time: 45 mins
- Category: Dessert
- Method: Waffle Iron
- Cuisine: Dutch
The Stroopwafel Formula and Ratios
To achieve success with stroopwafel cookies 2, you must treat the ingredients as a chemical formula where each component serves a structural purpose. Precision in measurement is the only way to avoid a dough that is too sticky to handle or too dry to split.
- All-Purpose Flour (15 oz / 425g): The protein content provides the gluten network necessary for the dough to stretch and hold together during the splitting process. We recommend a flour with 10-11% protein for the best results.
- Unsalted Butter (9 oz total): Divided between the dough and the filling, the butter acts as a tenderizer. In the dough, it coats the flour proteins to keep the waffle tender; in the filling, it provides fat to prevent the sugar from becoming too brittle.
- Active Dry Yeast (2.25 tsp): This provides the lift. Unlike cookies that spread, these waffles need to puff slightly to allow for the horizontal cut. The fermentation also breaks down complex starches into simpler sugars for better browning.
- Dutch Stroop (7 oz): This is the soul of the recipe. Stroop is a thick, dark syrup that has a specific viscosity. If you cannot find authentic Dutch stroop, a dark corn syrup or molasses blend can work, but the water content must be monitored.
- Brown Sugar (4 oz): The molasses in the brown sugar contributes moisture and a deep caramel flavor through the Maillard reaction when heated in the filling.
- Granulated Sugar (5 oz): This provides sweetness and aids in the crisping of the waffle exterior.
- Whole Milk (2 oz): This hydrates the yeast. We recommend warming it to exactly 105°F (40°C) to activate the yeast without killing the cultures.
- Large Eggs (2): At room temperature, these act as emulsifiers, binding the fats and liquids into a stable dough.
- Cinnamon and Salt: These are the primary aromatics. Toasting the cinnamon in the hot syrup activates the volatile oils for a deeper sensory experience.
The Scientific Process of Waffle Construction
Step 1: Synthesize the Stroop Filling
In a small heavy-bottomed saucepan, combine 7 oz Dutch stroop, 4 oz brown sugar, 3 oz unsalted butter, 1 teaspoon ground cinnamon, and 1/8 teaspoon table salt. Heat over medium power, stirring constantly to facilitate the emulsion. Once the mixture reaches a boil, the sugars will have fully dissolved into the fat. Immediately transfer this to a heat-safe bowl and let it cool. The viscosity will increase as the temperature drops, which is vital for the sandwiching phase.
Step 2: Yeast Activation and Liquid Base
Warm the 2 oz of whole milk to 105°F. In the bowl of a stand mixer, combine the warm milk and 2 1/4 teaspoons of dry yeast. Allow this to sit for 5 minutes until a foam forms, indicating the yeast is metabolically active. Add the 2 room-temperature eggs, 6 oz of melted butter, and 5 oz of granulated sugar. Use the paddle attachment to whisk these together until the mixture is homogenous.
Step 3: Dough Integration and Kneading
Set the mixer to low speed and add the 1/2 teaspoon of cinnamon and 1/4 teaspoon of salt. Gradually add the 15 oz of all-purpose flour. Mix only until the flour is hydrated. Turn the dough onto a lightly floured surface and knead by hand for 2-3 minutes. The goal is to develop a soft, supple texture without overworking the gluten, which would make the cookies tough. The dough should be soft but not cling to your hands.
Step 4: Precise Portioning and Proofing
Accuracy is mandatory for consistent baking. Divide the dough into 18 equal pieces, each weighing approximately 50g. Roll each piece into a smooth sphere to ensure even expansion in the waffle iron. Place the spheres on a parchment-lined sheet pan, cover with plastic wrap to prevent a skin from forming, and allow them to rest at room temperature (70°F) for exactly 1 hour. This proofing stage allows the yeast to produce gas and the gluten to relax.
Step 5: Thermal Application and Slicing
Preheat your waffle iron to a medium-high setting. Take one dough ball and flatten it into a disc roughly 1/2 inch thick. Place it in the center of the iron and close it firmly. Bake for 2-3 minutes until the exterior is a deep golden brown. Use a fork to remove the waffle. While it is still steaming hot, use a thin, sharp serrated knife to slice the waffle horizontally into two thin discs. If the waffle cools too much, the internal structure will set and it will tear rather than split.
Step 6: Lamination and Set
Generously spread approximately 1 tablespoon of the cooled stroop filling onto the cut side of one disc. Place the other disc on top and press gently to spread the syrup to the edges. As the waffle cools, the syrup will bond with the dough. Repeat this for the remaining 17 pieces. Store the finished cookies in an airtight container to maintain the balance of moisture.
Lauren’s Lab Notes for Success
Temperature control is the most frequent point of failure in this recipe. If your waffle iron is too hot, the exterior will burn before the interior is cooked enough to split. If it is too cool, the waffle will be tough and dry. We found that an internal temperature of the waffle reaching 195°F (90°C) is the sweet spot for a clean split. For more technical guidance on dough handling, check our Artisan Cookie Collection where we break down gluten structures. Additionally, if you find your stroop filling is too runny, you may need to boil it for an extra 30 seconds to drive off excess moisture, as suggested in similar technical bakes like the King Arthur Baking stroopwafels recipe. Always keep your knife wiped clean between slices; a sticky blade will snag the delicate crumb and cause the waffle to shatter.
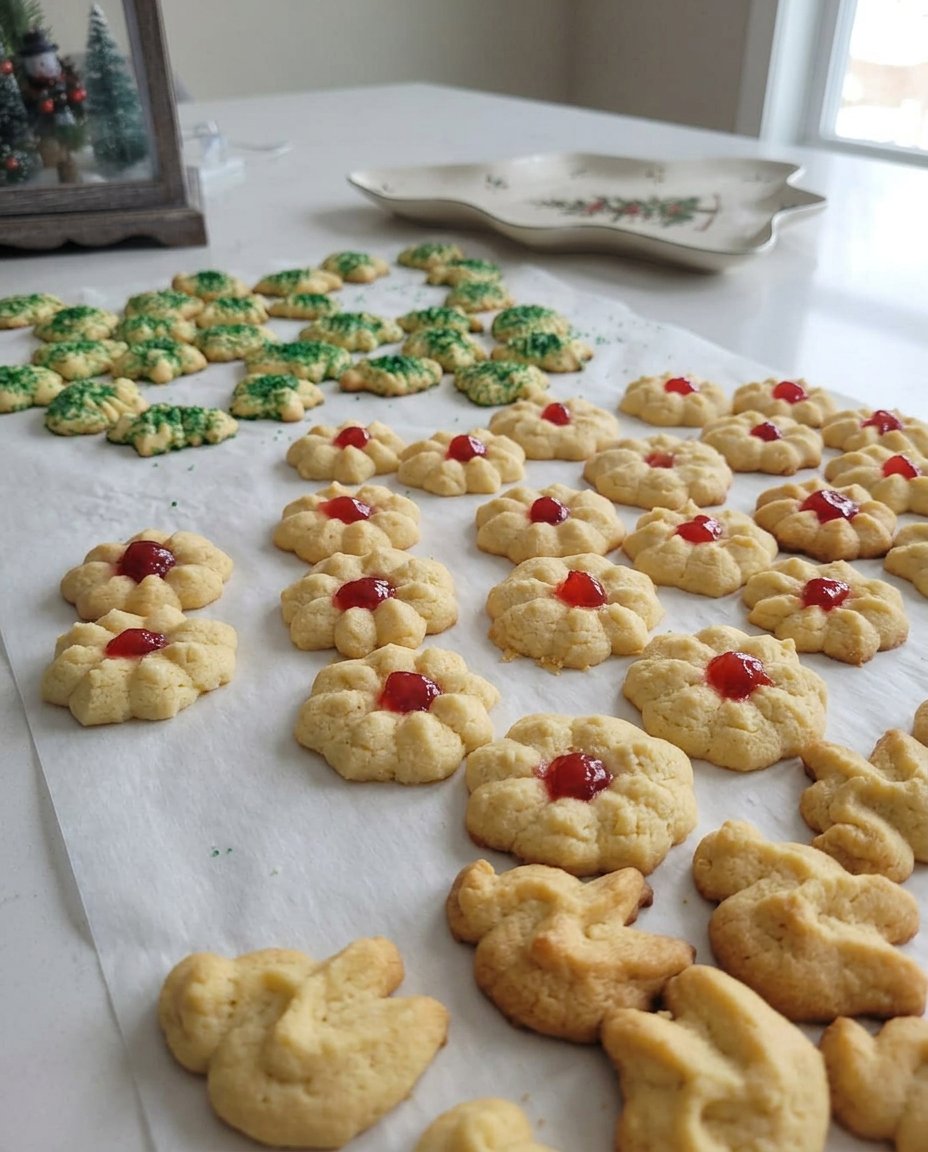
Tested Scientific Options
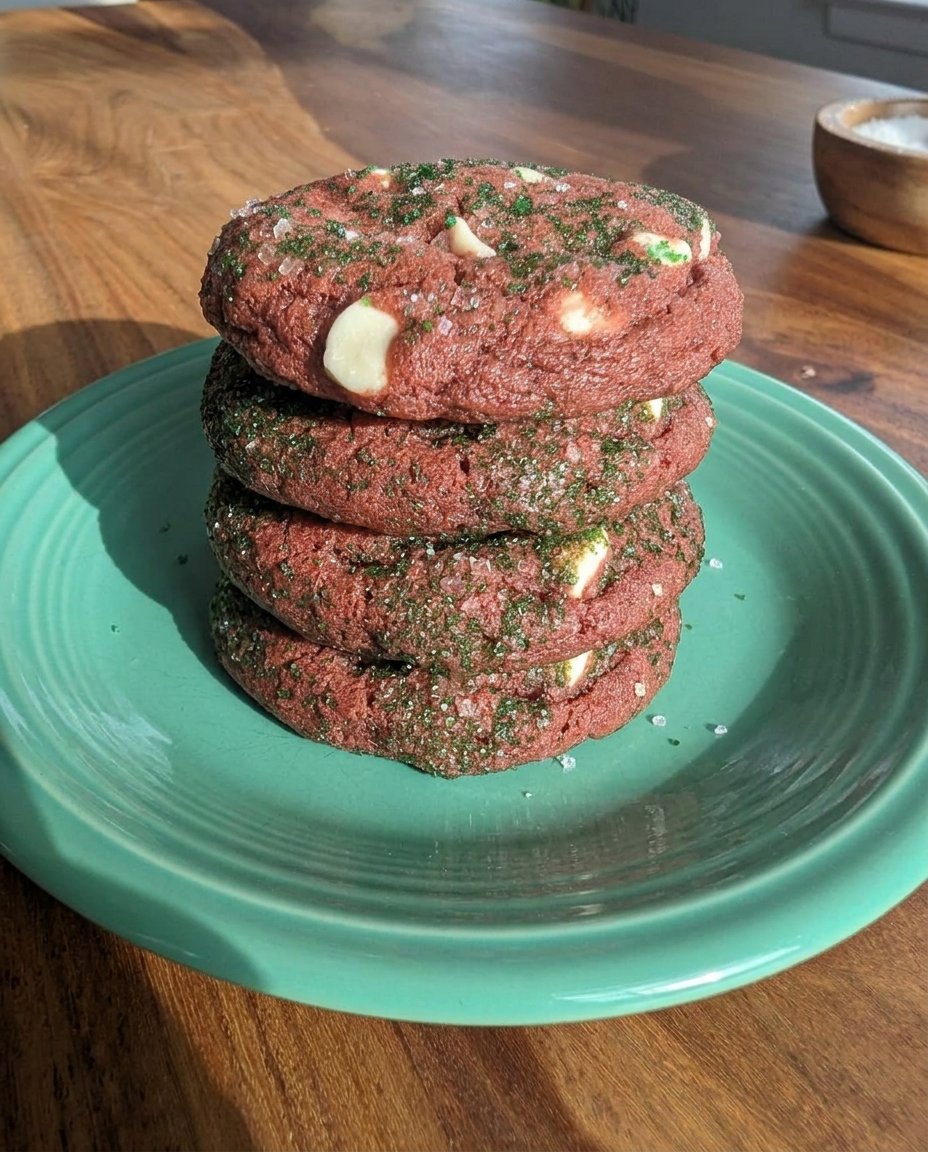
While the traditional stroopwafel is iconic, we have tested several structural variations in our kitchen. If you wish to create a chocolate version, replace 1 ounce of the flour with 1 ounce of high-quality Dutch-processed cocoa powder. This change requires an extra teaspoon of milk to account for the cocoa’s absorbency. For those interested in seasonal aesthetics, our Seasonal Cookie Design section offers ideas on dipping half of the finished cookie in tempered dark chocolate and sprinkling with sea salt. If you prefer a nuttier profile, you can substitute 2 ounces of the butter in the filling with almond butter, though this will result in a slightly more opaque syrup that sets faster.
Pairing Notes and Flavor Science

To fully appreciate the flavor development of stroopwafel cookies 2, we recommend serving them at approximately 100°F (38°C). This temperature ensures the fats in the filling are at their peak silkiness. For a sophisticated presentation, refer to our guide on Effortless Cookie Elegance. These cookies pair exceptionally well with high-tannin teas or dark roast coffees, as the bitterness of the drink provides a chemical contrast to the concentrated sugars in the stroop. The salt in the recipe is a critical flavor enhancer; it suppresses the perception of bitterness and amplifies the toasted notes of the waffle.
The Scientific Truth of Precision Baking
Success with this stroopwafel cookies 2 recipe is a victory of technique over haste. By respecting the fermentation time and the thermal requirements of the slicing phase, you produce a cookie that is far superior to any mass-produced alternative. For more innovative ideas on modern bakes, visit our Trending Cookie Creations page. We invite you to share your results with our community of precision bakers on Facebook, Instagram, and Pinterest. Keep testing your limits in the kitchen, and remember that every cookie failure is simply data for your next success.

