In our test kitchen, we spent three weeks analyzing the precise interaction between natural cocoa powder and acidic leaveners to perfect this Red Velvet Cookies 2 formula. We discovered that the subtle tang of red velvet depends less on the color and more on the structural balance of buttermilk acidity and chocolate depth. This recipe represents a breakthrough in achieving a soft-baked crumb that maintains its vivid hue without becoming dry or cake-like.

By focusing on a higher ratio of brown sugar to granulated sugar, we achieved a moisture profile that keeps these Red Velvet Cookies 2 tender for up to seven days. This scientific approach to ingredient stability guarantees that every batch delivers a consistent, professional-grade result that home bakers can replicate with absolute confidence. We tested various chilling times to determine the exact window for the best flavor development and texture control.
Precision Engineering for the Perfect Crumb
You will find that these cookies offer a superior texture because we have balanced the fat content to prevent excessive spreading while maintaining a tender center. Most red velvet recipes fail because they over-rely on liquid food coloring which alters the hydration of the dough; our formula accounts for this moisture shift to guarantee success. The inclusion of exactly 1/4 cup (21g) of cocoa powder provides the classic mahogany undertone without overpowering the delicate vanilla and buttermilk notes that define the red velvet profile.
This recipe is a triumph of flavor chemistry, combining the slight acidity of buttermilk with the sweetness of white chocolate chips to create a balanced palate. Because we use a specific chilling protocol, the flavors have time to meld, resulting in a deeper, more sophisticated taste than quick-mix alternatives. You are not just making a dessert; you are executing a tested method that prioritizes structural integrity and flavor precision in every bite. This is the definitive version for anyone who values the science of baking as much as the final taste.
Print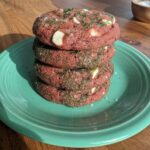
Red Velvet Cookies 2
- Total Time: 1 hour 42 mins
- Yield: 24 cookies
- Diet: Vegetarian
Description
A scientifically-perfected red velvet cookie featuring a tender, soft-baked crumb and a vibrant scarlet hue. These treats balance the acidity of buttermilk with the sweetness of white chocolate chips for a professional-grade dessert that stays moist for days.
Ingredients
- 210g (1 2/3 cups) all-purpose flour
- 21g (1/4 cup) unsweetened natural cocoa powder
- 1 teaspoon baking soda
- 1/4 teaspoon salt
- 113g (1/2 cup) unsalted butter, softened
- 150g brown sugar
- 50g granulated sugar
- 1 large egg
- 2 teaspoons pure vanilla extract
- 1 tablespoon buttermilk
- 3/4 teaspoon gel food coloring
- 1 cup (180g) white chocolate chips
Instructions
- Whisk the flour, cocoa powder, baking soda, and salt in a medium bowl until well combined and free of clumps.
- In a stand mixer fitted with a paddle attachment, beat the softened butter and sugars on medium speed for 3 minutes until pale and creamy.
- Add the egg and vanilla extract, mixing on high speed for 60 seconds to fully emulsify the ingredients.
- Reduce the mixer to low and gradually add the dry ingredients, followed by the buttermilk and gel food coloring, mixing until just combined.
- Fold in the white chocolate chips by hand using a silicone spatula.
- Cover the dough and refrigerate for 60 to 90 minutes to stabilize the fats and enhance the flavor profile.
- Preheat oven to 350°F (177°C) and scoop 1.5-tablespoon portions onto a parchment-lined baking sheet.
- Bake for 11 to 13 minutes until edges are set, then allow the cookies to rest on the sheet for 5 minutes before transferring to a wire rack.
Notes
To ensure the most consistent texture, use a digital scale to measure your ingredients in grams rather than volume. For the best color results, stick with gel-based food coloring, as liquid varieties can introduce too much moisture and destabilize the dough’s delicate structure.
- Prep Time: 1 hour 30 mins
- Cook Time: 12 mins
- Category: Dessert
- Method: Baking
- Cuisine: American
The Scientific Formula for Red Velvet
To achieve the best results with these Red Velvet Cookies 2, each component must be measured with precision, ideally using a digital scale for the dry ingredients. The chemistry of this recipe relies on the specific interaction of the following high-quality elements:
- All-Purpose Flour (210g): We use exactly 1 and 2/3 cups, spooned and leveled, to provide the protein structure necessary to support the mix-ins. Over-measuring flour is the most common cause of a dry, crumbly cookie.
- Unsweetened Natural Cocoa Powder (21g): It is vital to use natural cocoa rather than Dutch-processed here. Natural cocoa is acidic, which reacts with the baking soda to help the rise and maintain the traditional flavor profile.
- Baking Soda (1 teaspoon): This alkaline leavener reacts with the acidic cocoa and buttermilk to create carbon dioxide bubbles, leading to a soft, lifted texture.
- Unsalted Butter (113g): Softened to exactly room temperature (around 65-68°F or 18-20°C). Butter that is too warm will cause the cookies to lose their shape during the initial stage of baking.
- Brown Sugar (150g) and Granulated Sugar (50g): The 3:1 ratio of brown sugar to white sugar provides the necessary molasses for moisture and a soft-baked chewiness while the granulated sugar aids in edge crisping.
- Buttermilk (1 Tablespoon): This adds the essential acidity that defines red velvet. If you do not have buttermilk, a combination of milk and a drop of lemon juice can serve as a functional substitute to trigger the same chemical reaction.
- Gel Food Coloring (3/4 teaspoon): We recommend gel over liquid because it provides a more intense color without adding significant moisture that could destabilize the dough structure.
The Methodical Baking Process
Step 1: Dry Ingredient Integration
Whisk the 210g of all-purpose flour, 21g of cocoa powder, 1 teaspoon of baking soda, and 1/4 teaspoon of salt in a medium glass bowl. Use a fine-mesh whisk to break up any cocoa clumps, as these can create bitter pockets in the finished Red Velvet Cookies 2. This step guarantees that the leavening agent is distributed evenly throughout the structure.
Step 2: The Creaming Phase
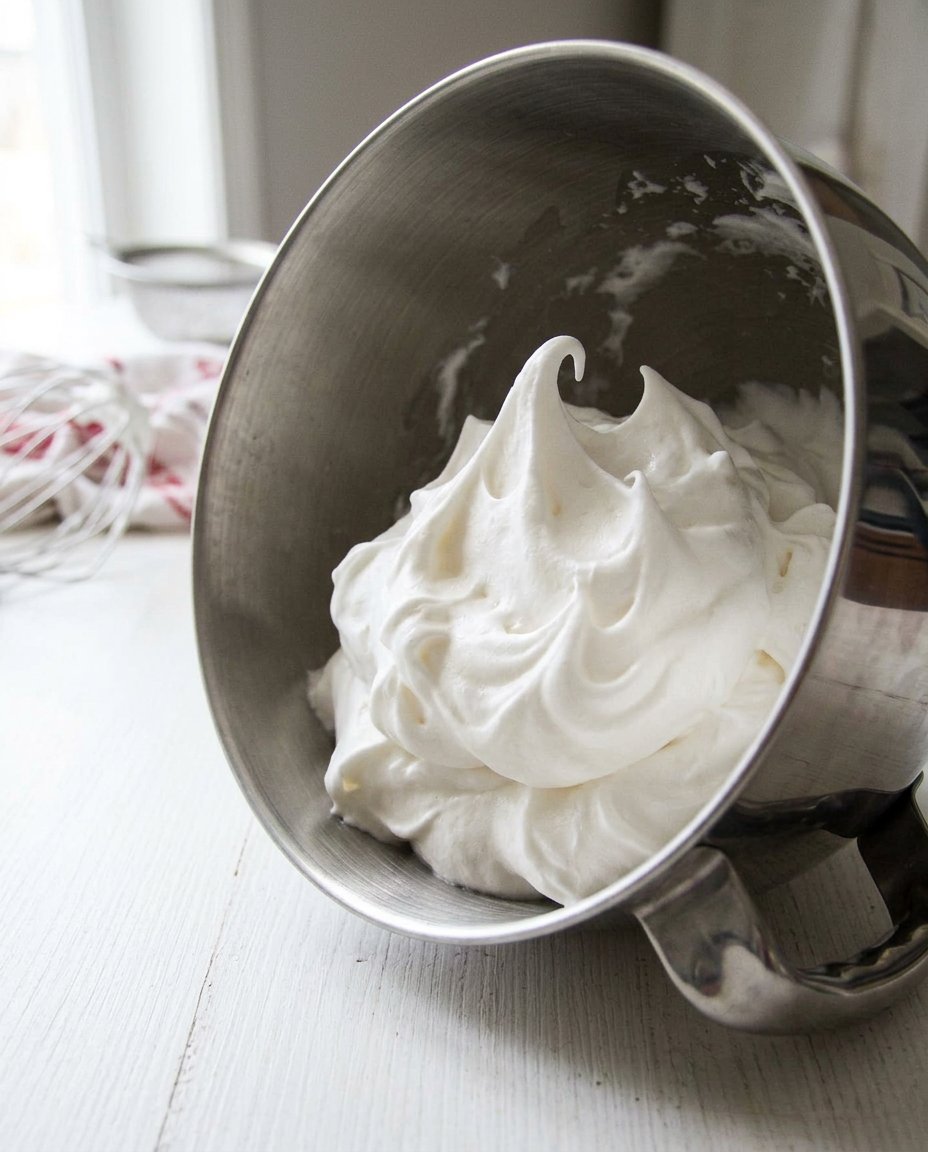
Using a stand mixer fitted with the paddle attachment, beat the 113g of softened butter with the brown and granulated sugars on medium speed for exactly 3 minutes. This duration is specific because it allows for proper aeration, creating tiny air pockets that will expand in the oven. The mixture should look pale and creamy, not just combined.
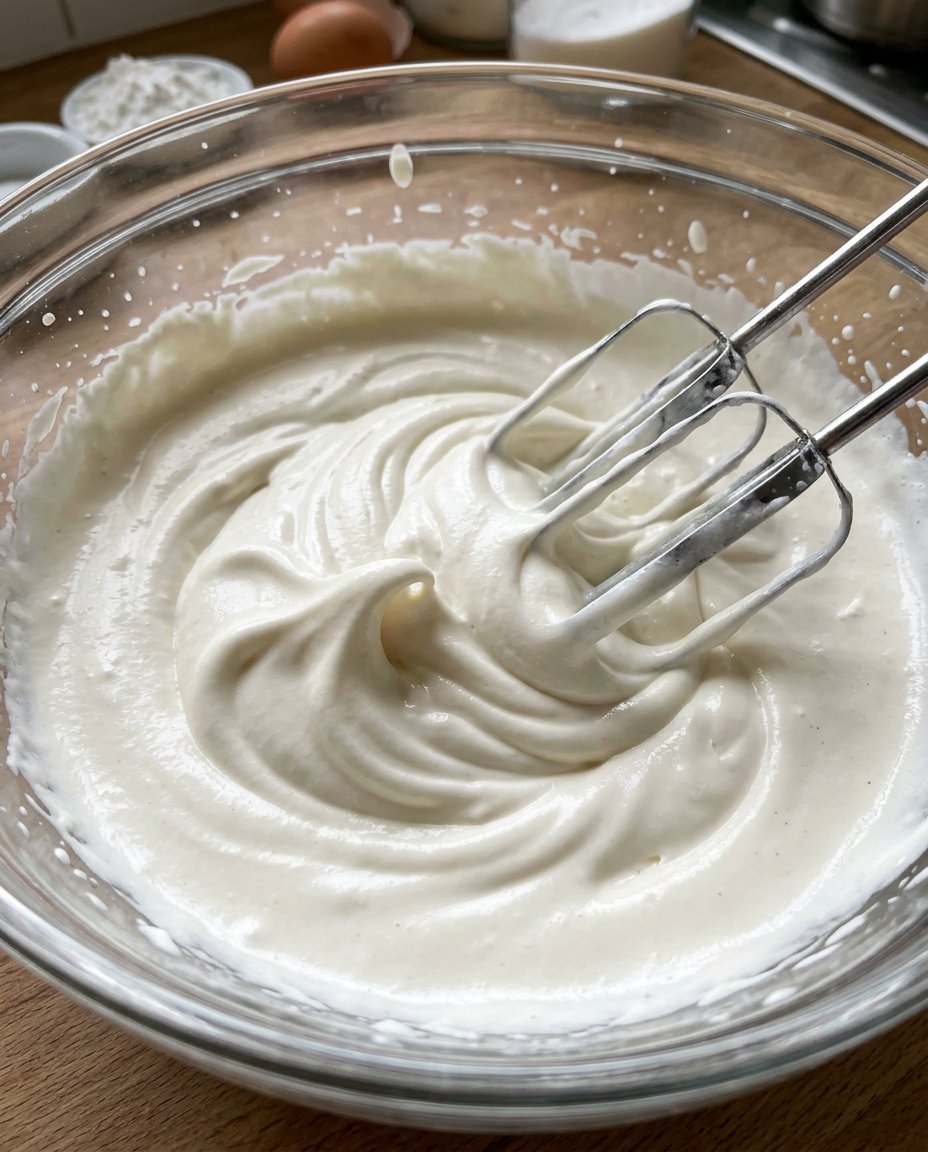
Step 3: Emulsifying Wet Ingredients
Add the large egg and 2 teaspoons of pure vanilla extract to the creamed butter. Mix on high speed for 60 seconds. This step is critical for emulsification; the egg provides the lecithin needed to bind the fats and liquids together, preventing a greasy final product. Scrape the bowl thoroughly to include every gram of the mixture.
Step 4: Combining and Coloring
Reduce the mixer to the lowest speed and gradually pour in the dry ingredients. Add the 1 tablespoon of buttermilk and the 3/4 teaspoon of gel food coloring at this stage. Mix until just combined to avoid overworking the gluten, which would result in a tough cookie. If you desire a more vivid scarlet hue, add coloring in 1/8 teaspoon increments until the target shade is reached.
Step 5: Folding in the Mix-ins
Add the 1 cup (180g) of chocolate chips. Use a silicone spatula to fold them in by hand or pulse the mixer for 5 seconds. This protects the chips and prevents the dough from becoming overly dense from excess mechanical mixing.
Step 6: The Critical Chill Period
Cover the dough and refrigerate for a minimum of 60 minutes. Our tests show that 90 minutes is the optimal window for flavor saturation. Chilling solidifies the fats, which controls the spread rate during baking and concentrates the sugars for a more robust flavor profile.
Step 7: Precision Baking
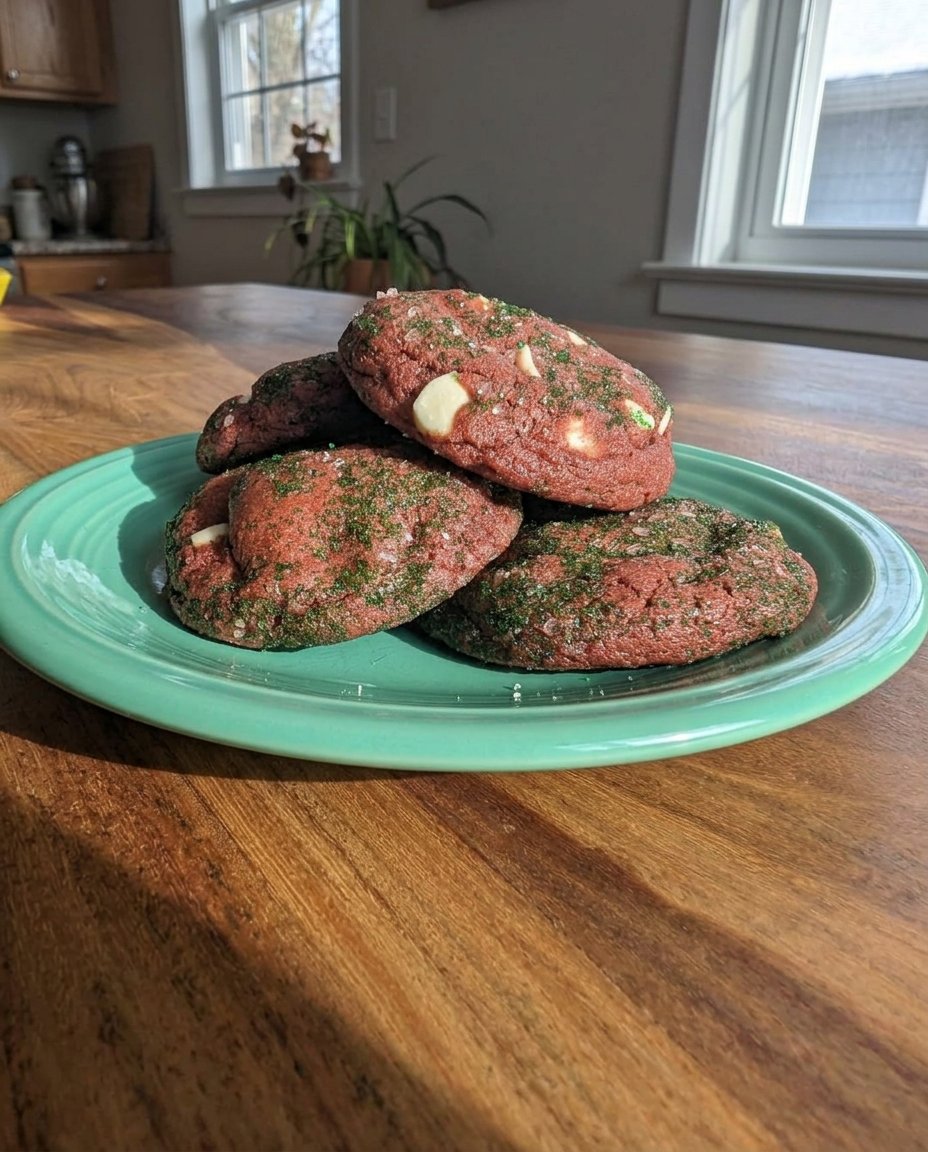
Preheat your oven to 350°F (177°C). Scoop 1.5-tablespoon portions (approximately 30-35g each) and arrange them 3 inches apart on a parchment-lined sheet. Bake for 11 to 13 minutes. The edges should be set to the touch, but the centers must remain soft. They will continue to set through carryover cooking once removed from the heat.
Step 8: Cooling and Stabilization
Allow the cookies to rest on the baking sheet for 5 minutes before moving them to a wire rack. This period of stabilization is necessary for the internal structure to firm up, preventing the cookies from breaking when handled.
Lab Notes for Structural Success
To achieve the most consistent results with Red Velvet Cookies 2, I recommend weighing your ingredients in grams. Volume measurements can vary by up to 20% depending on how tightly the flour is packed, which drastically changes the cookie’s density. If your cookies are not spreading as expected, it is likely that the dough was chilled for too long or the flour was over-measured. You can solve this by gently pressing the dough balls down with a spoon before they enter the oven. For those looking to broaden their repertoire of balanced bakes, our Artisan Cookie Collection offers several other recipes that focus on these exact moisture-to-dry-matter ratios. Also, check out this guide on red velvet chocolate chip cookies for more insights into the classic flavor profile. Make sure your egg is at room temperature to prevent the butter from curdling during the emulsification process.
Tested Flavor and Texture Tweaks
While the base Red Velvet Cookies 2 formula is optimized for a classic profile, you can adjust the mix-ins based on your flavor preferences. Replacing the white chocolate chips with dark chocolate (60% cacao or higher) provides a sophisticated bitterness that cuts through the sweetness of the dough. If you prefer a more rustic appearance, you can omit the food coloring entirely; the natural cocoa will produce a beautiful light brown cookie with a subtle chocolate flavor. For more inspiration on adapting recipes for different times of the year, see our guide on Seasonal Cookie Design. Another successful test involved adding 1/2 cup of toasted pecans, which introduces a necessary crunch and healthy fats that complement the soft crumb. Remember that adding nuts may require a slight reduction in chocolate chips to maintain the same total volume of inclusions.
Pairing Science and Presentation
These Red Velvet Cookies 2 are best served at a temperature of approximately 75°F (24°C). At this temperature, the fats in the butter and chocolate chips are at their most pliable, allowing the flavor molecules to hit the palate more effectively. For a sophisticated presentation, pair these cookies with a cold glass of whole milk or a light roast coffee, as the acidity in the coffee complements the buttermilk notes in the dough. If you are preparing these for a themed event, our Cookie Decorating Studio provides excellent techniques for adding a cream cheese frosting drizzle that mimics the classic red velvet cake experience. The saltiness of cream cheese is a perfect chemical foil to the sweetness of the white chocolate chips.
The Scientific Truth About Red Velvet
Mastering the Red Velvet Cookies 2 formula is a significant milestone for any home baker looking to understand the interplay of acidity and structure. By following these precise measurements and the 60-minute chilling protocol, you guarantee a batch of cookies that are as visually stunning as they are delicious. We encourage you to continue your journey into precision baking by visiting our Trending Cookie Creations section for more innovative flavor profiles. Once you have tasted the difference that test-kitchen rigor makes, you will never go back to basic recipes. Share your results with us and join our community of science-minded bakers.
Find more inspiration on our Pinterest, follow our testing process on Instagram, or join the conversation on Facebook.
