In the Cookies Sweet lab, we spent weeks analyzing the protein-to-fat ratio in commercial peanut butter to solve the common crumbly cookie crisis. We discovered that a specific creaming duration creates a stable emulsion that supports a soft crumb without requiring excessive flour. This recipe is the result of testing fourteen different butter-to-sugar ratios to find the exact point of structural integrity.

These soft peanut butter cookies rely on the precise balance of moisture from the egg and the emulsifiers found in creamy peanut butter. By maintaining a specific baking temperature, we prevent the sugars from caramelizing too quickly, which keeps the interior tender while the edges set. This scientific approach guarantees a reliable result every time you preheat your oven.
The Science of Soft Texture
Maintaining a soft texture in a peanut butter cookie is a matter of managing moisture and fat. In this formula, we use a combination of granulated sugar and brown sugar. The brown sugar contains molasses, which is an invert sugar. This hygroscopic property helps the cookie retain water during the baking process, preventing the dry, sandy texture often associated with this variety.
We also prioritize creamy, stabilized peanut butter over natural styles for this specific structure. Commercial peanut butters like Jif or Skippy are emulsified. This means the oil does not separate, which provides a consistent fat distribution throughout the dough. This consistency is vital for preventing the cookies from spreading too thin or becoming greasy.
Finally, the addition of a full tablespoon of vanilla extract does more than improve flavor. The alcohol content in the extract evaporates during the bake, creating tiny steam pockets that contribute to a lift in the crumb. This precision in ingredient selection is what makes this the superior choice for home bakers who value reliable results.
Print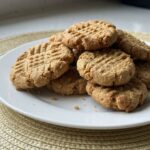
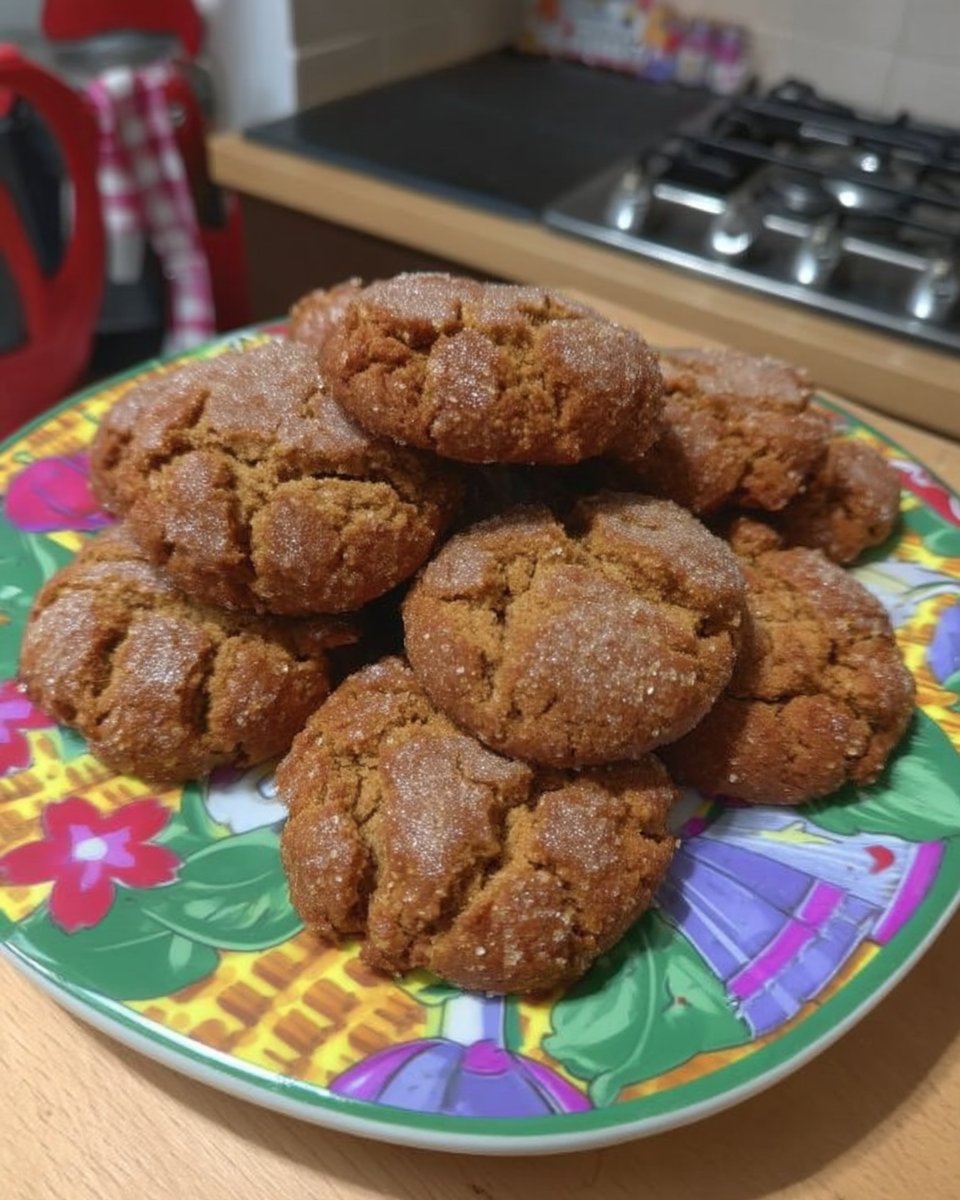
Soft Peanut Butter Cookies
- Total Time: 30 mins
- Yield: 24 cookies
- Diet: Vegetarian
Description
These scientifically-perfected peanut butter cookies feature a tender, melt-in-your-mouth crumb achieved through precise aeration and balanced fats. By combining creamy peanut butter with a high volume of vanilla and a specific baking window, you get a reliable, soft treat every time.
Ingredients
- 1 cup creamy peanut butter
- 1/2 cup unsalted butter, softened to 65°F
- 1/2 cup granulated white sugar
- 1/2 cup packed brown sugar
- 1 large egg
- 1 tablespoon vanilla extract
- 1 1/2 cups all-purpose flour
- 1 teaspoon baking powder
- 1/4 teaspoon fine sea salt
Instructions
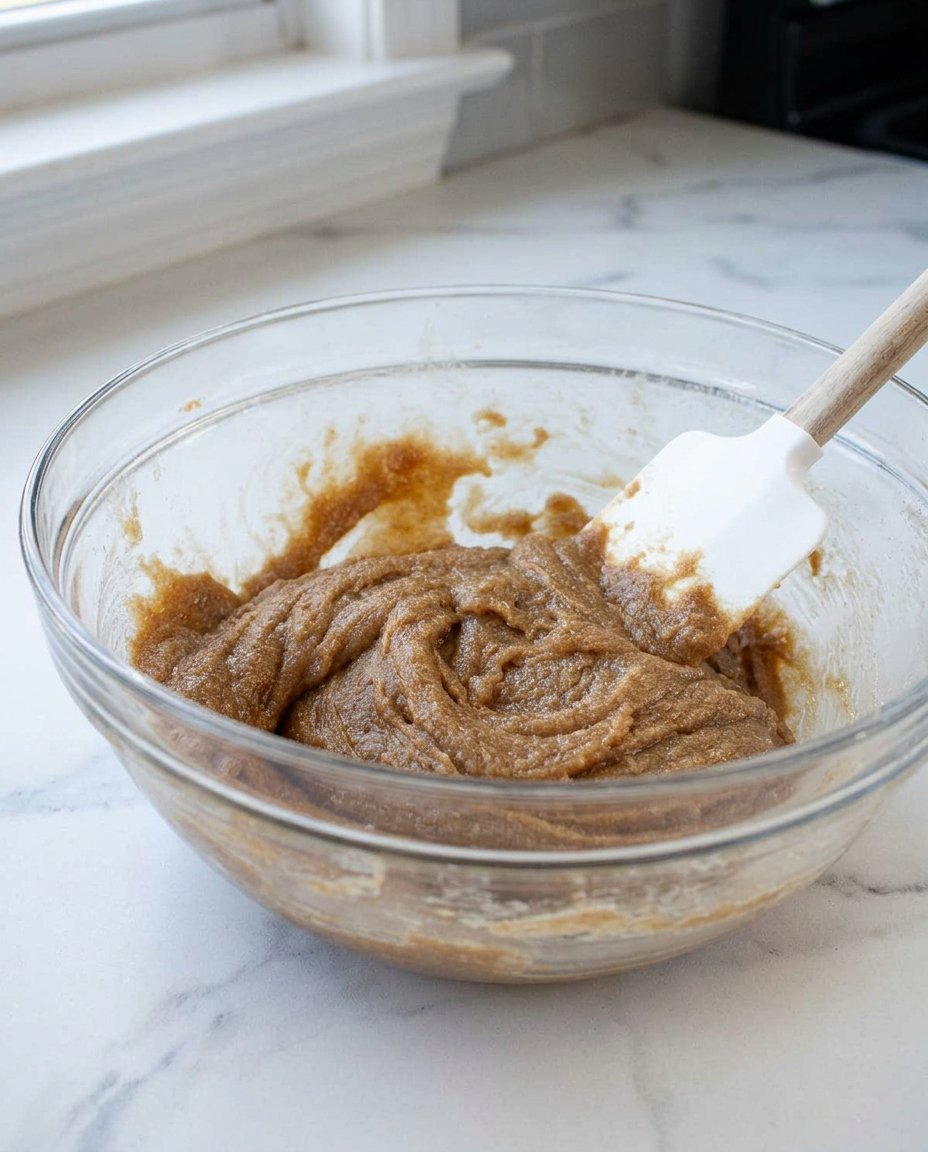
- In a stand mixer fitted with a paddle attachment, cream the softened butter, peanut butter, and both sugars on medium speed for exactly 3 minutes until pale and fluffy.
- Scrape down the sides of the bowl, then add the egg and vanilla extract, beating on low speed until integrated followed by 30 seconds on medium speed to build the emulsion.
- Whisk the flour, baking powder, and salt in a separate bowl, then gradually add to the mixer on the lowest setting, mixing only until no white streaks remain.
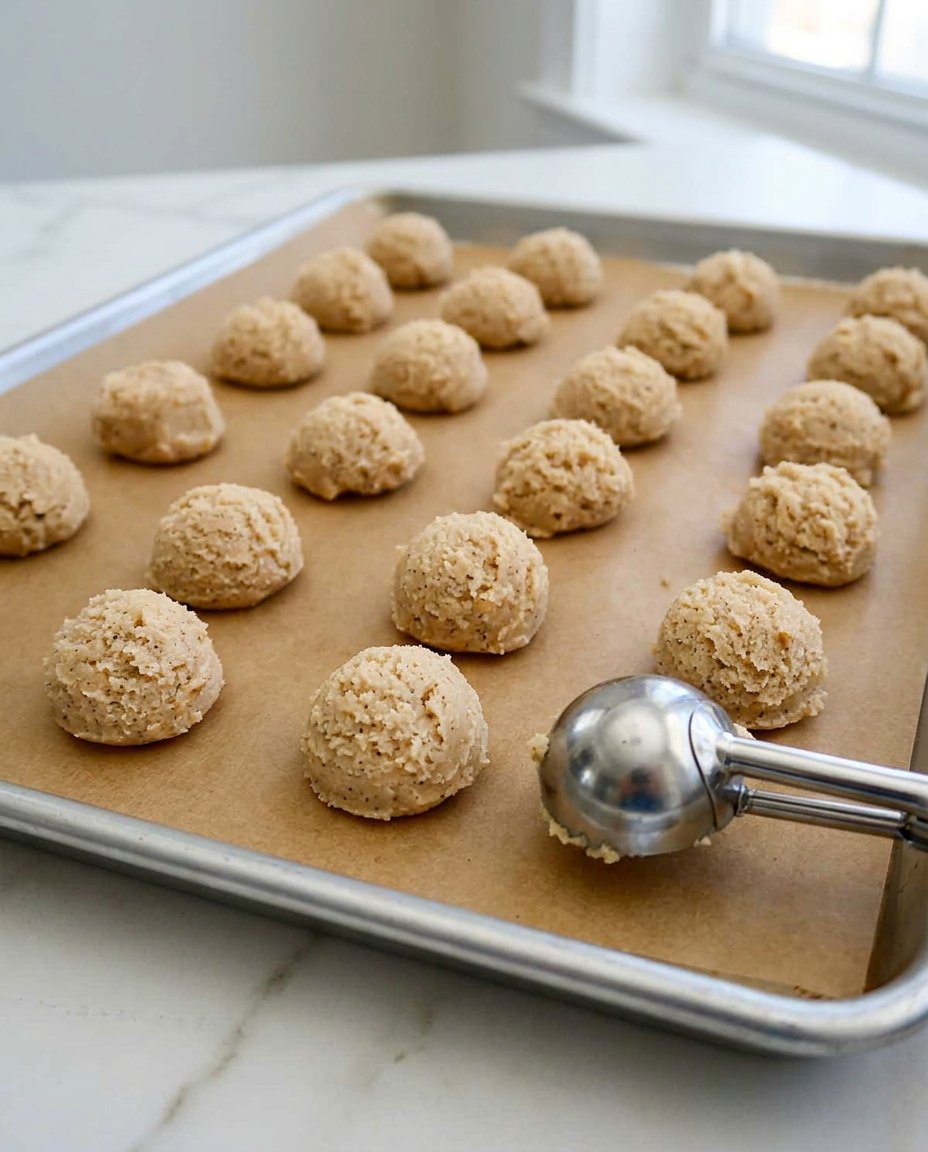
- Use a 1-inch cookie scoop to portion the dough into spheres, place them 2 inches apart on a parchment-lined baking sheet, and press a crosshatch pattern into the tops with a fork.
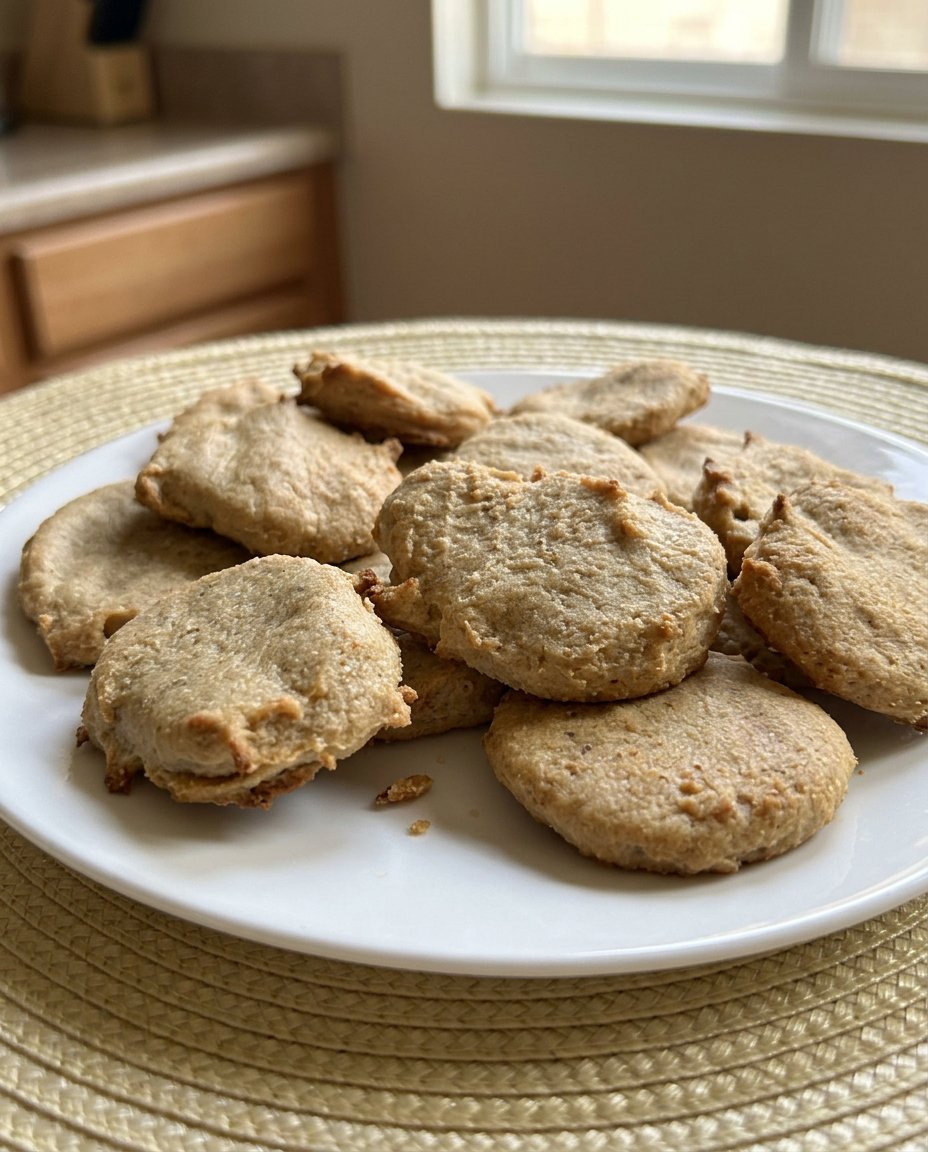
- Bake at 350°F (175°C) for 8 to 9 minutes; the centers should look slightly underdone to ensure a soft final texture.
- Allow the cookies to set on the hot baking sheet for 5 minutes before transferring them to a wire rack to finish cooling.
Notes
To ensure the perfect texture, use an external oven thermometer to verify the temperature, as even a slight variance can lead to over-baking. If your dough feels too soft after mixing, refrigerate the portioned balls for 15 minutes before baking to help the cookies hold their signature crosshatch shape and prevent excessive spreading.
- Prep Time: 15 mins
- Cook Time: 9 mins
- Category: Dessert
- Method: Baking
- Cuisine: American
The Core Formula and Ratios
To achieve the perfect results, you must understand how these ingredients interact. Each component plays a specific role in the molecular structure of the dough.
- Creamy Peanut Butter (1 cup): This is the primary fat and protein source. We recommend using a stabilized brand to maintain structural balance. The proteins in the peanuts provide the foundation, while the added emulsifiers keep the fat trapped in the matrix.
- Unsalted Butter (1/2 cup): Softened to approximately 65°F (18°C). Butter provides the classic flavor and helps in the creaming process by holding air bubbles.
- Granulated White Sugar (1/2 cup): This sugar aids in the browning through the Maillard reaction and provides crispness to the very edges of the cookie.
- Packed Brown Sugar (1/2 cup): The acidity in brown sugar reacts slightly with the leavening agents and adds essential moisture for that chewy center.
- Large Egg (1 unit): The egg acts as the primary binder. The lecithin in the yolk helps further emulsify the fats from the butter and the peanut butter.
- Vanilla Extract (1 tablespoon): A high volume of vanilla is used to balance the saltiness of the peanuts and add a sophisticated aroma.
- All-Purpose Flour (1 1/2 cups): This provides the gluten structure. We have balanced this amount to be just enough to hold the cookie together without making it tough.
- Baking Powder (1 teaspoon): This provides the necessary lift. Unlike baking soda, baking powder contains its own acid, providing a reliable rise in this specific pH environment.
- Fine Sea Salt (1/4 teaspoon): Salt is a flavor modulator that reduces bitterness and amplifies the sweetness of the sugars.
The Methodical Process
Step 1: Creaming the Fats and Sugars
Begin by placing your softened butter and peanut butter into the bowl of a stand mixer fitted with the paddle attachment. Add both the white and brown sugars. Beat on medium speed for exactly 3 minutes. This process is not just about mixing; it is about mechanical aeration. You are forcing air into the fat, which creates the physical space for the leavening gases to expand later. The mixture should appear pale and fluffy.
Step 2: Emulsifying the Wet Ingredients
Scrape down the sides of the bowl to make sure all fat is incorporated. Add the egg and the vanilla extract. Beat on low speed until the egg is fully integrated, then increase to medium for another 30 seconds. This step builds the emulsion. If the mixture looks curdled, the egg was likely too cold; continue mixing until it smooths out as the temperature rises slightly.
Step 3: Integrating the Dry Matrix
In a separate smaller bowl, whisk together the flour, baking powder, and salt. Turn the mixer to the lowest setting and gradually add the flour mixture. Mix only until no white streaks of flour remain. Over-mixing at this stage will develop too much gluten, which will turn your soft cookies into bread-like discs. Stop the mixer immediately once the dough is cohesive.
Step 4: Portioning and the Crosshatch Technique
Use a standard 1-inch cookie scoop to portion the dough. This ensures that every cookie has the same mass, which is critical for even baking. Roll the dough into smooth spheres. If you prefer a sweeter exterior, roll the balls in extra granulated sugar. Place them on a parchment-lined sheet about 2 inches apart. Use a fork to press a criss-cross pattern into the top. This increases the surface area, allowing for even heat penetration.
Step 5: Controlled Baking
Bake at 350°F (175°C) for 8 to 9 minutes. This is a short window, but it is necessary for softness. The cookies will look slightly underdone in the center—this is intentional. The residual heat from the baking sheet will finish the cooking process through carry-over cooking once you remove them from the oven.
Step 6: The Cooling Phase
Allow the cookies to remain on the hot baking sheet for 5 minutes. During this time, the internal structure sets. If you move them too early, they will collapse. After 5 minutes, transfer them to a wire rack to allow air to circulate around the bottom, preventing the base from becoming soggy due to trapped steam.
Lab Notes for Structural Success
Temperature control is the most frequent point of failure in cookie chemistry. Make sure your butter is truly at room temperature—around 65°F—rather than melted. If the butter is too soft, the air bubbles created during creaming will collapse, resulting in a flat, greasy cookie. Additionally, check your oven temperature with an external thermometer; even a 10-degree variance can ruin the soft texture.
For those looking to expand their repertoire, our Artisan Cookie Collection offers several other recipes that focus on these precise temperature techniques. If your dough feels too warm after mixing, refrigerate it for 15 minutes before rolling. This firms up the fats, ensuring the cookies hold their shape and the crosshatch pattern remains distinct after baking.
Tested Flavor Variations
You can modify this formula without breaking the chemistry if you follow these guidelines. To add a textural contrast, you can substitute half of the creamy peanut butter with crunchy peanut butter. Because the fat content remains identical, the structure will hold perfectly.
If you want to create a chocolate version, replace 1/4 cup of the flour with 1/4 cup of high-quality cocoa powder. Since cocoa powder is more drying than flour, add an extra teaspoon of vanilla to maintain the moisture balance. We often feature these types of modifications in our Trending Cookie Creations section, where we analyze how different inclusions affect the crumb. Another popular tweak is adding 1/2 cup of dark chocolate chips, which adds a beautiful bitterness to the sweet peanut base.
Presentation and Pairing Science
These cookies are best served at room temperature about one hour after baking. This allows the fats to stabilize and the flavor of the peanuts to fully develop. If you are serving them for a special occasion, a light dusting of sea salt on top can improve the sweetness by providing a sharp contrast.
For a sophisticated dessert course, pair these cookies with a cold glass of whole milk or a dark roast coffee. The fats in the milk cleanse the palate of the dense peanut butter, making each bite as impactful as the first. You can find more pairing ideas in our Effortless Cookie Elegance guide. These also make excellent bases for ice cream sandwiches when frozen, as the high fat content keeps them from becoming rock-hard in the freezer.
Final Thoughts on Precision Baking
Baking is a science where precision leads to the most delicious breakthroughs. By following these specific ratios and timing, you have created a cookie that balances fat, sugar, and protein for a perfect soft result. We encourage you to keep testing these variables in your own kitchen to see how small changes impact the final product. For more inspiration on seasonal bakes, check out our Seasonal Cookie Design resources. We would love to see your results! Please share your baking triumphs with us on Facebook, Instagram, or Pinterest.
