Growing up in a house where the oven was always warm, I learned that the simplest treats often hold the most heart. These butter cookies remind me of long Sunday afternoons spent in my grandmother’s kitchen, where the air smelled of sweet cream and pure vanilla. It is a recipe that honors the Southern tradition of making something wonderful out of basic, quality pantry staples.

These cookies are the definition of comfort with a twist, offering a melt-in-the-mouth texture that feels like a warm hug. While they stay true to the classic foundation you love, the addition of a crunchy sugar rim provides a familiar spark that makes every bite interesting. It is the kind of recipe that proves you do not need fancy gadgets to create a masterpiece that everyone will ask for.
A Timeless Classic That Feels Like Home
There is a specific kind of joy that comes from a cookie that does not try too hard. These butter cookies are reliable, honest, and deeply satisfying because they focus on the rich flavor of the fat and the sweet aroma of the vanilla. You will love how the exterior has a slight snap while the center remains tender and delicate. It is a balance that many modern recipes miss, but this one captures it perfectly through the traditional creaming method.
Another reason this recipe is a keeper is its versatility. Whether you are baking for a neighborhood gathering or just looking for a little something to go with your afternoon coffee, these cookies fit the bill. They are not overly sweet, which allows the natural quality of your butter to shine through. This is the cookie you grew up with, just a little more interesting thanks to the textural contrast of the sanding sugar. It brings a sense of nostalgia to your kitchen without feeling stuck in the past.
Print
Butter Cookies
- Total Time: 1 hour 27 mins
- Yield: 16 cookies
- Diet: Vegetarian
Description
These classic butter cookies feature a rich, melt-in-your-mouth texture balanced by a delightful sanding sugar crunch. Perfect for afternoon tea or as a nostalgic homemade gift, this simple recipe highlights the timeless beauty of quality ingredients.
Ingredients
- 1 cup Unsalted Butter, softened
- 3/4 cup Granulated Sugar
- 2 Egg Yolks
- 2 tsp Vanilla Extract
- 2 1/4 cups All-Purpose Flour
- 1/4 cup Sanding Sugar
- 1/2 tsp Salt
Instructions
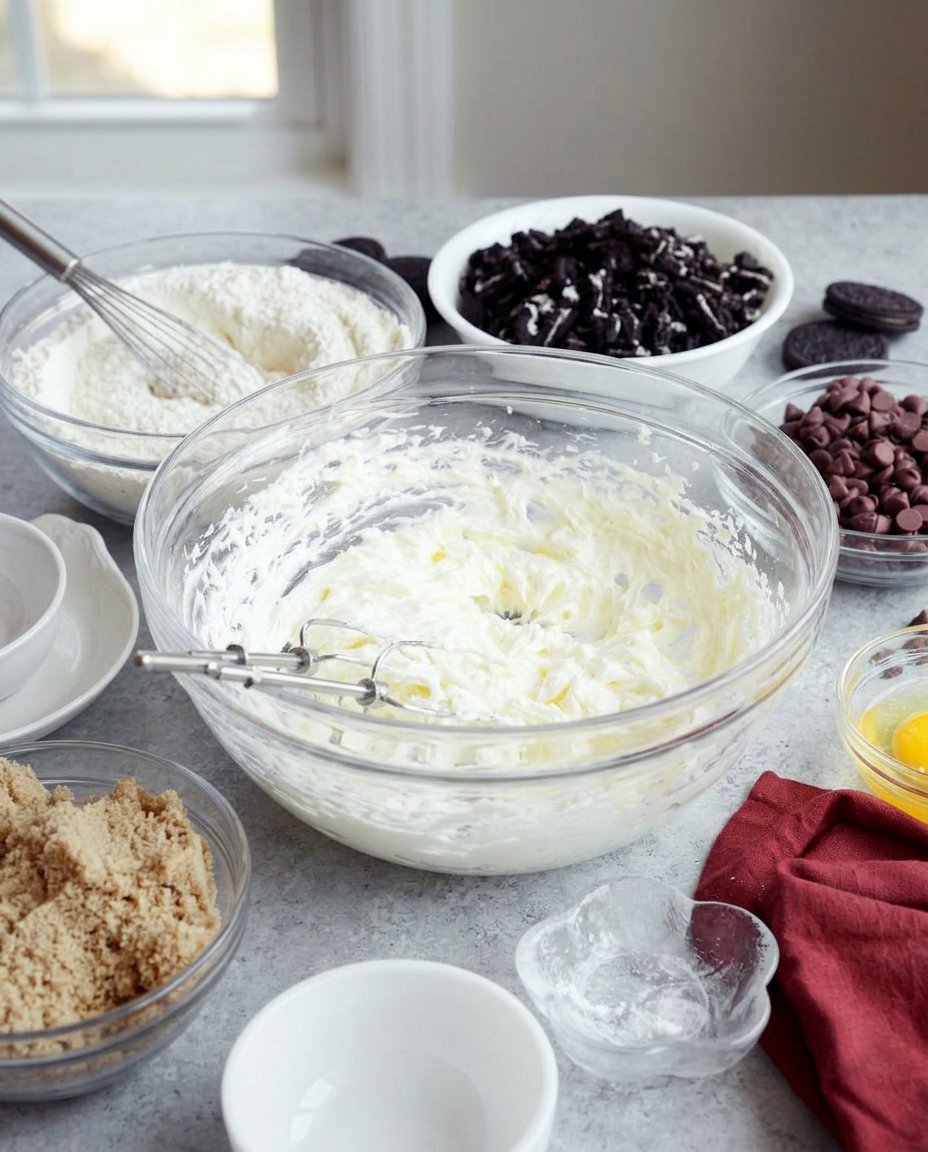
- In a stand mixer, cream softened butter, granulated sugar, and salt on medium speed for 2-3 minutes until light and fluffy.
- Add egg yolks and vanilla extract, mixing until fully combined and scraping the bowl as needed.
- On low speed, gradually add all-purpose flour and mix until just combined.
- Form the dough into a 12-inch log, wrap tightly, and refrigerate for at least one hour.
- Preheat oven to 350°F (175°C) and roll the chilled log in sanding sugar until coated.
- Slice the log into 3/4-inch rounds and bake for 10-12 minutes until edges are barely golden.
Notes
To ensure perfectly round cookies, rotate the dough log halfway through the chilling time to prevent a flat side from forming. Always use a sharp, non-serrated knife when slicing the chilled dough to keep the edges clean and uniform.
- Prep Time: 15 mins
- Cook Time: 12 mins
- Category: Dessert
- Method: Baking
- Cuisine: Southern American
The Simple Secrets to Success
To get that perfect buttery crumb, we rely on a handful of high-quality ingredients that work together to create magic. Since there are so few components, the quality of each one matters immensely. I always suggest using the best butter you can find, as it truly is the star of the show here.
- Unsalted Butter: This provides the foundation of the flavor and the rich, tender texture. Make sure it is softened to room temperature so it creams properly with the sugar.
- Granulated Sugar: This sweetens the dough and helps create those slightly crisp edges we all love.
- Egg Yolks: By using only the yolks, we add an extra layer of richness and a beautiful golden hue to the dough without making it too cakey.
- Vanilla Extract: A good, pure vanilla is vital here. It carries the flavor profile and adds a deep, aromatic warmth that lingers on the tongue.
- All-Purpose Flour: This provides the structure. Measuring it correctly is the key to a cookie that is tender rather than tough.
- Sanding Sugar: This is our secret for that special crunch. It adds a bit of sparkle and a lovely texture to the outside of each slice.
- Salt: Just a pinch to balance the sweetness and bring out the complexity of the butter.
Walking Through the Comfort Method
Step 1: Cream the Butter and Sugar
In the bowl of your stand mixer, combine the softened butter, granulated sugar, and salt. Use the paddle attachment and beat them together on medium speed for about two to three minutes. You are looking for the mixture to become light, fluffy, and a pale yellow color. This process incorporates air, which is what gives these cookies their light, delicate crumb.
Step 2: Incorporate the Aromatics
Once the butter and sugar are perfectly creamed, add in your two egg yolks and the vanilla extract. Continue mixing until everything is fully combined, making sure to stop the mixer and scrape down the sides and bottom of the bowl with a rubber spatula. This step makes sure that every single cookie will have the same amount of rich flavor and smooth texture.
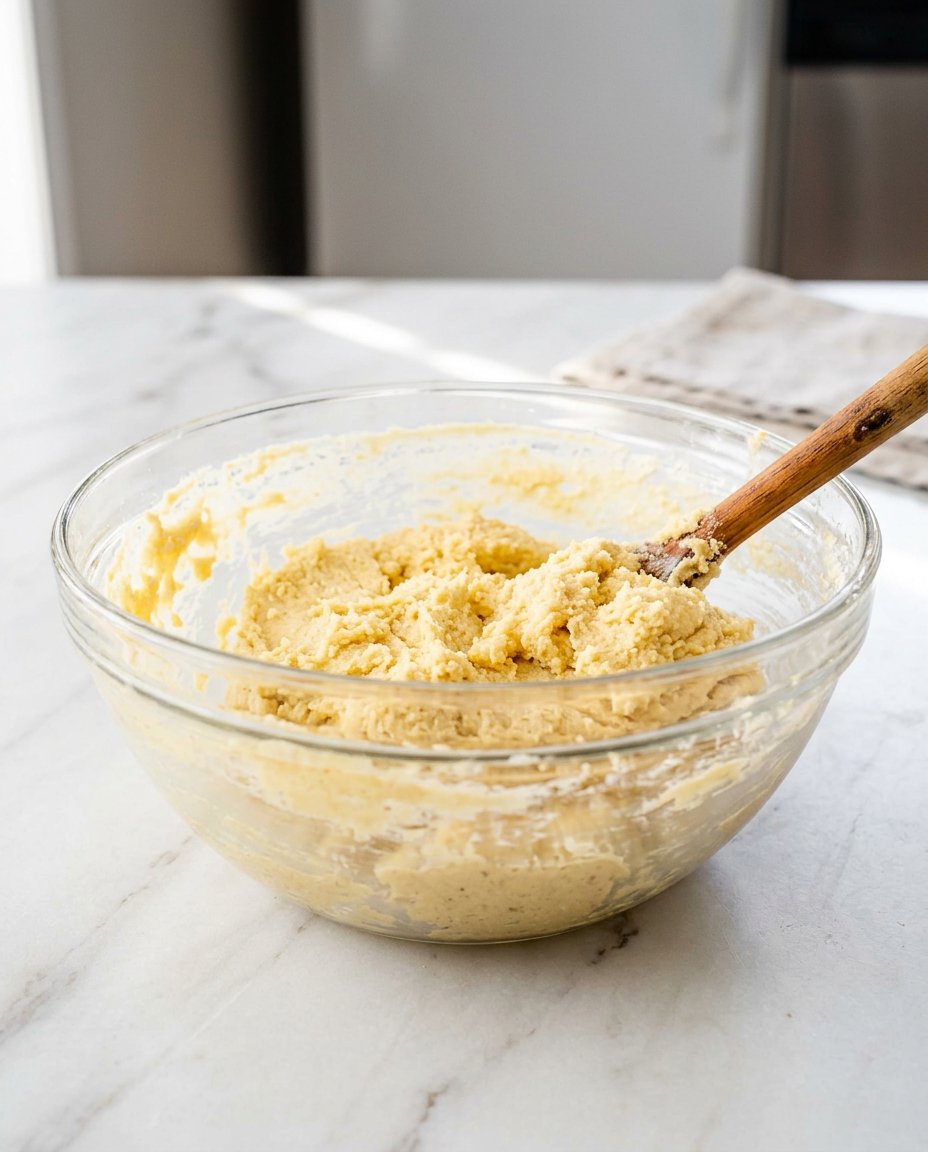
Step 3: Add the Flour Mixture
Turn your mixer to the lowest speed and gradually add in the all-purpose flour. Mix just until the white streaks disappear. You want to be careful not to overwork the dough at this stage, as overmixing can lead to a tough cookie. The dough should be soft and slightly tacky, but it will hold together when pressed.
Step 4: Shape and Chill the Dough
Turn the dough out onto a lightly floured surface. Knead it gently a few times until it forms a smooth ball, then roll it into a log about 12 inches long. Wrap the log tightly in parchment paper or plastic wrap, twisting the ends like a candy wrapper. For the best shape, you can slide this log into an empty paper towel roll to keep the bottom from flattening. Let it chill in the refrigerator for at least one hour, or up to three days.
Step 5: Coat in Sugar and Slice
Preheat your oven to 350°F (175°C) and line your baking sheets with parchment. Pour your sanding sugar onto a rimmed tray. Take the chilled dough out of the fridge, unwrap it, and roll the log in the sugar, pressing down firmly so the crystals stick. Use a sharp knife to cut the log into rounds about 3/4-inch thick.
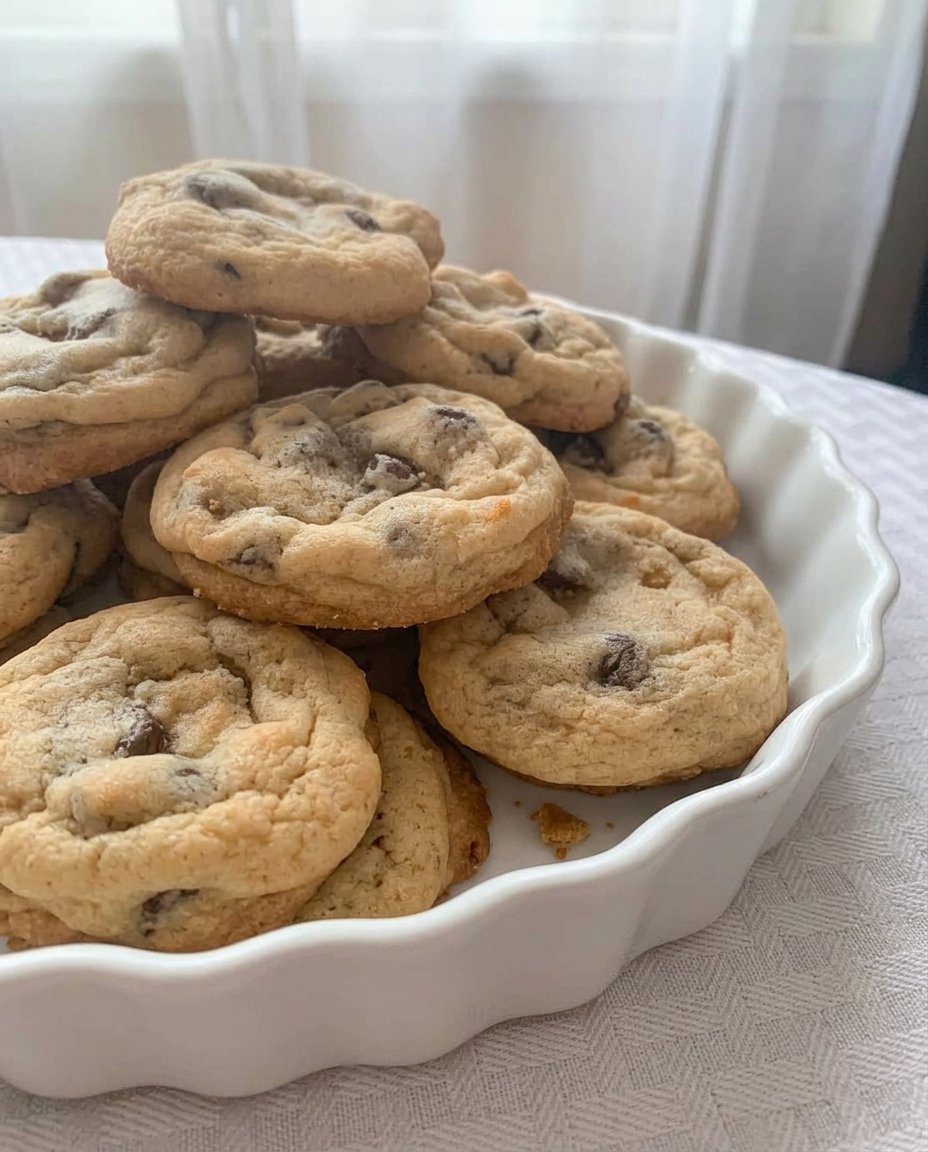
Step 6: Bake to Perfection
Place the rounds on your prepared baking sheets, leaving about an inch of space between them. Bake for 10 to 12 minutes. You are looking for the edges to be just barely turning a light golden brown. The centers might still look a little soft, but they will firm up as they cool. Let them rest on the baking sheet for a few minutes before moving them to a wire rack to cool completely.
Jesse’s Secrets for the Perfect Batch
One of the most important things you can do for your baking is to measure your flour by weight. If you do not have a scale, use the spoon-and-level method to avoid packing too much flour into your measuring cup. Too much flour will make these cookies dry and crumbly instead of melt-in-your-mouth tender. Also, if you want to see how other bakers handle this classic, you can check out this butter cookies guide for more inspiration.
For those who love a bit of extra crispness, try leaving the cookies in the oven after you turn it off. Just crack the door slightly and let them sit for an extra five minutes. This helps pull out any remaining moisture, giving you that iconic “tin cookie” snap. You can find more professional techniques in our Artisan Cookie Collection. Remember, the temperature of your kitchen can affect the dough, so if it feels too soft to roll, just pop it back in the fridge for ten minutes to firm up.
Ways to Make It Your Own
While the classic vanilla version is a masterpiece on its own, I often like to add a gentle twist to suit the season. Adding a tablespoon of fresh orange zest to the sugar during the creaming step creates a bright, citrusy note that feels wonderful in the spring. If you are looking for something more festive, you might look into our Seasonal Cookie Design ideas for holiday inspiration.
You can also swap the vanilla extract for almond extract for a more nutty, floral profile that pairs beautifully with a cup of tea. For a more decadent variation, try dipping half of the cooled cookie into melted dark chocolate and sprinkling a tiny bit of sea salt on top. This adds a sophisticated touch while keeping the heart of the cookie familiar and comforting. Sometimes I even brown the butter beforehand to add a toasted, nutty depth that makes the whole house smell like a dream.
How to Share the Love
These cookies are the perfect companion for a quiet afternoon. I love serving them alongside a steaming cup of Earl Grey tea or a dark roast coffee, where the butteriness of the cookie can really shine. If you are hosting a gathering, these look beautiful arranged on a vintage platter as part of an Effortless Cookie Elegance spread.
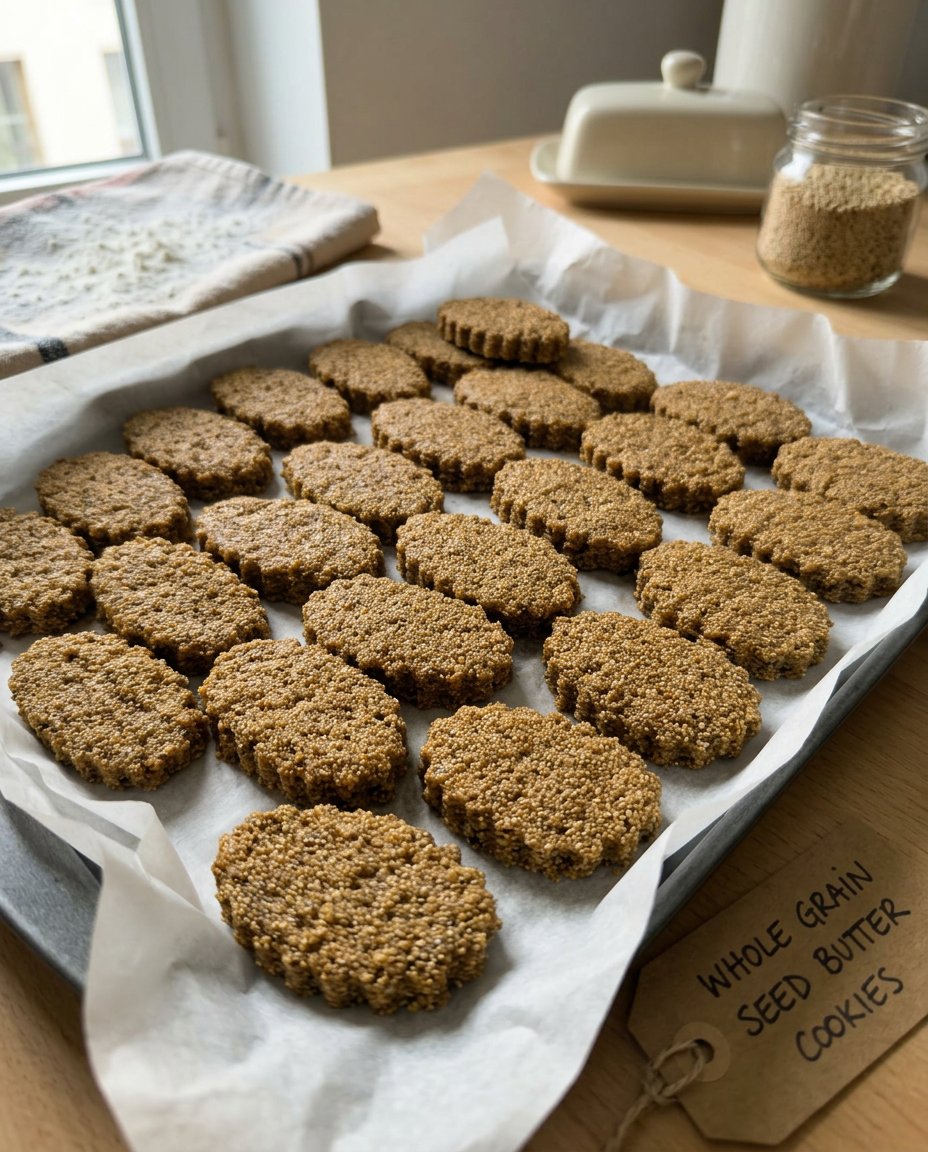
In the South, we believe in hospitality, so I always keep a few of these in a jar for unexpected guests. They also make a wonderful gift when tucked into a simple brown paper box with a piece of twine. Because they are sturdy and hold their shape well, they are ideal for shipping to loved ones who need a little taste of home. Whether you are serving them at a fancy tea party or just snacking on one in the kitchen, they always bring a sense of cozy enjoyment to the table.
The Comfort Truth of Home Baking
At the end of the day, baking is about more than just the food; it is about the memories we create and the traditions we pass down. These butter cookies represent the heart of what I do at Cookies Sweet—honoring the classics while adding just enough of a twist to keep things interesting. I hope this recipe finds a permanent place in your kitchen and brings as much warmth to your home as it has to mine. For more ideas on how to keep your oven busy, check out our Trending Cookie Creations.
I would love to see how your batch turns out! Please share your baking journey with us on Instagram or Facebook. Happy baking, and may your kitchen always be filled with the scent of sweet butter and love.
