Growing up in the South, I always believed that a good recipe was more than just a list of ingredients; it was a story passed down through generations. My neighbor, Mrs. Vitale, used to bring over a plate of these every December, and she finally shared her Italian Christmas Cookies 2 recipe with me on a yellowed index card from the 1940s. There is a certain kind of magic that happens when Southern hospitality meets traditional Italian flavors, and these cookies are the perfect example of that familiar comfort. They are not flashy or complicated, but they have a heart that you can taste in every single bite.

This particular version is a classic twist on the holiday tradition, bringing a touch of Mediterranean warmth to our Southern table. It relies on simple pantry staples and a bit of patience in the kitchen, resulting in a soft, melt-in-your-mouth texture that is far superior to any store-bought biscuit. Whether you are making them for a cookie swap or a cozy night by the fire, these little treats carry a timeless joy that makes every holiday season feel a bit more special.
Why Italian Christmas Cookies 2 Belong on Your Table
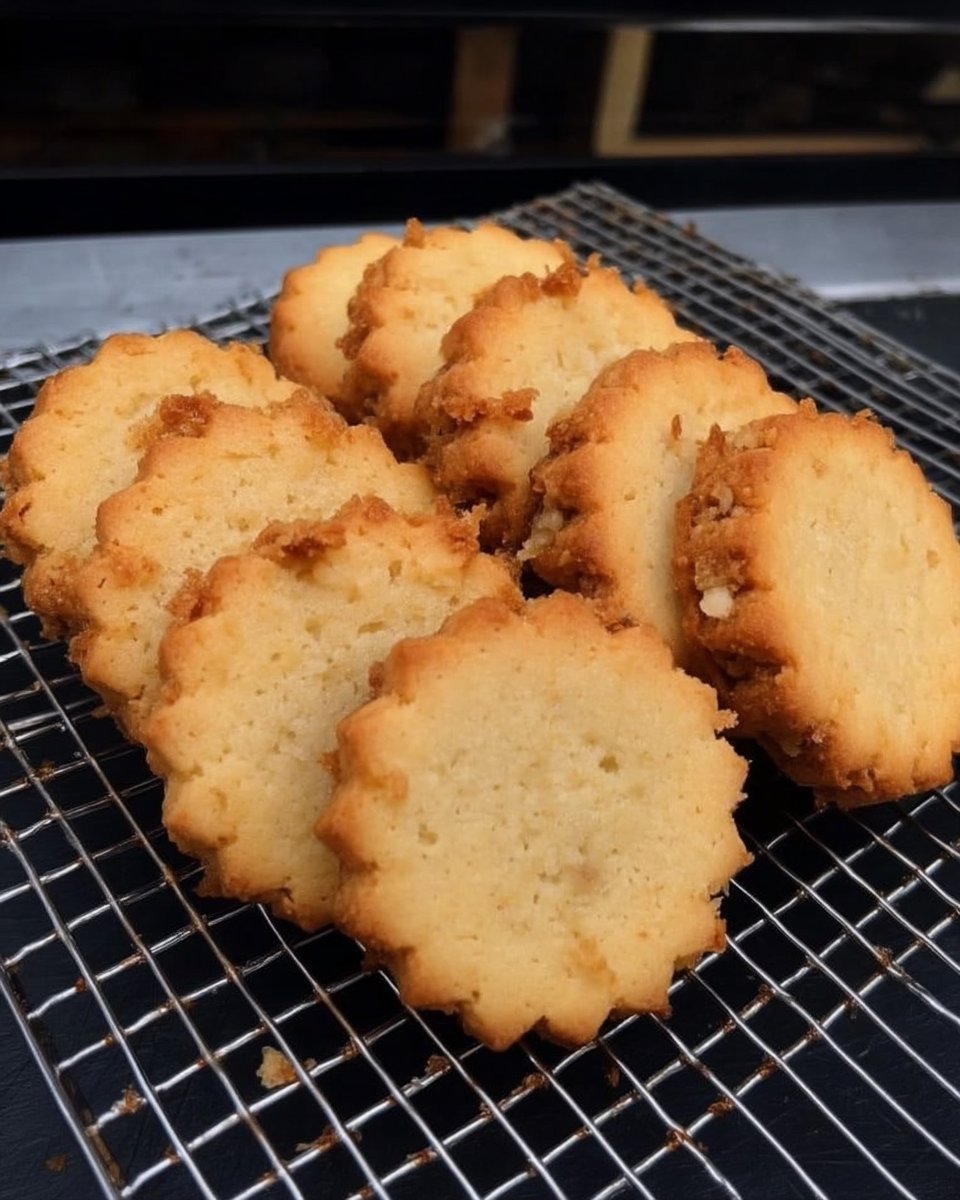
You will fall in love with these cookies because they strike the perfect balance between a sturdy shortbread and a soft cake. Many holiday recipes can be overly sweet or heavy with spice, but this one stays grounded in the simple goodness of butter and sugar. The addition of an extra egg yolk creates a richness that feels indulgent without being overwhelming. It is the kind of recipe that makes your kitchen smell like a warm hug, filled with the scent of toasted flour and sweet vanilla.
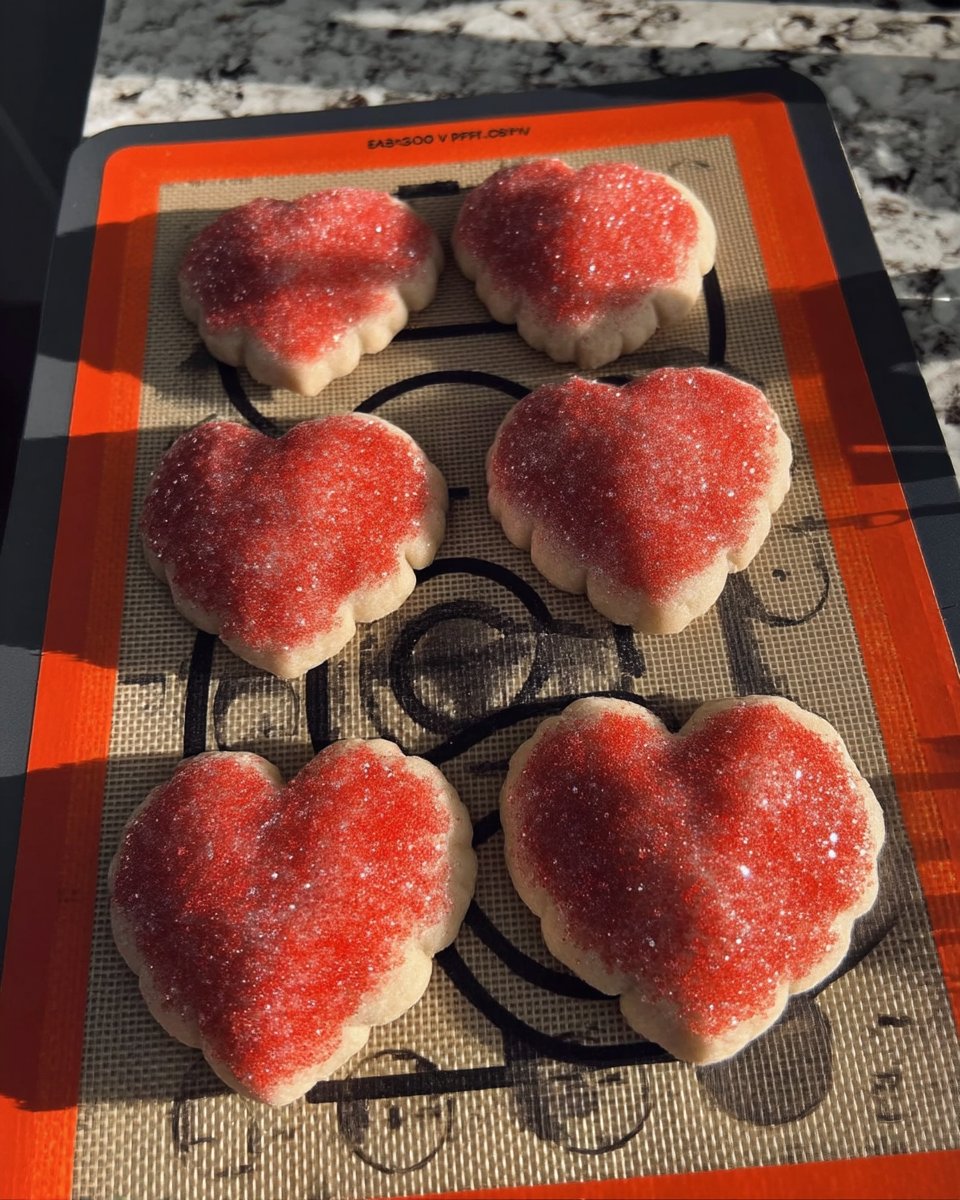
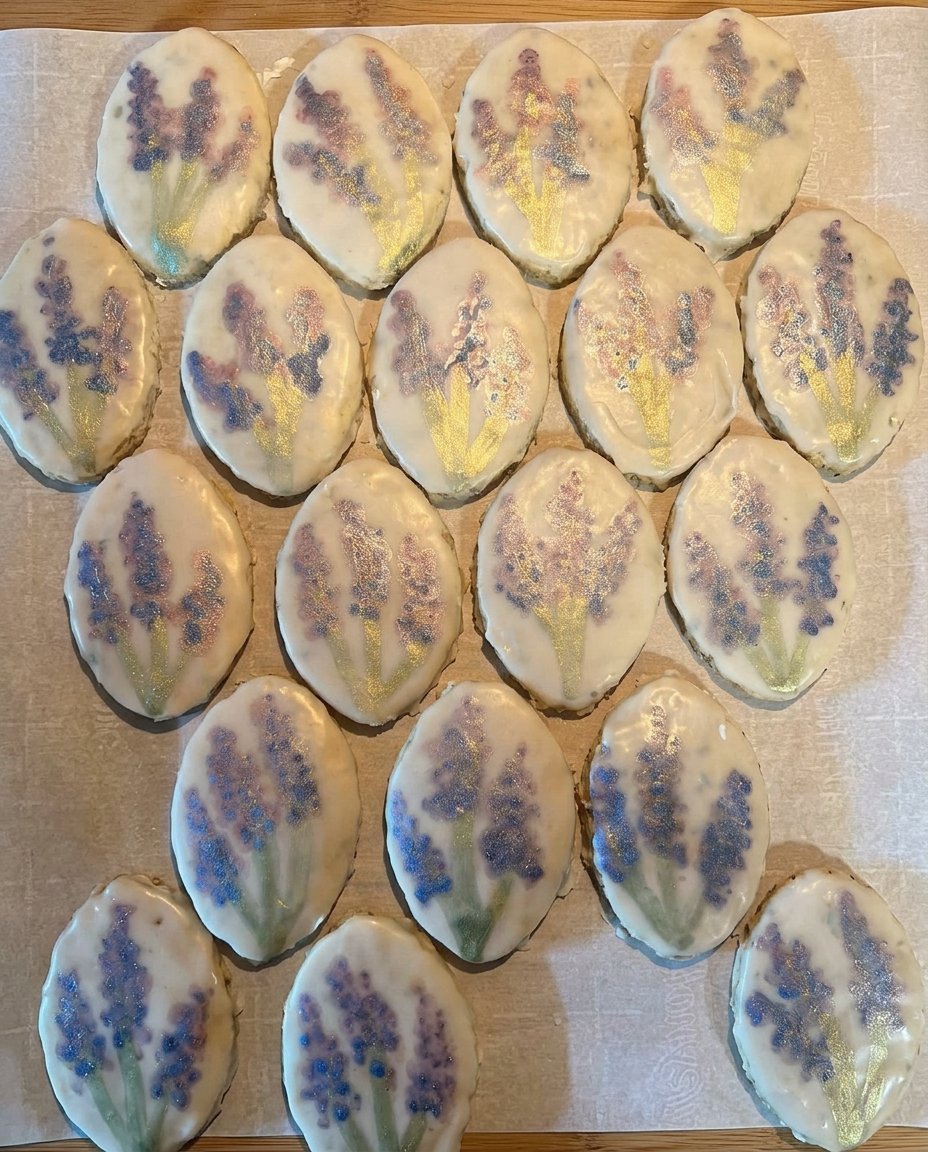
Another reason to adore this recipe is its incredible versatility. While they are beautiful with just a simple dusting of powdered sugar, they also serve as a wonderful canvas for your favorite fillings. You can transform them into sandwich cookies with a dollop of hazelnut cream or a bit of tart raspberry jam, making them feel like a new discovery every time you bake them. They are reliable, proven, and bring a sense of authentic tradition to your holiday baking rotation that is hard to find in modern recipes.
Print
Italian Christmas Cookies
- Total Time: 57 mins
- Yield: 24 cookies
- Diet: Vegetarian
Description
These traditional Italian Christmas cookies offer a delicate balance between soft cake and buttery shortbread, making them a festive staple for any holiday platter. With a rich texture provided by an extra egg yolk and a snowy finish of powdered sugar, they bring timeless Mediterranean warmth to your kitchen.
Ingredients
- All-Purpose Flour
- 1/2 cup Granulated Sugar
- Baking Powder
- 1 Large Egg
- 1 Egg Yolk
- Cold Salted Butter
- Powdered Sugar
Instructions
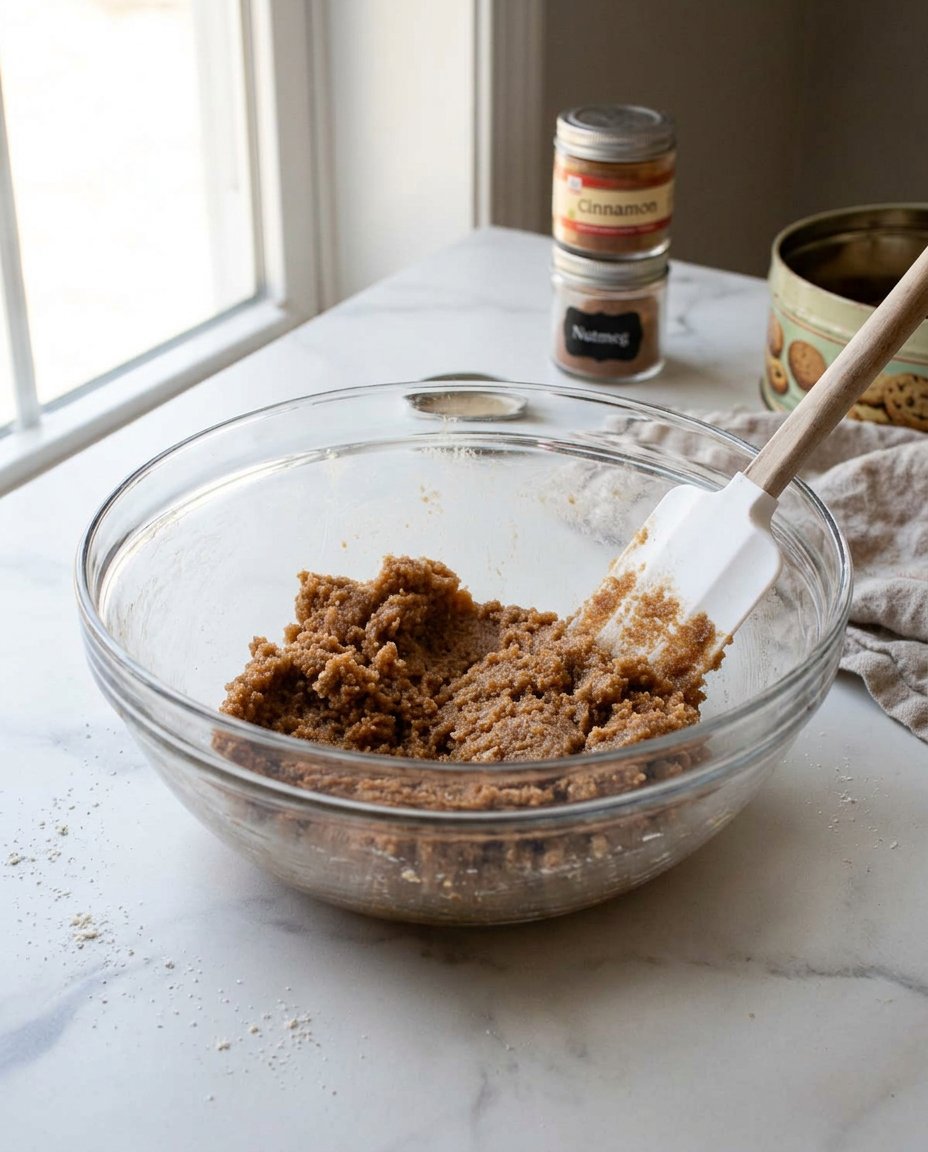
- Whisk together the all-purpose flour, granulated sugar, and baking powder in a large mixing bowl or food processor until the leavening is evenly distributed.
- Create a well in the center of the dry ingredients and add the beaten egg, egg yolk, and cold, cubed butter.
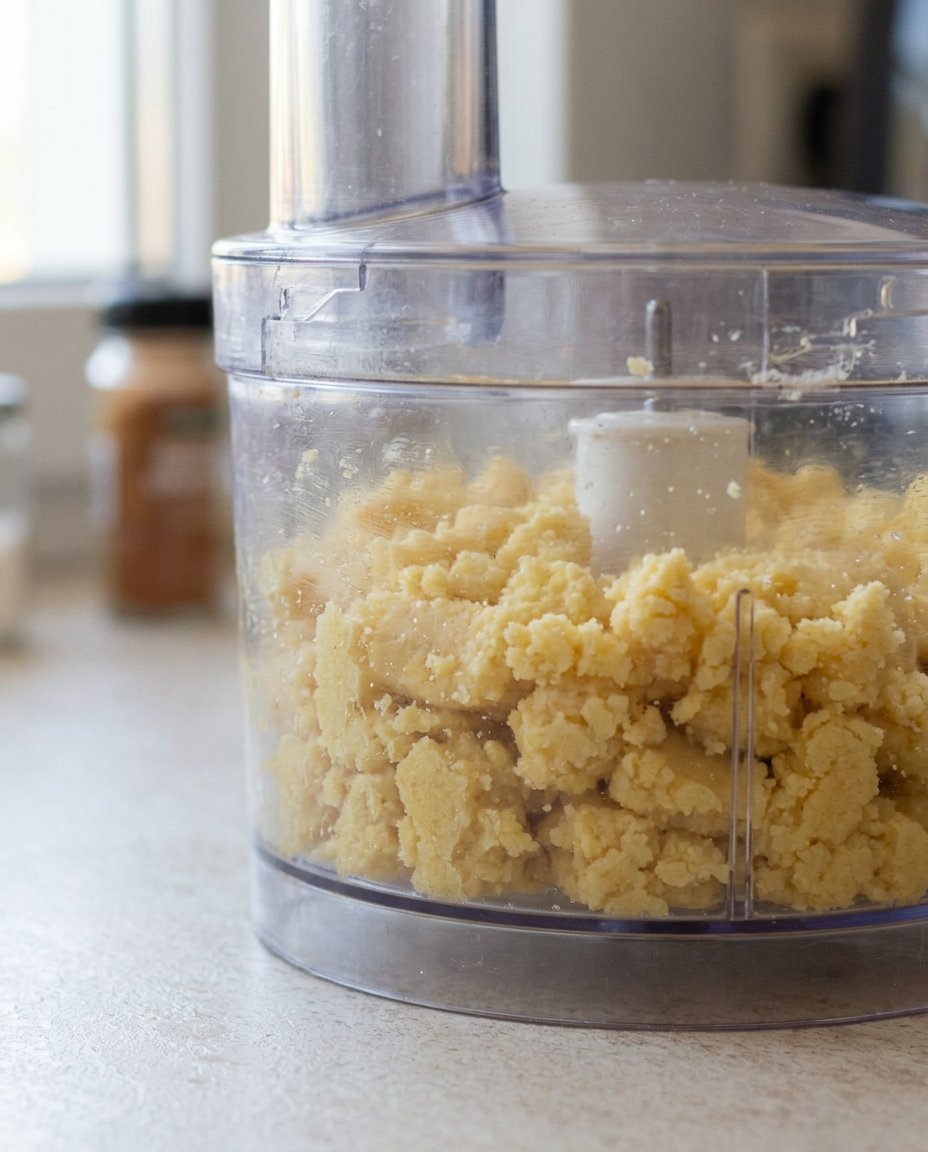
- Work the butter and eggs into the flour using a pastry cutter or fingertips until the mixture resembles coarse crumbs.
- Turn the mixture onto a floured surface and gently knead by hand until it forms a soft, cohesive ball, then wrap in plastic and refrigerate for 30 minutes.
- Divide the chilled dough in half and roll out on a floured surface to 1/4 inch thickness.
- Cut into shapes using 1.5 to 2-inch cookie cutters and place on a parchment-lined baking sheet.
- Chill the cut cookies briefly while preheating the oven to 350F (180C), then bake for 10-12 minutes until just golden on the bottom.
- Cool on the baking sheet for 5 minutes before transferring to a wire rack to cool completely.
Notes
For the best results, ensure your butter remains very cold during the mixing process to prevent the cookies from spreading too much. If you have time, chilling your metal cookie cutters before use can help create cleaner, sharper edges on your festive shapes.
- Prep Time: 45 mins
- Cook Time: 12 mins
- Category: Dessert
- Method: Baking
- Cuisine: Italian
Simple Ingredients for a Classic Base
To make these cookies, you will need a few basic items that you likely already have in your pantry. The focus here is on quality, as simple recipes allow every individual flavor to shine through.
- All-Purpose Flour: This provides the essential structure for our cookies, giving them enough strength to hold their shape while maintaining a tender crumb.
- Granulated Sugar: Just a half cup is needed to provide a gentle sweetness that does not mask the buttery flavor.
- Baking Powder: This is our lifting agent, which gives the cookies a slight puff and keeps them from being too dense.
- Large Egg and Egg Yolk: Using one whole egg plus an extra yolk is the secret to a rich, velvety texture that melts on the tongue.
- Cold Salted Butter: I prefer using salted butter to add a tiny bit of depth to the dough. Keeping it cold is vital for achieving the right consistency during the mixing process.
- Powdered Sugar: For that final, snowy finish that makes them look as festive as they taste.
The Traditional Baking Process
Step 1: Prepare the Dry Base
In a large mixing bowl, or using your food processor if you prefer a quicker method, whisk together the all-purpose flour, granulated sugar, and baking powder. You want to make certain these are well-combined so the leavening is distributed evenly throughout the dough.
Step 2: Incorporate the Fats and Eggs
Create a small well in the center of your dry ingredients. Add your slightly beaten egg and the extra egg yolk, along with the cold, cubed butter. Use a pastry cutter or your fingertips to work the butter and eggs into the flour until the mixture starts to look like coarse crumbs.
Step 3: Knead into a Soft Dough
Move the mixture onto a lightly floured flat surface. Gently knead the dough by hand just until it forms a soft, cohesive ball. Be careful not to overwork it, as you want to keep that tender texture intact. Wrap the dough tightly in plastic wrap and let it rest in the refrigerator for at least 30 minutes.
Step 4: Roll and Cut Your Shapes
After the dough has chilled, divide it in half. Keep one half in the fridge while you work with the other. Roll the dough out on a floured surface to about 1/4 inch thickness. Use your favorite 1.5 to 2-inch cookie cutters to create festive shapes. Place them on a baking sheet lined with parchment paper.
Step 5: The Final Chill and Bake
While your oven is preheating to 350F (180C), put the tray of cut-out cookies back into the fridge for a few minutes. This helps them hold their sharp edges during baking. Bake for 10-12 minutes until they are just barely golden on the bottom. Let them cool on the sheet for 5 minutes before moving them to a wire rack.
Secrets for the Perfect Soft Texture
The most important tip I can give you is to keep your ingredients cold. If the butter gets too warm while you are handling the dough, the cookies may spread too much in the oven. If you find the dough getting sticky, do not hesitate to pop it back into the freezer for five minutes to firm up. For those looking to grow their skills with different textures, our Artisan Cookie Collection offers many more ways to practice your dough handling. Another great trick is to use a metal spatula to move your cut-outs to the baking sheet to avoid stretching the dough. For more traditional shapes and historical context, you can see how they do it over at An Italian In My Kitchen.
Adding Your Own Flavor Spark
If you want to branch out from the traditional vanilla profile, there are several ways to put a personal touch on this recipe. You might try adding the zest of one lemon or orange to the sugar before mixing to give the cookies a bright, citrusy lift. For a more botanical feel, a tiny drop of almond extract or even a pinch of ground anise can bring out those classic Mediterranean notes. If you enjoy experimenting with the look of your bakes, check out our guide on Seasonal Cookie Design for more inspiration. You can also try browning your butter and letting it solidify again before use to add a deep, nutty flavor that pairs beautifully with the simple sugar base.
How to Share the Holiday Spirit
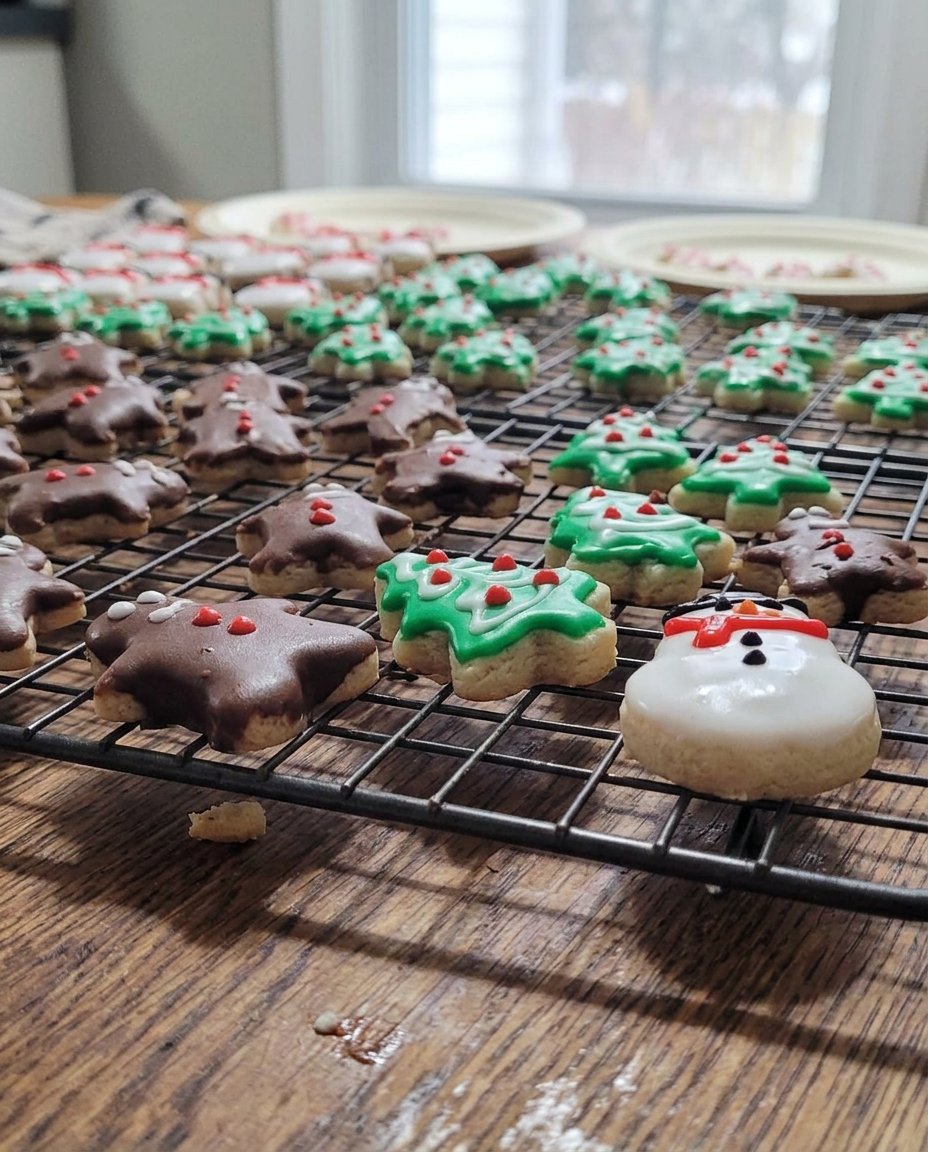
These cookies are at their best when served alongside a hot beverage. In my house, we love dipping them into a strong cup of coffee or a creamy latte. For the kids, a cold glass of milk is the classic choice. If you are looking for more ways to present your treats, our Cookie Decorating Studio has some wonderful ideas for festive platters. You can also stack these cookies in clear cellophane bags tied with a red ribbon to create a simple, heartfelt gift for teachers, neighbors, or friends. They look especially beautiful when placed on a vintage silver tray with a few sprigs of fresh mint or holly for a bit of holiday color.
Carrying the Tradition Forward
Baking these Italian Christmas cookies is a way to honor the past while creating new memories with the people you love. Every time I pull a tray of these out of the oven, I feel a connection to that handwritten card from the 1940s and the many hands that have made this recipe before me. I hope this recipe brings a sense of spiced joy and buttery comfort to your home this year. For more ideas on how to keep your holiday baking fresh and exciting, take a look at our Trending Cookie Creations. Do not forget to share your beautiful bakes with us on Pinterest, Instagram, and Facebook. Happy baking, y’all!


