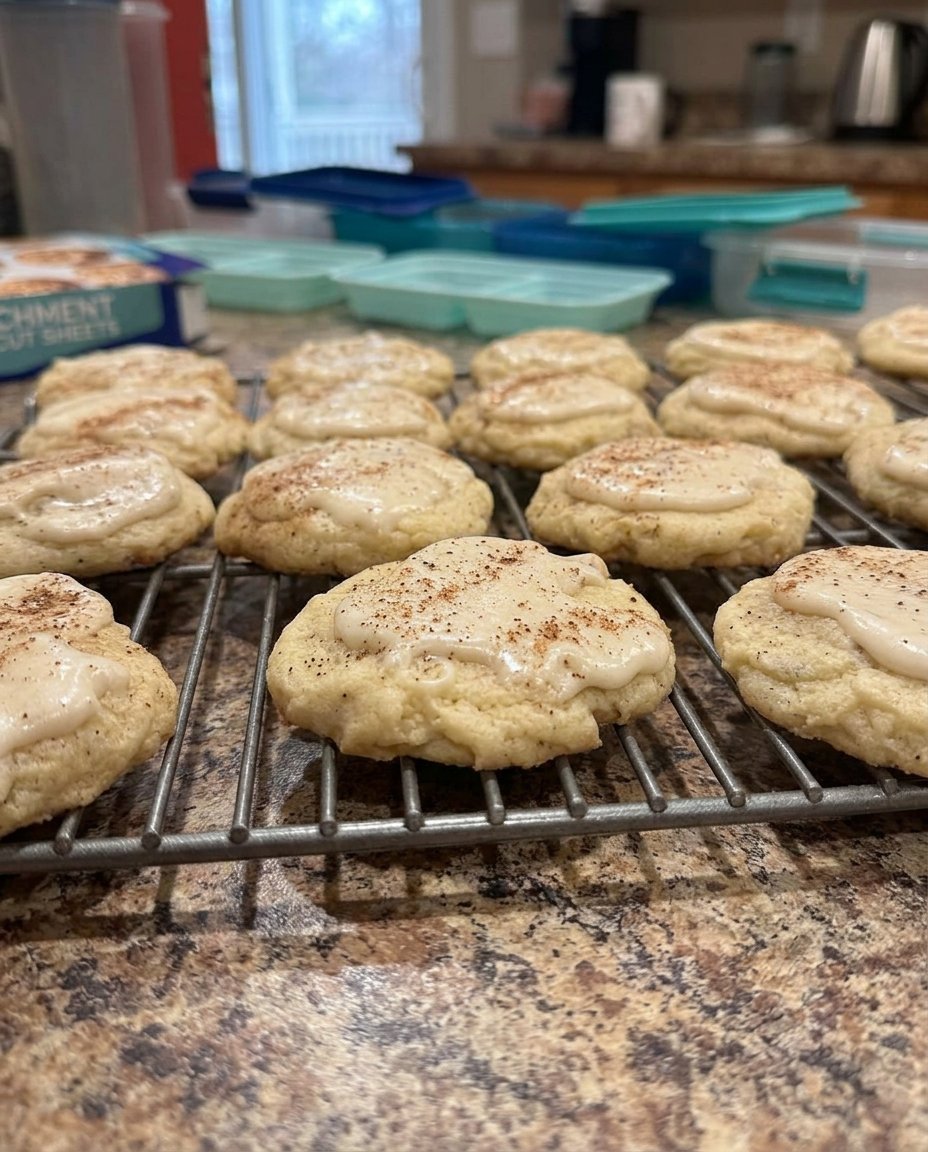
In the test kitchen, we recently tackled the structural challenge of creating a deeply molasses-flavored cookie without sacrificing thickness. Developing these brown sugar cookies required precise testing of flour hydration against melted butter to prevent over-spreading. We found the exact ratio that delivers a chewy, plush center every time.

This recipe proves that balancing your wet and dry ingredients yields a remarkable texture without needing a mixer. By controlling the temperature of the melted butter and enforcing a mandatory chill time, the dough achieves perfect stability. The result is a scientifically sound cookie with lightly crisp edges and a deeply comforting flavor profile.
Precision Meets Flavor
When we isolate brown sugar as the primary sweetener, we introduce a high level of moisture and acidity to the dough. The molasses present in both light and dark brown sugar acts as a hygroscopic agent, meaning it constantly draws moisture from the air. This chemical behavior is exactly what gives these cookies their signature chewiness that lasts for days.
From a structural standpoint, relying solely on brown sugar can cause a cookie to spread rapidly in the oven. To counter this, we meticulously calibrated the dry ingredients. By increasing the all-purpose flour to 292 grams and introducing cornstarch into the matrix, we create a sturdy framework. The cornstarch tenderizes the crumb by inhibiting excessive gluten formation, leaving you with a cookie that is structurally sound on the outside but incredibly soft on the inside.
You will appreciate the sheer reliability of this method. Because we use melted butter, you do not need to wait for butter to soften or worry about over-creaming air into the dough. Every step is designed for a professional-level outcome with minimal equipment. It is a spectacular demonstration of how basic baking chemistry yields superior results.
Print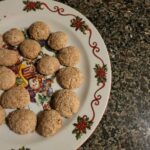
Brown Sugar Cookies
- Total Time: 4 hours 30 mins
- Yield: 18 cookies
- Diet: Vegetarian
Description
These thick and plush brown sugar cookies utilize a precise ratio of flour and cornstarch to ensure a soft, chewy texture. By chilling the dough and using melted butter, you achieve a deeply caramelized flavor profile without the need for a mixer.
Ingredients
- 292g all-purpose flour
- 1 teaspoon baking soda
- 1 1/2 teaspoons cornstarch
- 1/2 teaspoon ground cinnamon
- 1/4 teaspoon salt
- 170g unsalted butter, melted and slightly cooled
- 250g brown sugar (light, dark, or a mix)
- 1 large egg, room temperature
- 2 teaspoons pure vanilla extract
- Granulated sugar, for rolling
Instructions
- In a large mixing bowl, whisk together the flour, baking soda, cornstarch, cinnamon, and salt until evenly distributed.
- In a medium bowl, whisk the melted butter and brown sugar until homogeneous, then whisk in the egg and vanilla extract until the mixture is glossy.
- Pour the wet ingredients into the dry ingredients and fold with a spatula until just combined.
- Cover the dough tightly and refrigerate for a minimum of 3 to 4 hours to allow the flour to hydrate and the butter to solidify.
- Preheat the oven to 325°F (163°C) and line heavy-duty baking sheets with parchment paper.
- Scoop 1.5-Tablespoon portions of dough, roll into smooth balls, and coat thoroughly in granulated sugar.
- Place dough balls 3 inches apart on the baking sheets and bake for 14 to 16 minutes until edges are set but centers remain puffy.
- Cool on the baking sheet for 10 minutes to allow the structure to set before transferring to a wire rack.
Notes
Ensure your egg is at room temperature before whisking it into the butter mixture to prevent the fat from seizing, which maintains a smooth emulsion. Using a light-colored baking sheet will also help prevent the bottoms from over-browning during the longer bake time at 325°F.
- Prep Time: 15 mins
- Cook Time: 15 mins
- Category: Dessert
- Method: Baking
- Cuisine: American
The Formula
Understanding your ingredients is the first step toward baking success. Each component in this formula serves a specific structural and chemical purpose.
- All-Purpose Flour (292g): Weighing your flour is critical. Using exactly 292 grams establishes the structural backbone, preventing the high-moisture brown sugar from causing a flat, spreading cookie.
- Cornstarch (1 1/2 teaspoons): This starch acts as a tenderizer. It breaks up the gluten network formed by the flour, guaranteeing a plush, soft center.
- Unsalted Butter (170g): Melted butter provides chewiness rather than a cake-like lift. Letting it cool slightly prevents it from prematurely cooking the egg.
- Brown Sugar (250g): A 50/50 blend of light and dark brown sugar provides the ideal balance of molasses flavor and moisture without making the dough too acidic.
- Baking Soda (1 teaspoon): The alkaline baking soda reacts with the acidic molasses in the brown sugar, providing the necessary lift and promoting a beautiful golden-brown color via the Maillard reaction.
- Ground Cinnamon (1/2 teaspoon): Spices contain essential oils that become highly aromatic when baked. You can increase this to a full teaspoon for a bolder flavor profile.
Scientific Process
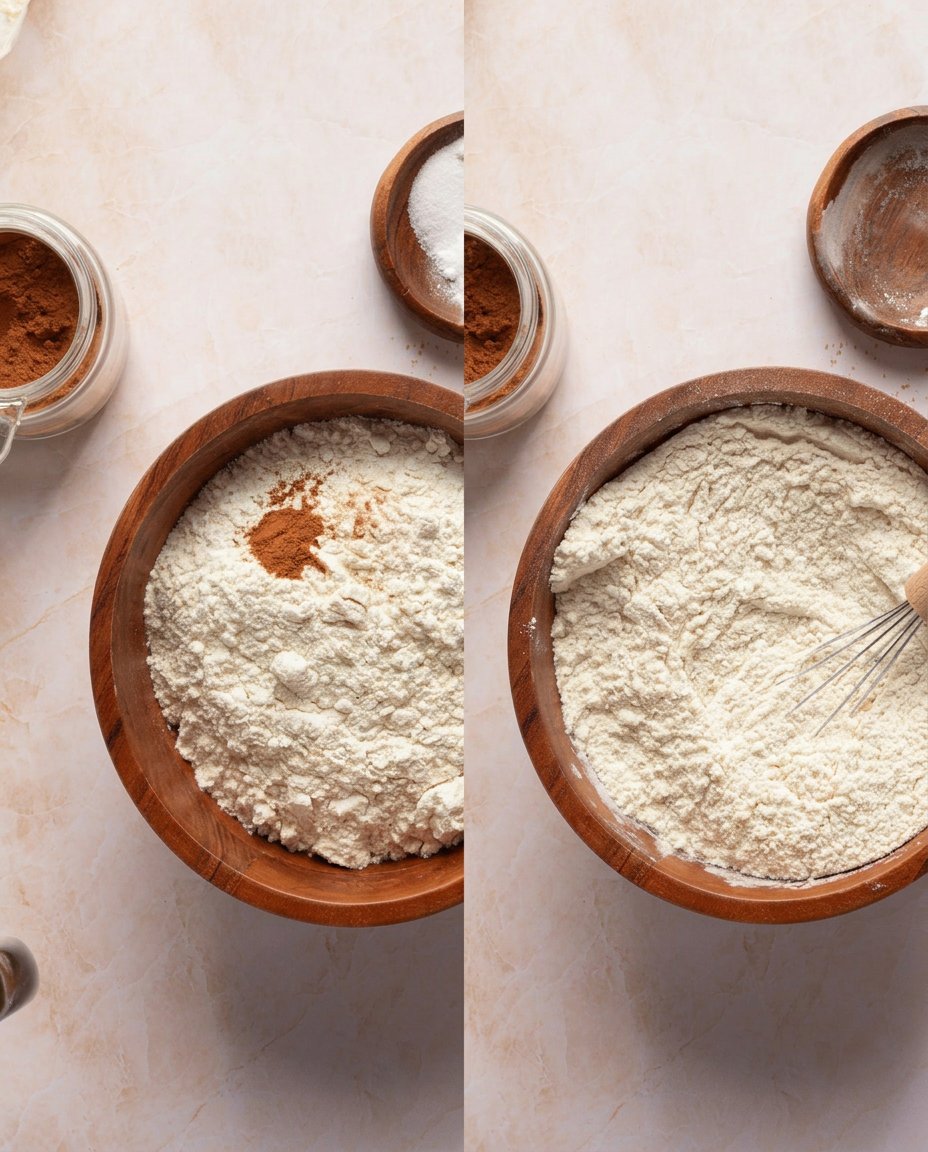
Step 1: Prepare the Dry Structure
In a large mixing bowl, whisk together 292 grams of spooned-and-leveled all-purpose flour, 1 teaspoon of baking soda, 1 1/2 teaspoons of cornstarch, 1/2 teaspoon of ground cinnamon, and 1/4 teaspoon of salt. Thoroughly distributing the leavening agents and cornstarch into the flour is necessary for an even bake and consistent texture across every cookie.
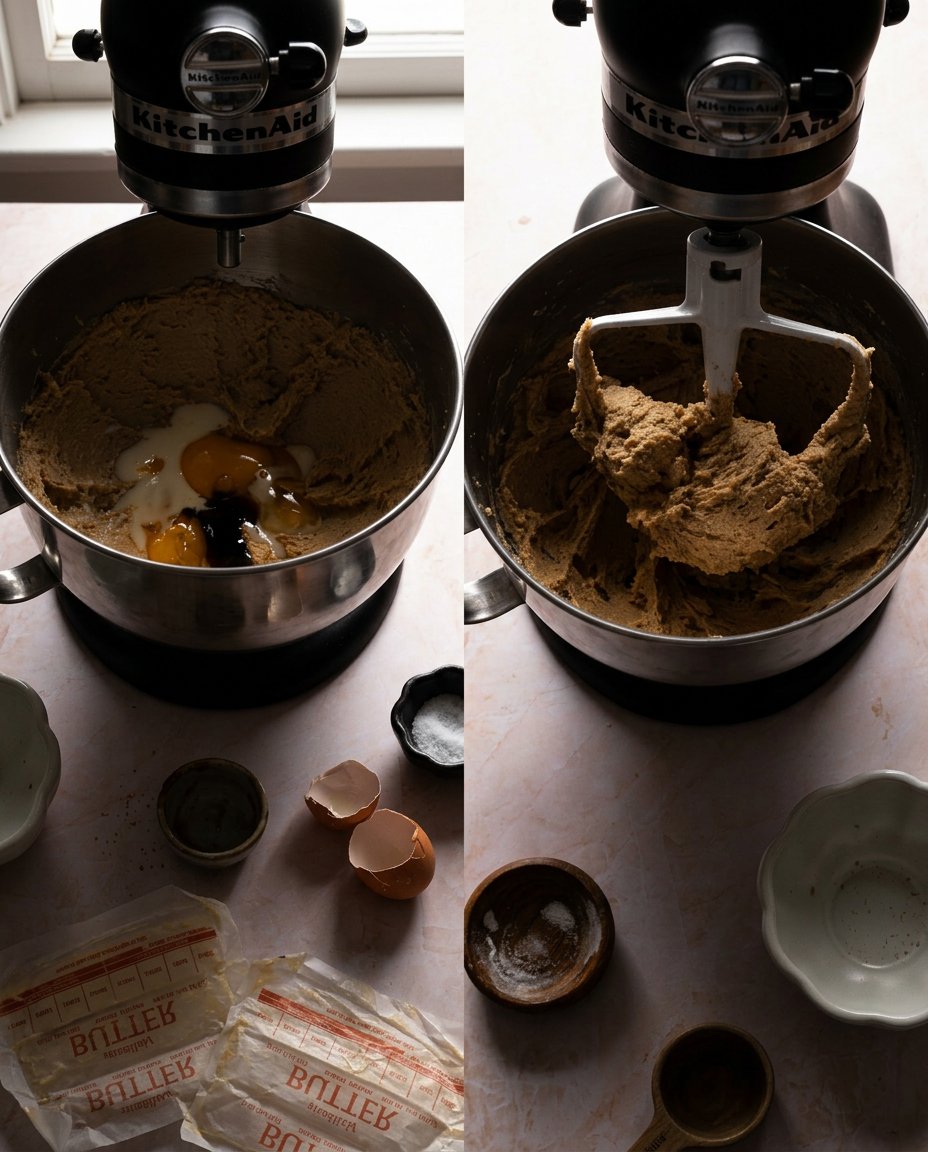
Step 2: Emulsify the Wet Ingredients
In a medium bowl, pour in the 170 grams of melted, slightly cooled unsalted butter. Add the 250 grams of packed brown sugar. Whisk vigorously until the mixture is homogeneous and no lumps of brown sugar remain. This step dissolves the sugar crystals into the fat. Once smooth, whisk in the room-temperature large egg and 2 teaspoons of pure vanilla extract until fully incorporated. The mixture should look glossy.
Step 3: Combine and Hydrate
Pour the wet emulsification into the bowl containing the dry ingredients. Using a silicone spatula or a large wooden spoon, fold the mixture together until completely combined. Do not over-mix. The resulting dough will feel very soft and thick. This texture is correct; the flour has not yet fully hydrated, and the butterfat is still liquid.
Step 4: The Mandatory Chill
Cover the mixing bowl tightly to prevent moisture loss. Refrigerate the dough for a strict minimum of 3 to 4 hours. You can leave it for up to 3 days for even deeper flavor development. Chilling solidifies the melted butter and allows the flour starches to fully absorb the ambient moisture. This step is non-negotiable for achieving a thick cookie structure.
Step 5: Portioning and Baking
Preheat your oven to 325°F (163°C). Line heavy-duty baking sheets with parchment paper. If your dough chilled for longer than 4 hours, let it sit at room temperature for 15 minutes. Scoop 1.5-Tablespoon (30–35g) portions of dough, roll them into smooth balls, and coat them thoroughly in granulated sugar. Place the coated spheres 3 inches apart on the baking sheets.
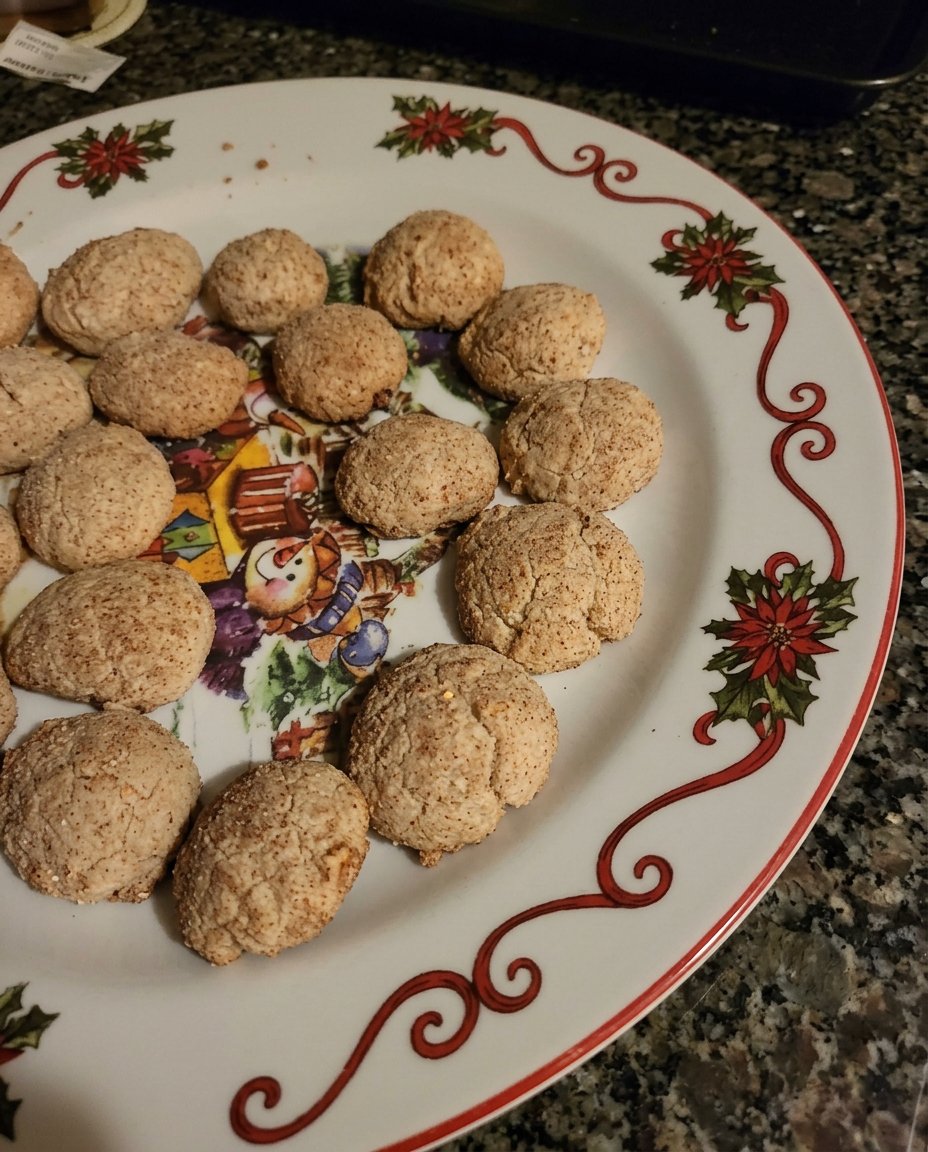
Step 6: Bake and Set
Bake for 14 to 16 minutes. You are looking for visual cues: the edges should be set, and small cracks will appear on the surface. The centers will look puffy and underbaked. Remove them from the oven immediately. Allow the cookies to cool on the hot baking sheet for exactly 10 minutes. The residual heat will finish setting the centers gently before you transfer them to a wire rack to cool completely.
Lauren’s Lab Notes
Temperature control dictates the success of this recipe. When melting your butter, you must allow it to cool for 5 to 10 minutes before introducing the egg. If the butter exceeds 140°F (60°C), the egg proteins will coagulate prematurely, ruining the smooth emulsion and altering the final texture of the cookie.
Equally important is the resting environment. The refrigerator is a dry space. Always cover your dough tightly with plastic wrap pressed directly against the surface or use an airtight container. This prevents the surface of the dough from oxidizing and drying out, which would cause an uneven bake. If you want to refine your technical skills further, review our Artisan Cookie Collection for a deeper look into temperature-sensitive baking.
Scientific Options
A common structural experiment in our test kitchen is swapping melted butter for browned butter. Browned butter adds incredible nutty depth, but the browning process evaporates the water naturally present in American-style butter. To maintain the hydration equilibrium of this dough, you must replace that lost moisture.
If you choose to brown your 170g of butter, allow it to cool, and then add exactly 2 Tablespoons of water or milk to the wet ingredient mixture. Failing to replace this liquid will result in a dry, crumbly cookie that fails to spread correctly. For those interested in modifying flavors while maintaining structural integrity, read through our Seasonal Cookie Design guides.
Flavor Science and Serving
The complex molasses notes in these brown sugar cookies continue to mature after baking. Storing them in an airtight container at room temperature allows the moisture to redistribute evenly throughout the crumb over the first 24 hours. Because of the hygroscopic nature of the dark brown sugar, these cookies often taste even better on day two.
When serving, pair these cookies with a lightly acidic beverage, such as black coffee or Earl Grey tea. The tannins in the beverage cleanse the palate, contrasting sharply with the rich, caramelized sugar profile of the cookie. If you plan to serve these at a gathering, present them alongside contrasting textures from our Cookie Decorating Studio to provide a visually and scientifically balanced dessert spread.
Keep Testing and Perfecting
Mastering the brown sugar cookie is a triumph of understanding ingredient ratios. By weighing your flour accurately and respecting the required chill times, you prove that spectacular results do not require complicated techniques or heavy machinery. Baking is simply edible chemistry, and applying precision to this straightforward method yields a remarkably chewy, plush cookie every single time.
We encourage you to experiment with the brown butter modification and observe how the added liquid affects the final crumb structure. Compare our carefully balanced ratios to other popular variations in the baking community, such as this well-known approach to chewy brown sugar cookies, to see how different hydration levels impact texture. Be sure to document your flavor tests and share your results with us online.
For more scientifically sound baking projects, study our Trending Cookie Creations. Show us your perfect cookie structures by tagging us on Instagram and sharing your baking victories on Pinterest.

