Our test kitchen team spent several weeks analyzing the exact moisture-to-sugar ratio to guarantee these Chocolate Snaps lived up to their name. We discovered that the interaction between the corn syrup and the melted semisweet chocolate creates a unique crystalline structure that provides that signature crackle. This precision produces a cookie that is firm on the edges yet remains deeply flavorful in the center.

Achieving the perfect Chocolate Snaps requires a delicate balance of fats and sugars. This recipe uses melted chocolate chips as a structural component, providing both the intense cocoa profile and the rigid framework needed for a crisp finish. It is a masterclass in how liquid sugars influence final crumb texture and snap.
The Chemistry of the Perfect Snap
What makes these Chocolate Snaps a triumph of cookie engineering is the precise control of water activity and sugar crystallization. Unlike a soft-baked cookie that relies on high moisture and under-baking, this recipe focuses on a low-moisture environment that allows the sugar to set into a brittle, glass-like state. The addition of corn syrup is the secret to this structural success; it acts as an interfering agent that prevents the sucrose from forming large, gritty crystals, resulting in a smooth, professional snap.
From a flavor chemistry perspective, the high volume of semisweet chocolate chips relative to the flour provides a rich, fatty base that carries the cocoa notes across the palate. Because we melt the chocolate before integration, the fat is evenly distributed throughout the protein network of the flour, which limits gluten development. This means you get a cookie that is crisp without being tough, a delicate balance that our testing confirmed is superior to recipes using only cocoa powder.
Print
Chocolate Snaps
- Total Time: 1 hour
- Yield: 36 cookies
- Diet: Vegetarian
Description
Experience the ultimate crisp texture with these Chocolate Snaps, engineered for a perfect brittle finish through a precise blend of melted chocolate and corn syrup. These cookies offer an intense cocoa experience with a professional-grade crackle in every bite.
Ingredients
- 2 cups semisweet chocolate chips
- 1 ⅔ cups all-purpose flour
- 1 ½ teaspoons baking soda
- ¼ teaspoon salt
- ½ cup unsalted butter, softened
- ½ cup granulated sugar, plus extra for rolling
- 1 large egg
- ¼ cup light corn syrup
- 1 teaspoon vanilla extract
Instructions
- Melt the chocolate chips in a double boiler or microwave until smooth, then cool to 85°F.
- Whisk the flour, baking soda, and salt in a medium bowl until thoroughly combined.
- Cream the softened butter and granulated sugar with an electric mixer until light and fluffy.
- Add the egg, corn syrup, and vanilla extract, beating until the mixture is fully emulsified.
- Slowly stir the cooled melted chocolate into the butter mixture on low speed.
- Incorporate the dry ingredients in two batches, then chill the dough for 30 minutes to firm up.
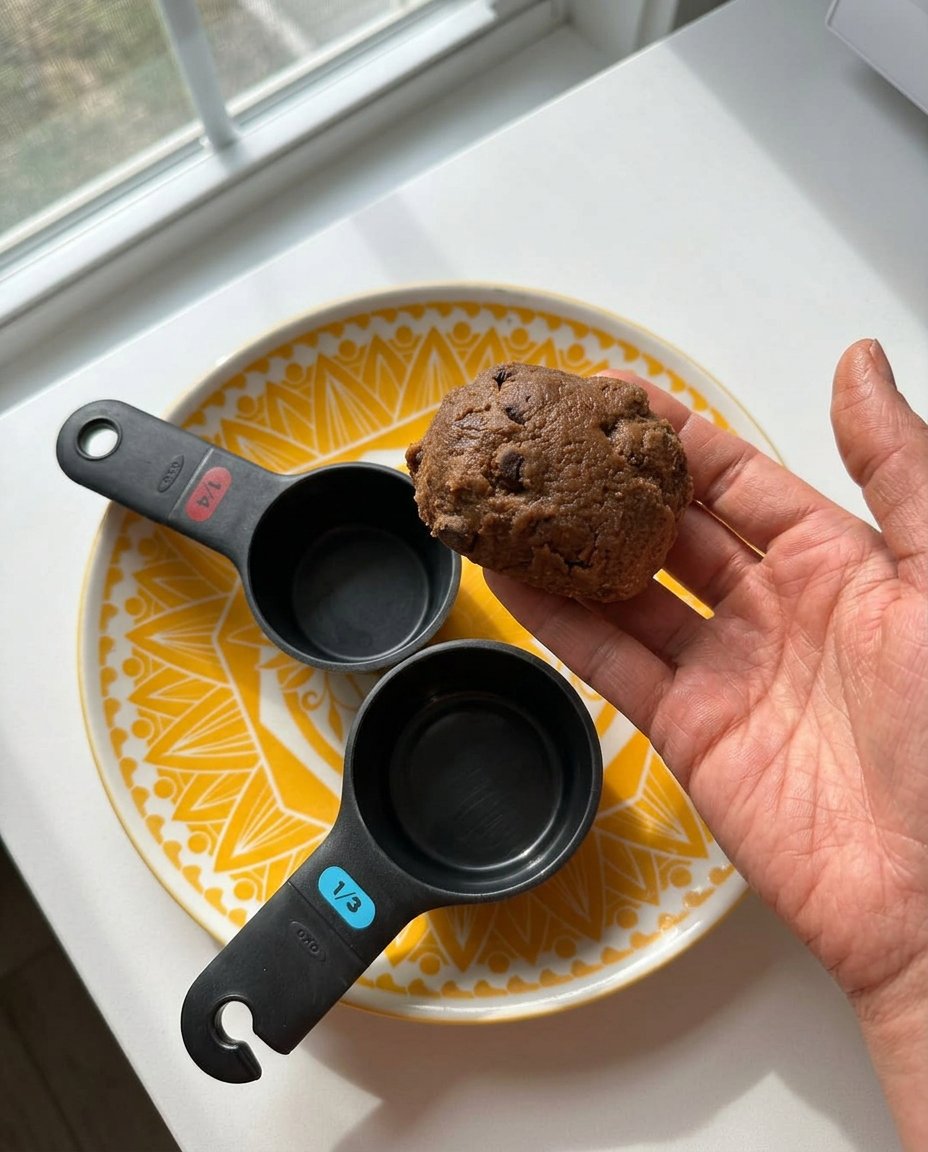
- Roll dough into 1-inch balls, coat in sugar, and bake at 350°F on ungreased sheets for 10 to 15 minutes.
Notes
To ensure the most distinct snap, allow the cookies to cool completely on a wire rack so the sugars can fully crystallize. If the dough feels too sticky to roll even after chilling, dampen your hands slightly with cool water to make portioning easier without adding excess flour.
- Prep Time: 45 mins
- Cook Time: 15 mins
- Category: Dessert
- Method: Baking
- Cuisine: American
The Formula for Success

To achieve the ideal snap, every component in this formula must be measured with precision. We recommend using a digital scale for the flour to guarantee the protein-to-fat ratio remains constant. Here is the scientific breakdown of why these specific ingredients work:
- Semisweet Chocolate Chips (2 cups): These provide the primary structure. The cocoa butter in the chips solidifies at room temperature, which helps the cookie maintain its rigid shape.
- All-Purpose Flour (1 ⅔ cups): This lower-than-average flour ratio allows the chocolate to dominate the texture, resulting in a thinner, snappier profile.
- Baking Soda (1 ½ teaspoons): This high amount of leavening agent encourages the cookies to spread and increases the pH level of the dough. A higher pH promotes the Maillard reaction, leading to deeper browning and a more complex flavor.
- Corn Syrup (¼ cup): This liquid sugar is hygroscopic, meaning it holds onto just enough moisture to keep the cookie from becoming a dry cracker, while providing the flexibility needed for the dough to expand before setting.
- Unsalted Butter (½ cup): Softened butter allows for proper aeration during the creaming phase, which creates tiny air pockets that the baking soda can then expand.
- Granulated Sugar (½ cup): Beyond sweetness, sugar is a liquefier that helps the dough spread during the initial minutes of baking.
The Scientific Method
Step 1: Melt and Temper the Chocolate
In a double boiler or a microwave-safe bowl, melt the 2 cups of semisweet chocolate chips. It is vital to stir the chocolate frequently to prevent localized overheating, which can break the emulsion. Once completely smooth, set the chocolate aside to cool until it reaches approximately 85°F (29°C). If the chocolate is too hot when added to the butter, it will melt the fat structure and ruin the aeration.
Step 2: Combine Dry Ingredients
Whisk together the flour, baking soda, and salt in a medium bowl. Sifting these together is recommended to guarantee the baking soda is evenly dispersed. This preventing large air pockets or bitter spots in the final bake.
Step 3: Aerate the Fat and Sugars
Using an electric mixer set at medium-low speed, beat the softened butter and white sugar until the mixture appears fluffy and lightened in color. This process, known as creaming, builds the foundation for the cookie’s final volume.
Step 4: Emulsify Wet Ingredients
Add the vanilla extract, corn syrup, and the egg. Continue beating until the mixture is fully combined and smooth. The egg acts as a natural emulsifier, binding the fats from the butter with the moisture from the corn syrup and egg white.
Step 5: Integrate the Chocolate
Reduce the mixer speed to low and slowly stream in the cooled, melted chocolate. Mix only until the color is uniform. Over-mixing at this stage can cause the chocolate to seize or the fats to separate.
Step 6: Incorporate Flour and Stabilize
Add the dry ingredients in two batches, mixing on low until just combined. The dough will be soft and somewhat sticky at this point. Refrigerate the dough for exactly 30 minutes. This thermal stabilization period allows the flour to hydrate and the fats to firm up, which controls the spread during baking.
Step 7: Portion and Bake
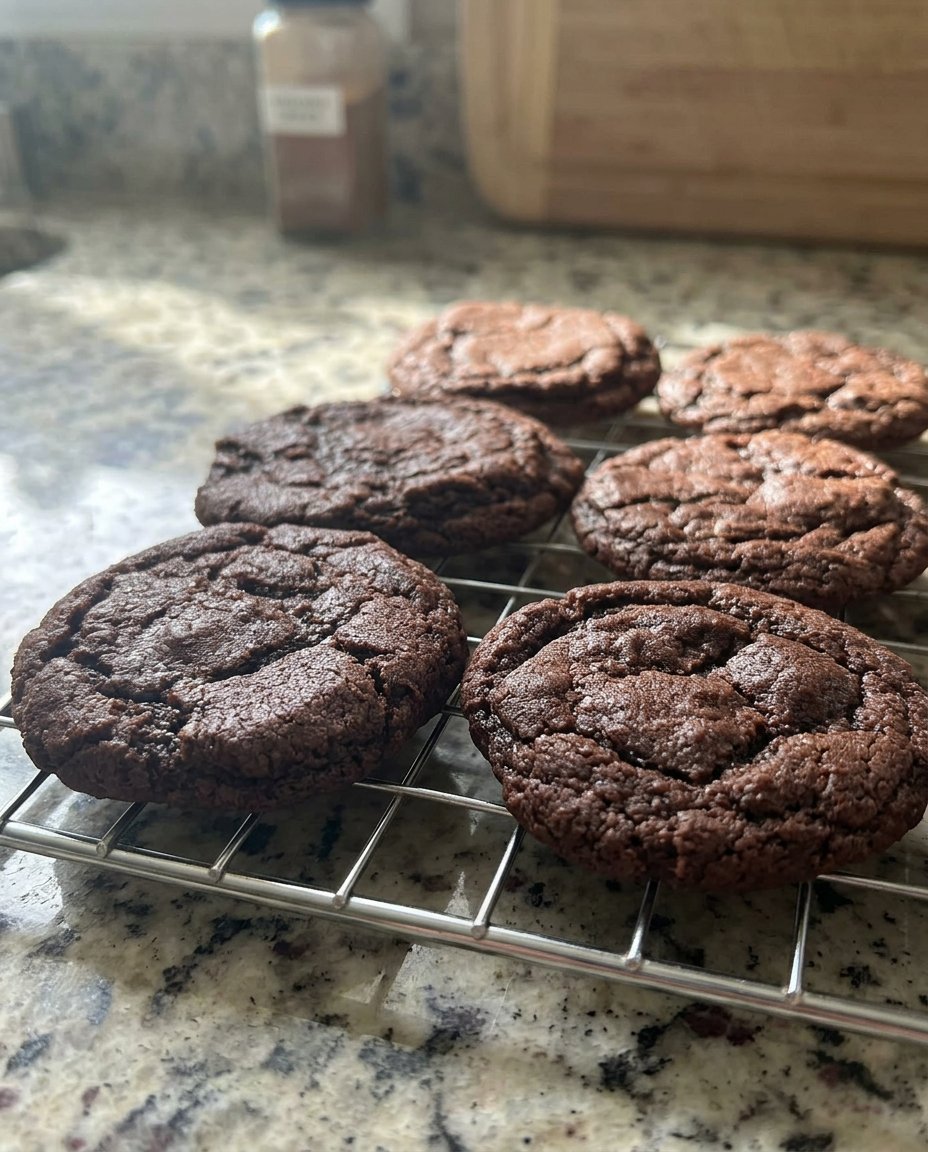
Shape the chilled dough into 1-inch (2.5 cm) balls. Roll each ball in additional granulated sugar to create a textured, crystalline surface. Place them on ungreased baking sheets, spaced 1 inch apart. Bake at 350°F (175°C) for 10 to 15 minutes. The edges should be firm and lightly browned while the center remains slightly soft. Let the cookies rest on the sheet for 60 seconds before moving them to a wire rack.
Lauren’s Lab Notes
To achieve the most consistent results, pay close attention to the temperature of your melted chocolate. In our testing, chocolate added at 100°F caused the butter to leak, leading to greasy cookies that spread into a single sheet. Cooling it to 85°F maintains the integrity of the creamed butter. For more advanced structural advice, you can look at our Artisan Cookie Collection to see how different fats react to heat. Also, avoid using parchment paper for this specific recipe; the ungreased metal sheet provides the necessary friction for the cookies to climb and snap correctly. If you find your cookies are too soft, check your oven calibration with an external thermometer to confirm it is truly reaching 350°F.
Tested Variations
While the base formula is highly tuned, we have tested several flavor modifications that do not compromise the snap. For a deeper, darker profile, replace 2 tablespoons of the all-purpose flour with Dutch-process cocoa powder. This increases the acidity, so you may need to add an extra pinch of baking soda to maintain the spread. If you are looking for a more festive version, try adding 1 teaspoon of ground ginger and a pinch of cloves, which pairs beautifully with our Seasonal Cookie Design techniques. For a modern twist, add ½ teaspoon of espresso powder to the melted chocolate to boost the cocoa notes without changing the moisture content.
Flavor Science and Pairing
These Chocolate Snaps reach their peak flavor and texture profile approximately two hours after baking. This wait time allows the sugars to fully crystallize and the cocoa fats to set. We recommend serving these alongside a high-fat dairy option, like whole milk or a vanilla bean latte, as the fats in the drink help dissolve the cocoa solids on the tongue, prolonging the flavor. For those interested in the visual aspect of serving, check out our Cookie Decorating Studio for tips on creating perfect sugar crusts. They are also excellent when crushed over salted caramel gelato, where the snap provides a needed textural contrast.
The Scientific Truth
Precision in the kitchen is what separates a good cookie from a spectacular one. By understanding how corn syrup and melted chocolate interact to create structure, you can confidently bake these Chocolate Snaps for any occasion. We encourage you to keep testing these ratios in your own kitchen to find your perfect level of crispness. For more innovative recipes and testing data, visit our Trending Cookie Creations page. You can also find more inspiration at AllRecipes. Share your results with our community on Pinterest, Instagram, or Facebook.


