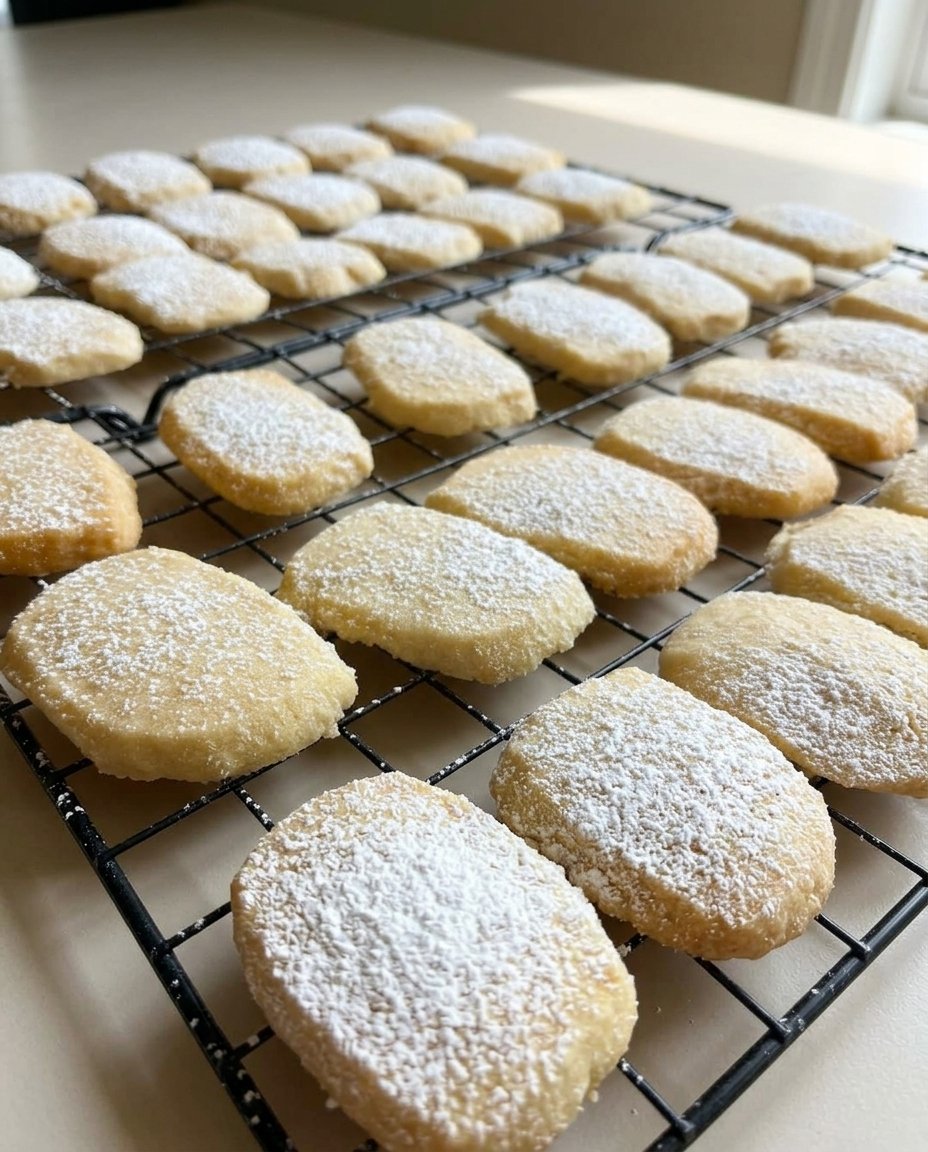
In the Cookies Sweet test kitchen, we recently investigated how specific fat-to-flour ratios influence the final crumb of a traditional tea biscuit. We discovered that maintaining a high percentage of lipids while reducing moisture results in the specific ‘sandy’ texture that defines these Sandkuchen Cookies. This precision in ingredient selection allows the cookie to remain stable during the bake while providing a delicate melt-on-the-tongue experience.

Our scientific method focuses on the structural integrity of the shortcrust dough, emphasizing the role of the egg yolk over the whole egg. By excluding the white, we remove water that would otherwise lead to gluten development and toughness. These cookies represent a victory in flavor chemistry, proving that simple components, when weighed exactly, produce superior results.
The Chemistry of the Perfect Sand Crumb
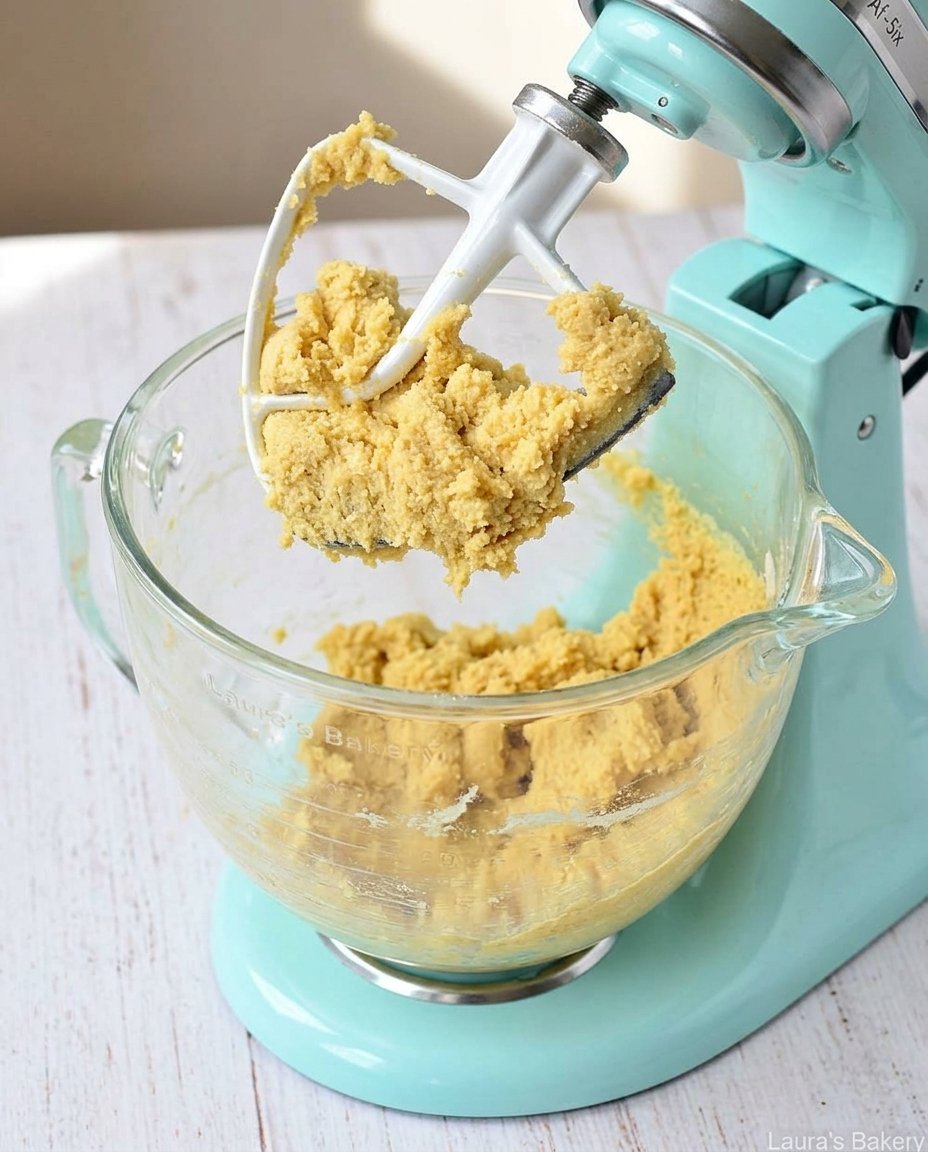
The reason these Sandkuchen Cookies achieve their signature texture lies in the physics of the crumb. When you cream the 225 grams of butter with the sugar, you create a network of air pockets that are later encased by flour proteins. Because the butter content is high relative to the flour (280 grams), the fat coats the starch granules, preventing long gluten chains from forming. This results in a ‘short’ dough, which is the scientific term for a crumb that breaks easily and feels tender.
We tested several variations of this formula to find the tipping point between a cookie that holds its shape and one that crumbles into dust. By using a single egg yolk, we introduce lecithin, a natural emulsifier that binds the fat and flour without adding the excess water found in egg whites. This balance is what makes the recipe a triumph for home bakers who value precision. The addition of vanilla sugar provides a subtle aromatic depth that complements the rich, buttery base without overwhelming the palate.
Furthermore, the resting period in the refrigerator is not a suggestion but a structural requirement. Cooling the dough allows the fats to recrystallize and the starches to hydrate. This thermal management guarantees that the cookies do not spread excessively in the oven, preserving the decorative fork marks that increase the surface area for the Maillard reaction. This reaction is what creates the golden edges and the toasted flavor profile that enthusiasts of these cookies expect.
Print
Sandkuchen Cookies
- Total Time: 1 hour 31 mins
- Yield: 24 cookies
- Diet: Vegetarian
Description
These traditional German-style tea biscuits feature a delicate, sandy texture achieved through a high fat-to-flour ratio and precise thermal management. By focusing on a single egg yolk and specific resting times, this recipe produces a rich, buttery treat that melts on the tongue.
Ingredients
- 225 g unsalted butter, slightly softened but cool
- 150 g soft white sugar
- 8 g vanilla sugar
- 1 egg yolk
- 280 g all-purpose flour
- 1 pinch salt
Instructions
- In a large mixing bowl, cream the 225 grams of butter with the soft white sugar and vanilla sugar on medium speed until the texture is light and pale.
- Add the egg yolk to the creamed butter mixture and beat until the lecithin in the yolk has fully stabilized the emulsion.
- Sift the flour and a pinch of salt into the bowl, then knead by hand or with a spatula until the dough just comes together and no dry flour remains.
- Wrap the dough tightly in cling film and refrigerate for at least 60 minutes to allow the fats to recrystallize and the starch to hydrate.
- Preheat your oven to 180°C (350°F) and line a tray with greaseproof paper; roll the chilled dough into walnut-sized balls and place them 2 inches apart.
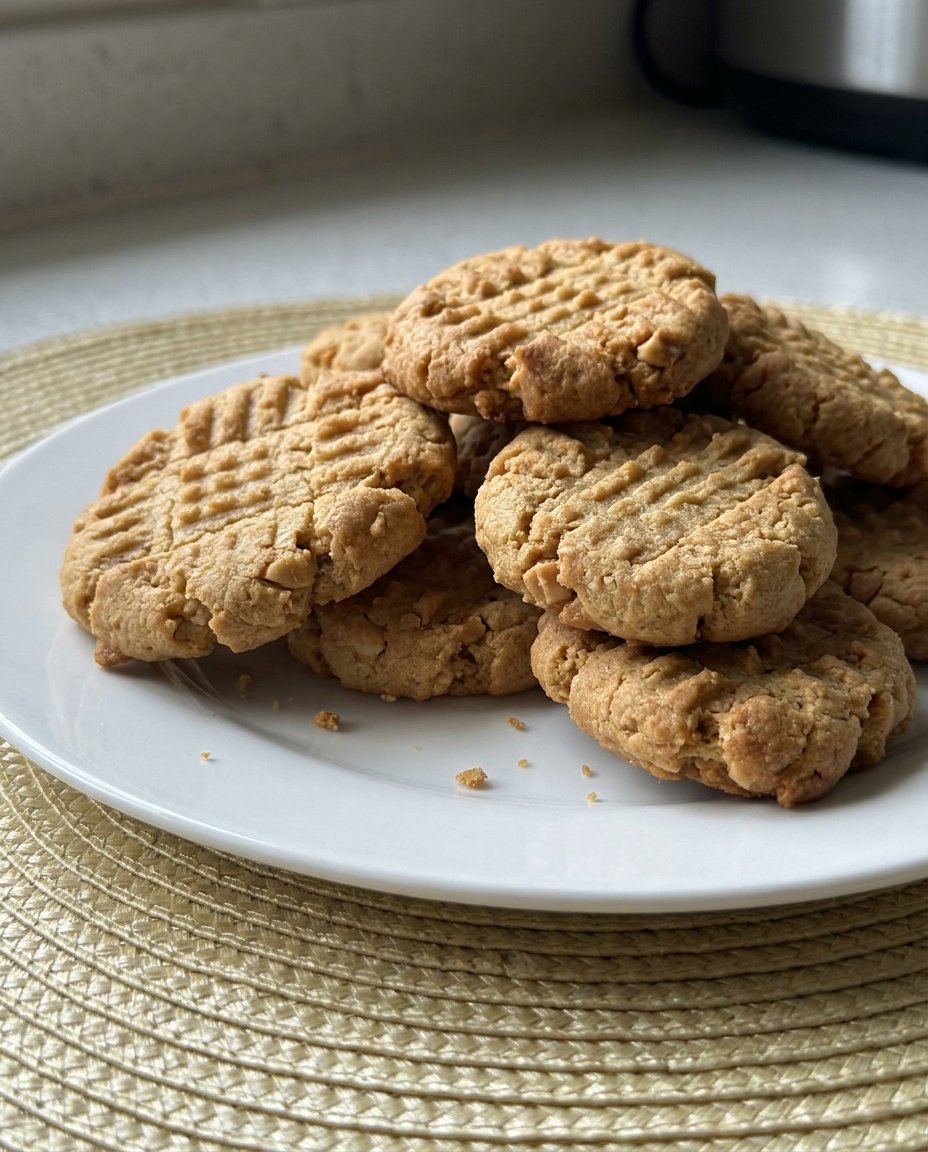
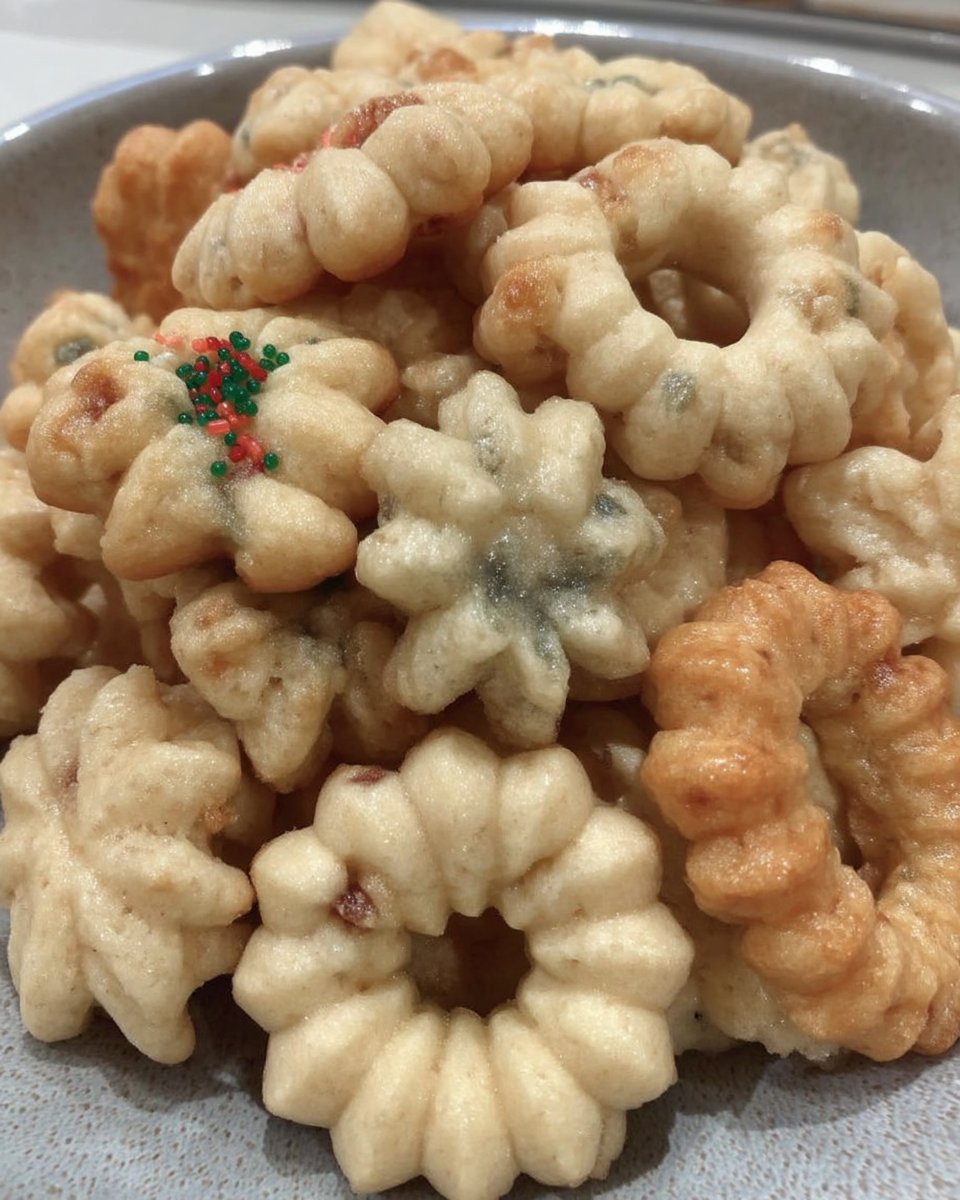
- Press each ball slightly with a fork to create ridges, then bake for 16 minutes until edges are golden, letting them firm up on a wire rack after a 5-minute rest.
Notes
To ensure the signature sandy texture, avoid over-mixing the dough once the flour is added, as this prevents unwanted gluten development. Using a digital scale to weigh your ingredients in grams is highly recommended for the most consistent results, as volume measurements can vary significantly. These biscuits develop a deeper, more rounded flavor if allowed to rest in an airtight container for 24 hours before serving.
- Prep Time: 1 hour 15 mins
- Cook Time: 16 mins
- Category: Dessert
- Method: Baking
- Cuisine: German
The Formula for Structural Success
Success in the kitchen starts with understanding how each component contributes to the final structure. We have analyzed the following ingredients for their chemical impact on your Sandkuchen Cookies.
- Unsalted Butter (225 g): This is the primary lipid source. At 82% fat, it provides the necessary lubrication to inhibit gluten. Use butter that is slightly softened but still cool to the touch (about 65°F or 18°C) to maintain the aeration during creaming.
- Soft White Sugar (150 g): The fine crystals in soft white sugar dissolve more readily than granulated sugar, leading to a tighter, more uniform crumb. Sugar also acts as a liquefier during the bake, helping the dough achieve the correct spread.
- Vanilla Sugar (8 g): This provides a concentrated scent and flavor. In European baking chemistry, vanilla sugar is preferred over liquid extract to keep the moisture levels precise.
- Egg Yolk (1 unit): The yolk contains fats and proteins that act as a binder. It provides richness and a golden hue while keeping the dough ‘short.’
- All-Purpose Flour (280 g): This provides the scaffolding for the cookie. We recommend a protein content between 9% and 11% to ensure the cookies are tender rather than bread-like.
- Salt (Pinch): A small amount of sodium chloride stimulates the taste buds and balances the sweetness, making the vanilla notes more prominent.
The Scientific Process
Step 1: Creaming the Lipids and Sugars
Place the 225 grams of unsalted butter in a large mixing bowl. Add the 150 grams of soft white sugar and 8 grams of vanilla sugar. Use a mixer on medium speed to combine these until the texture is light and slightly pale. This process incorporates air into the fat, which acts as a leavening agent during the baking phase.
Step 2: Incorporating the Emulsifier
Add the single egg yolk to the butter mixture. Beat the mixture until the yolk is fully integrated. The lecithin in the yolk will help stabilize the emulsion of sugar and fat, preparing the base for the dry ingredients. Avoid over-mixing at this stage to prevent the butter from becoming too warm.
Step 3: Folding the Dry Structure
Sift the 280 grams of flour and the pinch of salt into the bowl. Using a spatula or your hands, knead the dough until it just comes together into a firm ball. Stop the moment the flour is no longer visible. Over-handling the dough at this point will trigger gluten development, which will ruin the delicate ‘sand’ texture we are aiming for.
Step 4: Thermal Stabilization
Wrap the dough tightly in cling film. Place it in the refrigerator for at least 60 minutes. This step is critical because it allows the fat to firm up and the flour to fully absorb the small amount of moisture from the egg yolk. A chilled dough is much easier to shape and will maintain its form in the heat of the oven.
Step 5: Shaping and Compression
Preheat your oven to 180°C (350°F). Line a baking tray with greaseproof paper. Take small portions of the chilled dough and roll them into uniform balls, roughly the size of a walnut. Place them on the tray with 2 inches of space between them. Use a fork to flatten each ball slightly; the ridges created by the fork will brown more quickly, adding visual and textural contrast.
Step 6: The Maillard Reaction
Bake the cookies for approximately 16 minutes. Watch for the edges to turn a light golden brown while the center remains pale. This indicates that the sugars have caramelized on the perimeter. Remove the tray from the oven and let the cookies rest for 5 minutes. They will be soft initially but will reach their final structural rigidity as they cool on a wire rack.
Lab Notes for Precision Baking

For the most consistent results, always use a digital scale to weigh your ingredients in grams. Volume measurements for flour and butter can vary by as much as 20%, which significantly changes the fat-to-starch ratio. If your kitchen is particularly warm, chill your mixing bowl before starting to prevent the butter from melting. Melting butter changes the emulsion and will result in a greasy cookie rather than a sandy one.
If you find that your cookies are spreading too much, check your oven temperature with a thermometer. Many ovens run hot, which causes the fat to liquefy before the flour structure sets. For more advanced techniques on maintaining dough integrity, look into our Artisan Cookie Collection. Also, consider the moisture content of your butter; using a high-fat European-style butter can improve the flavor but might require a slight increase in flour to maintain the balance.
Tested Structural Tweaks
While the classic vanilla version is a test kitchen favorite, you can modify the flavor profile without compromising the structure. For a citrus version, add the zest of one lemon to the sugar before creaming. The oils in the zest provide flavor without adding liquid volume. If you prefer a nuttier profile, replace 30 grams of the flour with finely ground almond flour. This increases the fat content and creates an even more tender crumb.
You might also want to try a spiced version by adding half a teaspoon of cardamom or cinnamon to the flour. Spices do not affect the chemistry of the bake but can alter the perception of sweetness. For those interested in more decorative options, check out our guide on Seasonal Cookie Design. If you want to compare this to other regional styles, you can see a similar Dutch sand cookies recipe for further inspiration.
Flavor Development and Pairing
These cookies actually improve in flavor after 24 hours. As the cookies sit in an airtight container, the vanilla aromatics permeate the fat, resulting in a more rounded taste. We recommend serving them at room temperature to allow the butter to soften slightly on the palate. They are the perfect accompaniment to a robust Earl Grey or a light chamomile tea.
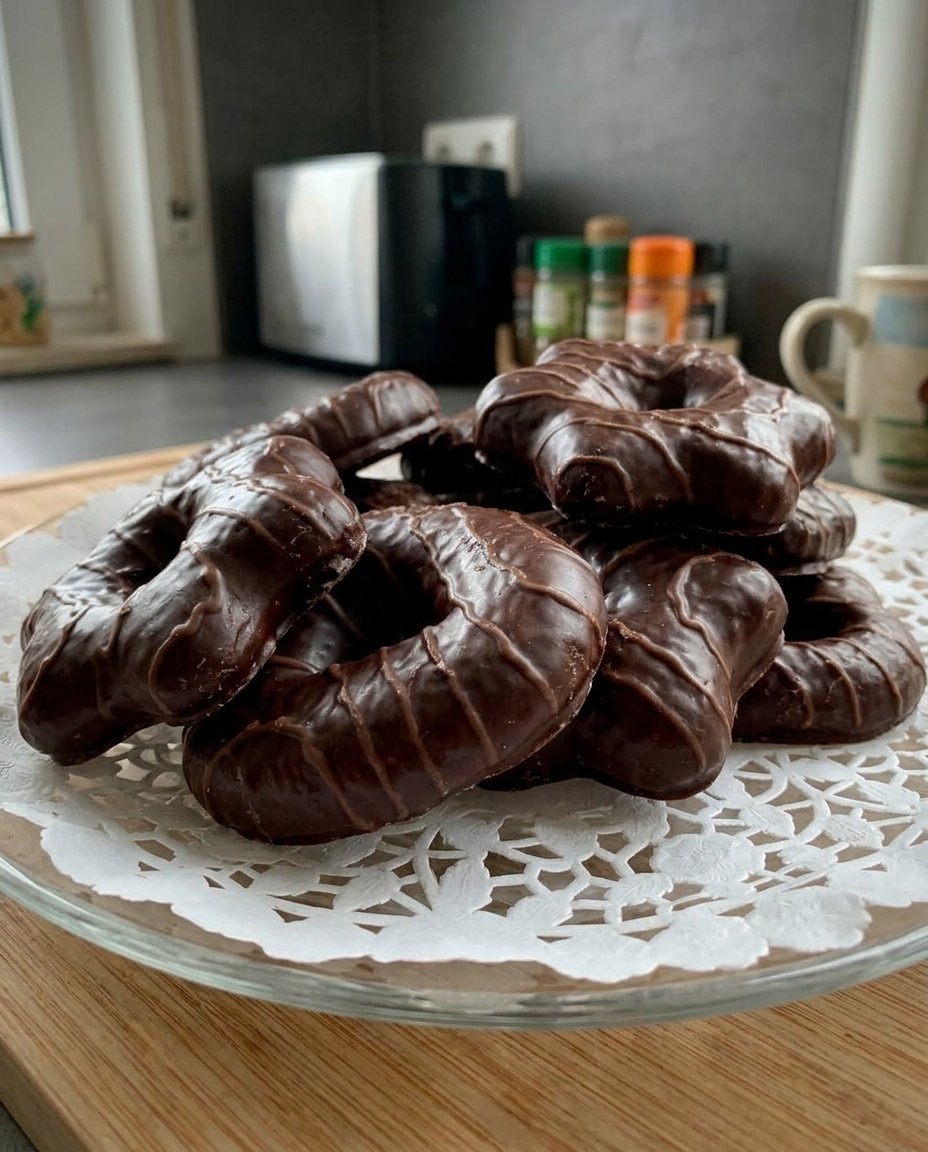
For a more formal presentation, you can dip half of each cooled cookie into tempered dark chocolate. The bitterness of the cocoa provides a sharp contrast to the sweet, buttery dough. For more creative ways to present your bakes, visit our Cookie Decorating Studio. These cookies also store exceptionally well, making them a reliable choice for gifting or holiday platters where longevity is needed.
The Scientific Truth About Simplicity
Mastering the Sandkuchen cookie is a lesson in the power of precision. By respecting the ratios and the temperature of your ingredients, you can create a biscuit that is far more than the sum of its parts. This recipe proves that you do not need complex additions to achieve a remarkable result—just a clear understanding of how fat and flour interact. We invite you to continue your journey into the science of baking by examining our Trending Cookie Creations. Join our community of home scientists on Facebook and Instagram to share your results and troubleshooting successes. Happy testing!
