In my house, baking isn’t just about the sugar; it’s about the stories we tell while the oven hums and the warm kitchen fills with scent. These Halloween chocolate chip cookies are a tradition I’ve carried from my mother’s kitchen, where we’d spend October afternoons turning a classic treat into something a little more spirited. There is a certain magic in taking the familiar comfort of a buttery cookie and giving it a playful, spooky soul that delights the young and the young at heart.

You don’t need fancy tools to make these spiders come to life, just a bit of melted chocolate and a patient hand. They have that perfect honey-gold edge and a soft, tender center that makes them disappear faster than a ghost in the night. It’s the kind of recipe that makes your home feel like a sanctuary of seasonal joy, proving that a classic cookie still feels like home even with a little creative twist.
Comfort Meets Flavor
You’ll find that these cookies strike a beautiful balance between being a reliable classic and a festive surprise. Most holiday treats sacrifice taste for the sake of a theme, but these stay true to the rich, buttery heart of a proper Southern chocolate chip cookie. The addition of a tiny bit more vanilla than usual brings out a warmth that pairs beautifully with the semi-sweet chocolate.
There is also the sheer delight of the spider design that makes these a treasure for any family gathering. It’s a gentle way to participate in the holiday without going overboard with neon frostings or artificial dyes. My family loves how the little chocolate legs add just a bit more richness to every bite, making the texture even more interesting than your standard drop cookie. These are the cookies you grew up with, just a little more curious and wonderful.
Print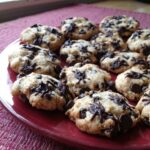
Halloween Chocolate Chip
- Total Time: 35 mins
- Yield: 24 cookies
- Diet: Vegetarian
Description
These festive Halloween chocolate chip cookies transform a classic buttery treat into spooky spider delights with simple chocolate decorations. Perfectly soft with golden edges, they are an ideal seasonal activity for families looking to add a little magic to their October baking.
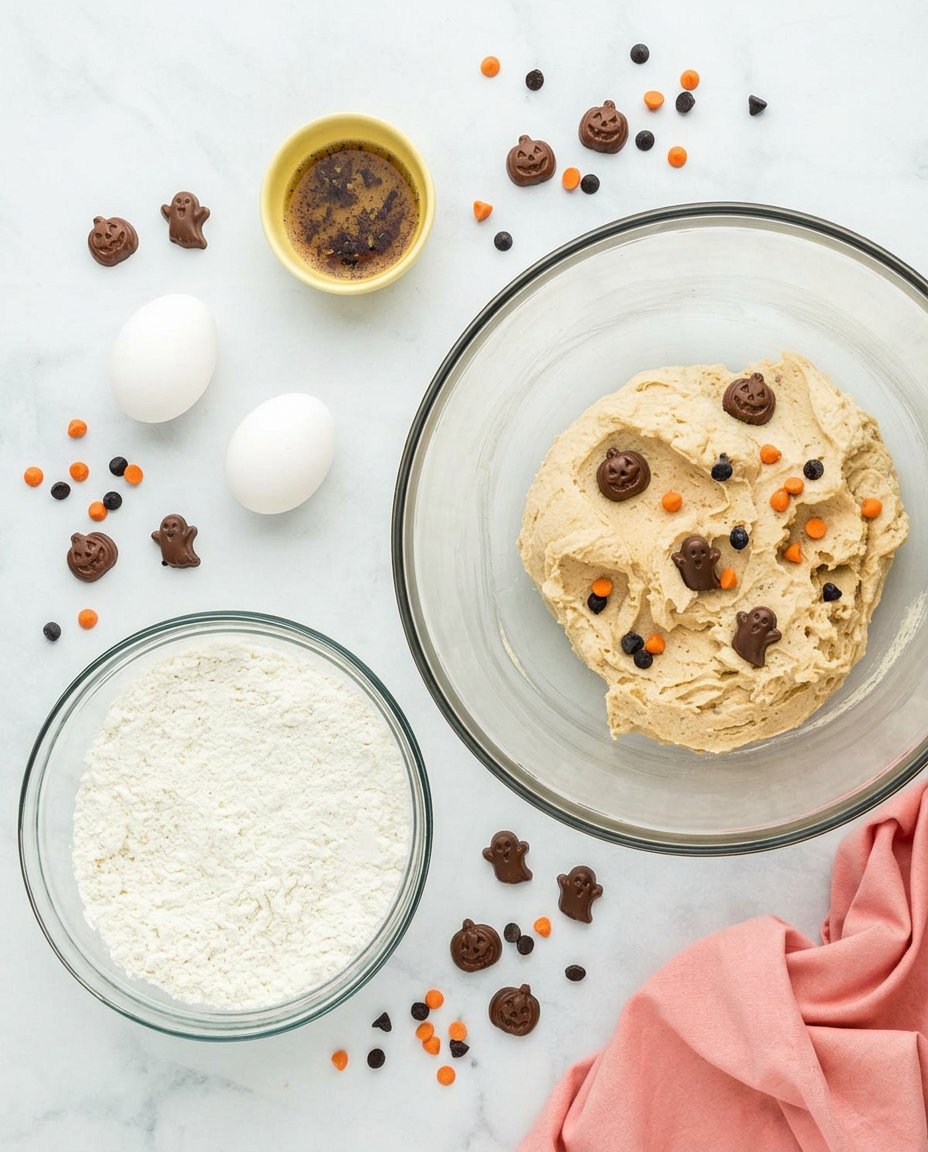
Ingredients
- 1 cup unsalted butter, room temperature
- 3/4 cup granulated white sugar
- 3/4 cup brown sugar, packed
- 2 large eggs
- 1 teaspoon vanilla extract
- 2 1/4 cups all-purpose flour
- 1 teaspoon baking soda
- 1/2 teaspoon baking powder
- 1/2 teaspoon salt
- 2 cups semi-sweet chocolate chips, divided
Instructions
- Preheat your oven to 350 degrees F (175 degrees C) and line baking sheets with parchment paper.
- In a large bowl, whisk together the flour, baking soda, salt, and baking powder until evenly distributed.
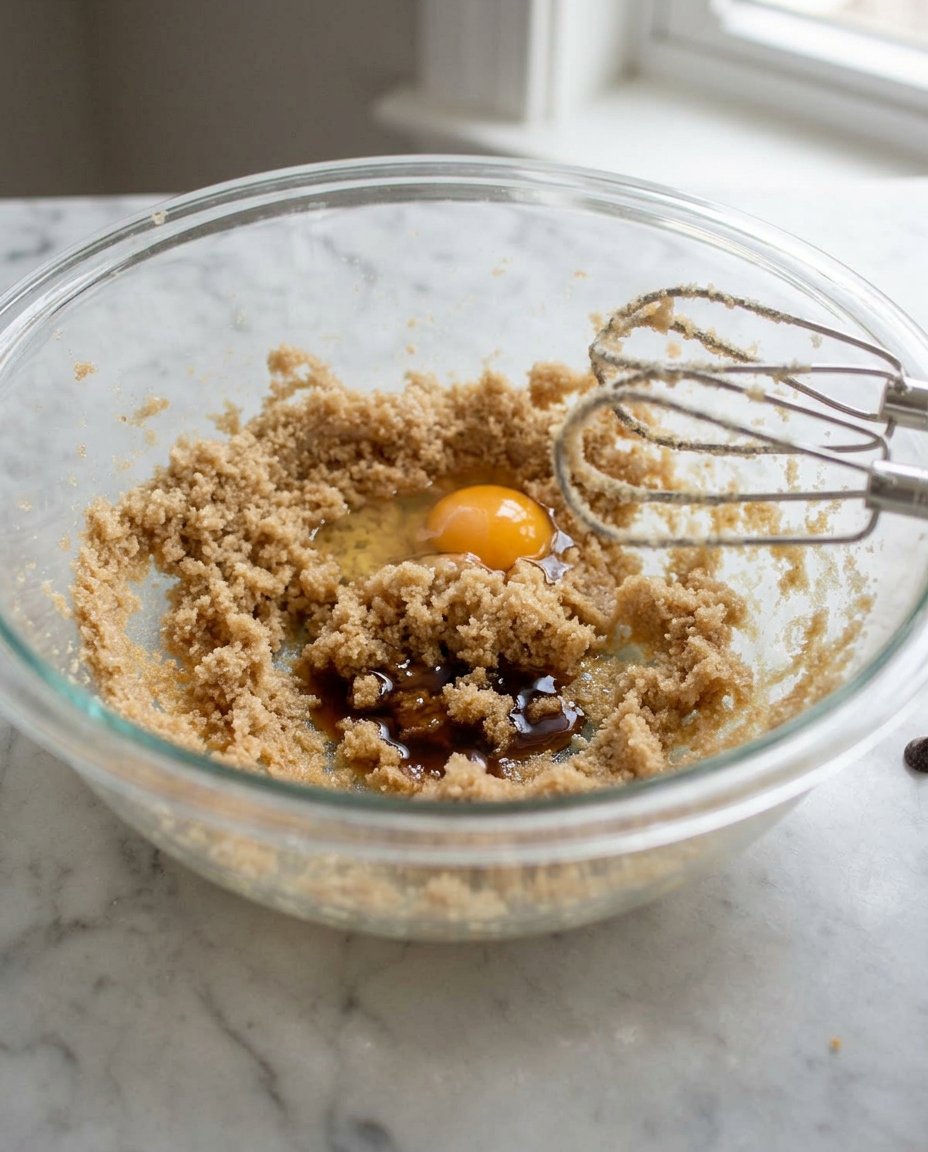
- Using an electric mixer, beat the room-temperature butter with both sugars until the mixture is pale and creamy.
- Add the eggs one at a time, followed by the vanilla extract, and beat until the batter is light and fluffy.
- Slowly add the flour mixture to the wet ingredients, mixing until just combined, then gently fold in 1 1/2 cups of the chocolate chips.
- Drop rounded spoonfuls of dough onto the baking sheets, spacing them 2 inches apart.
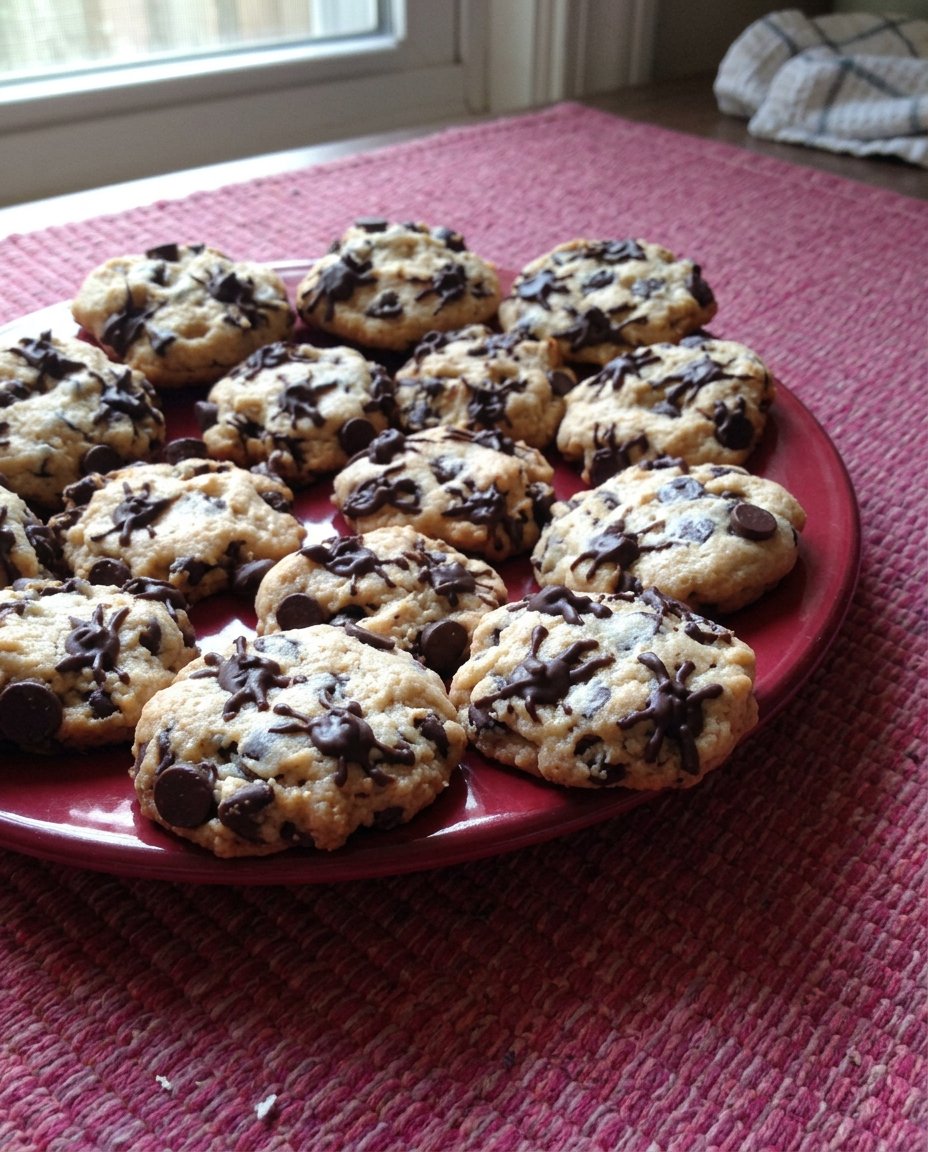
- Press 3 or 4 chocolate chips into the top of each dough ball, tip-side down, to serve as spider bodies.
- Bake for 10 to 15 minutes until edges are golden brown; let cool on the sheet for one minute before moving to a wire rack.
- Melt the remaining chocolate chips in the microwave in 15-second intervals until smooth.
- Transfer melted chocolate to a piping bag and draw three small legs on each side of the chocolate chip bodies once the cookies are completely cool.
Notes
To ensure the most defined spider legs, make sure the cookies are entirely cool to the touch before you begin piping the melted chocolate. If you want a thicker cookie that doesn’t spread too much, try chilling the prepared dough for 30 minutes before scooping it onto your baking sheets.
- Prep Time: 20 mins
- Cook Time: 15 mins
- Category: Dessert
- Method: Baking
- Cuisine: American
The Spice Addition
To get that signature texture and flavor, we rely on quality staples that you likely already have in your pantry. We use a blend of white and brown sugar to make sure the cookies are soft but still have that slight crunch at the very edge. Here is a look at what makes these special:
- Unsalted Butter: Make sure it is at room temperature so it creams perfectly with the sugars for a fluffy base.
- Brown Sugar: This is the secret to that deep, molasses-like warmth that makes these feel like home.
- Semi-Sweet Chocolate Chips: We use these for both the dough and the spider bodies because they hold their shape well and provide a balanced sweetness.
- Baking Powder and Soda: Using both gives the cookies the perfect rise and a tender crumb.
- Vanilla Extract: A full teaspoon is essential to bridge the gap between the butter and the chocolate.
While the recipe is straightforward, I always suggest using the best chocolate you can find. It makes a world of difference when you’re melting those extra chips for the legs. You want a chocolate that melts smoothly and tastes rich, as it will be the star of the show once the spiders are drawn.
The Comfort Method
Step 1: Prep Your Kitchen
Begin by preheating your oven to 350 degrees F (175 degrees C). This makes sure the cookies start spreading and browning the moment they hit the rack. Line your sheets with parchment or leave them ungreased; the high butter content usually prevents sticking quite well.
Step 2: Mix the Dry Ingredients
In a large bowl, whisk together the flour, baking soda, salt, and baking powder. I like to use a fork or a whisk to make sure everything is evenly distributed so you don’t end up with a clump of soda in one bite. This simple step is the foundation of a reliable bake.
Step 3: Cream the Butter and Sugars
Using an electric mixer, beat your room-temperature butter with both sugars until the mixture is pale and creamy. This is where you build the structure of the cookie, so don’t rush it. Add the eggs one at a time, followed by the vanilla, and beat until the batter looks fluffy and light.
Step 4: Combine and Fold
Slowly add the flour mixture to the wet ingredients. I prefer doing this one cup at a time and using a spatula for the final mixing to avoid overworking the dough, which can make it tough. Gently fold in 1 ½ cups of the chocolate chips, keeping the rest aside for the decorating phase later.
Step 5: Form the Spiders
Drop rounded spoonfuls of dough onto your baking sheets, spacing them about 2 inches apart to allow for spreading. Before they go into the oven, press 3 or 4 chocolate chips into the top of each dough ball. Place them tip-side down; these will become the bodies of your spiders once baked.
Step 6: Bake and Cool
Bake in the preheated oven for 10 to 15 minutes. You are looking for those edges to turn a beautiful golden brown while the middle still looks a bit soft and tender. Let them sit on the sheet for just a minute to firm up before moving them to a wire rack. They need to be completely cool before you start the leg drawing.
Step 7: Draw the Legs
Melt your remaining chocolate chips in the microwave in 15-second intervals. Once smooth, transfer to a piping bag or a plastic bag with a tiny corner snipped off. Carefully draw little spider legs on each side of the chocolate chip bodies. I usually do three legs per side to make sure they don’t look crowded.
Jesse’s Tips
One of my favorite secrets for a perfectly shaped cookie is to chill the dough for at least thirty minutes before scooping. This prevents the cookies from spreading too thin, which gives the spiders a more sturdy base to sit on. If you find your chocolate is hardening too fast while piping the legs, just pop the bag back into a bowl of warm water for a few seconds to soften it up.
When melting the chocolate for the legs, a tiny drop of coconut oil can help create a smoother consistency for easier piping. This technique is often used in our Effortless Cookie Elegance recipes to achieve a professional look without the stress. Also, look at this helpful guide for more visual inspiration on spider placement if you want your arachnids to look extra realistic.
Comfort Variations
If you want to add a bit of a Southern spice twist, try adding half a teaspoon of cinnamon to the flour mixture. It doesn’t scream spice, but it adds a warmth that makes the chocolate feel even richer and more complex. You could also swap the semi-sweet chips for dark chocolate if you prefer a less sweet treat with a more intense flavor.
For those who love a bit of texture, adding chopped pecans is a wonderful way to ground the sweetness. We have several other ideas for seasonal shifts in our Seasonal Cookie Design section, where we talk about how to adapt a base dough for any time of year. You might even consider using white chocolate chips for ghost spiders if you are feeling particularly creative today.
Cozy Enjoyment
These cookies are best served with a cold glass of milk or a hot cup of coffee as the evening air starts to turn crisp. I love placing them on a dark wooden platter to let the spider designs really pop against the grain. They are a hit at school parties or neighborhood gatherings, where the familiar taste of a chocolate chip cookie meets the fun of the season.
If you are hosting a larger event, try pairing these with some of the techniques found in our Cookie Decorating Studio to create a full dessert table. There is nothing like a plate of these cookies to make guests feel immediately welcome and at ease. They truly are a timeless treasure that brings people together.
Spiced Joy
At the end of the day, baking is about the joy you share with the people around you and the memories you create in the kitchen. These Halloween chocolate chip cookies aren’t just a recipe; they are a bridge between the traditions of the past and the celebrations of today. I hope they bring as much warmth and laughter to your home as they have to mine over the years. For more inspiration on keeping your cookie jar full of treats, visit our Trending Cookie Creations page.
I’d love to see how your spiders turned out! Share your photos and tag us so we can celebrate your baking journey together with the rest of our community. Happy baking and stay cozy!
