Growing up in a Southern kitchen meant the smell of vanilla and toasted sugar was the backdrop of every Sunday. We didn’t just bake; we created a baking cookies aesthetic that felt like a warm hug for the soul. These chocolate chunk cookies are a tribute to those slower days when the rhythm of the wooden spoon against the bowl was the only music we needed.

This recipe takes the classic foundation we all love and gives it a tiny spark of something special with a hint of honey and a long rest in the icebox. It’s the kind of cookie that makes you want to put the kettle on and stay a while, offering a deep, rich flavor that only comes from patience.
Comfort Meets Flavor
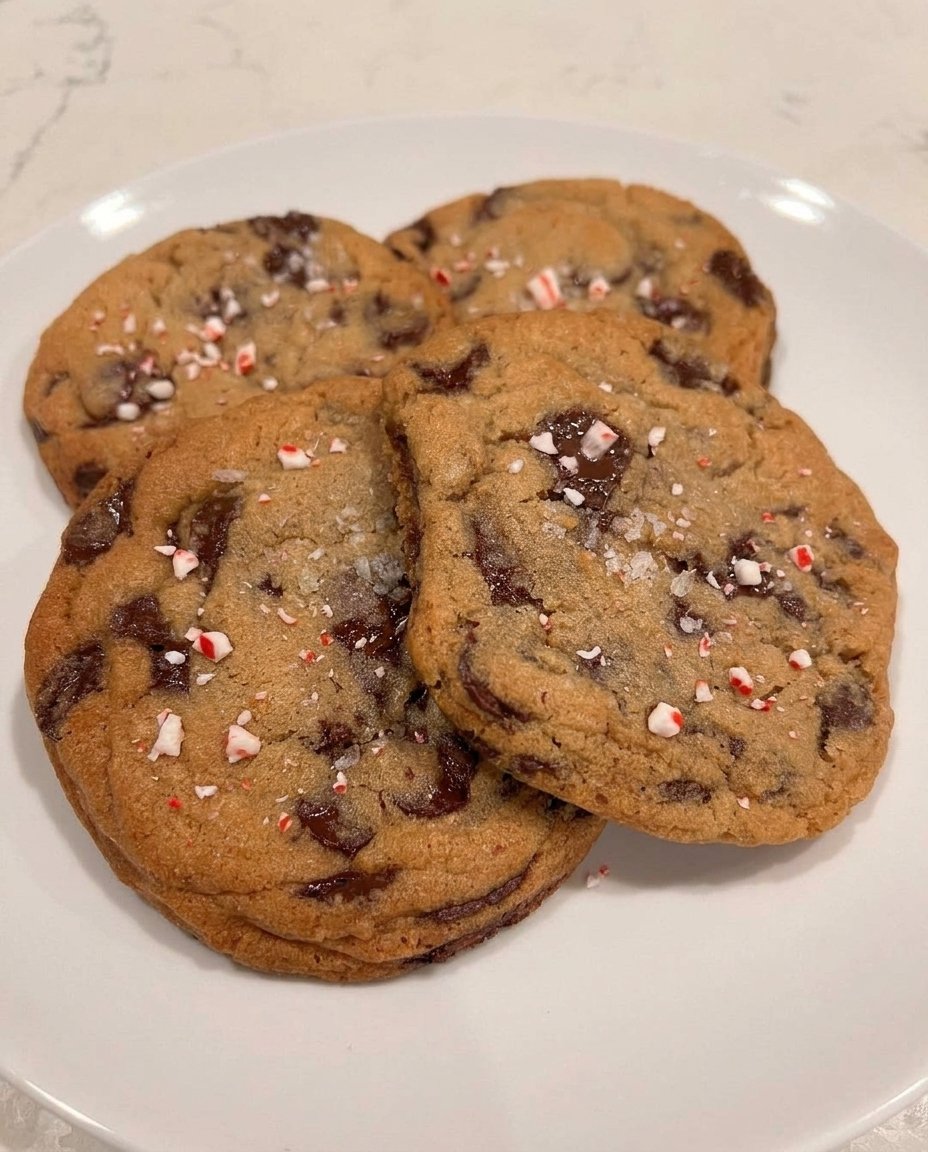
You’re going to love these because they hit that perfect balance between a crisp, golden edge and a center that stays soft for days. The baking cookies aesthetic isn’t just about how they look on a cooling rack; it’s about that first bite where the dark chocolate melts into the buttery dough. This is the cookie you grew up with, just a little more interesting and a lot more satisfying.
There is a deep sense of tradition in a chocolate chip cookie, but by using coarsely chopped chunks instead of uniform chips, we give each bite a different personality. Some bites are full of doughy comfort, while others are a decadent pool of melted cocoa. It’s about finding that familiar heart and giving it a gentle nudge toward something spectacular.
In our house, we believe that the best things in life take a little bit of time. That’s why we emphasize the chill—it’s not just a step in a recipe; it’s a way of letting the flavors get to know each other. When you finally pull these out of the oven, the honey-gold color and the aromatic warmth will tell you exactly why we don’t rush the process. It’s pure, unadulterated comfort with a subtle, sophisticated spark.
Print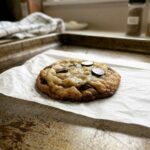
Old-World Chocolate Chunk Cookies
- Total Time: 8 hours 25 mins
- Yield: 16 cookies
- Diet: Vegetarian
Description
These cookies offer a sophisticated take on a Southern classic, featuring a rich, honey-infused dough and pools of hand-chopped dark chocolate. By allowing the dough to rest, you achieve a deep caramel flavor and a perfect balance of crisp edges and a soft, chewy center.
Ingredients
- 250 grams all-purpose flour
- 1 teaspoon baking soda
- 1/2 teaspoon salt
- 1 cup salted butter, softened to room temperature
- 1 cup dark brown sugar
- 1/2 cup granulated sugar
- 1 teaspoon pure vanilla extract
- 1 teaspoon honey or corn syrup
- 1 large egg, room temperature
- 8 ounces dark chocolate (55-70% cocoa), coarsely chopped
- Flaky sea salt for topping
Instructions
- In a medium-sized bowl, whisk together the flour, baking soda, and salt until thoroughly combined.
- In a separate large bowl or stand mixer, cream the softened butter with both sugars and the vanilla extract until it forms a smooth, thick paste.
- Incorporate the honey followed by the room-temperature egg, mixing until the dough becomes glossy.
- Gently fold in the flour mixture followed by the hand-chopped chocolate chunks, stirring just until no streaks of flour remain.
- Cover the bowl tightly and refrigerate the dough for at least 8 to 24 hours to allow the flavors to mature.
- Preheat your oven to 350°F (175°C) and scoop the chilled dough into 16 balls, placing them two inches apart on parchment-lined sheets.
- Bake for 9-11 minutes until edges are golden-brown; let cool for two minutes on the tray before finishing with a sprinkle of flaky sea salt and moving to a wire rack.
Notes
To ensure your cookies have the best texture, always use a room-temperature egg to prevent the butter from seizing. Hand-chopping your chocolate bars is essential, as the small ‘chocolate dust’ created during chopping integrates into the dough for a richer flavor in every single bite.
- Prep Time: 15 mins
- Cook Time: 10 mins
- Category: Dessert
- Method: Baking
- Cuisine: American
Familiar Ingredients with a Spark
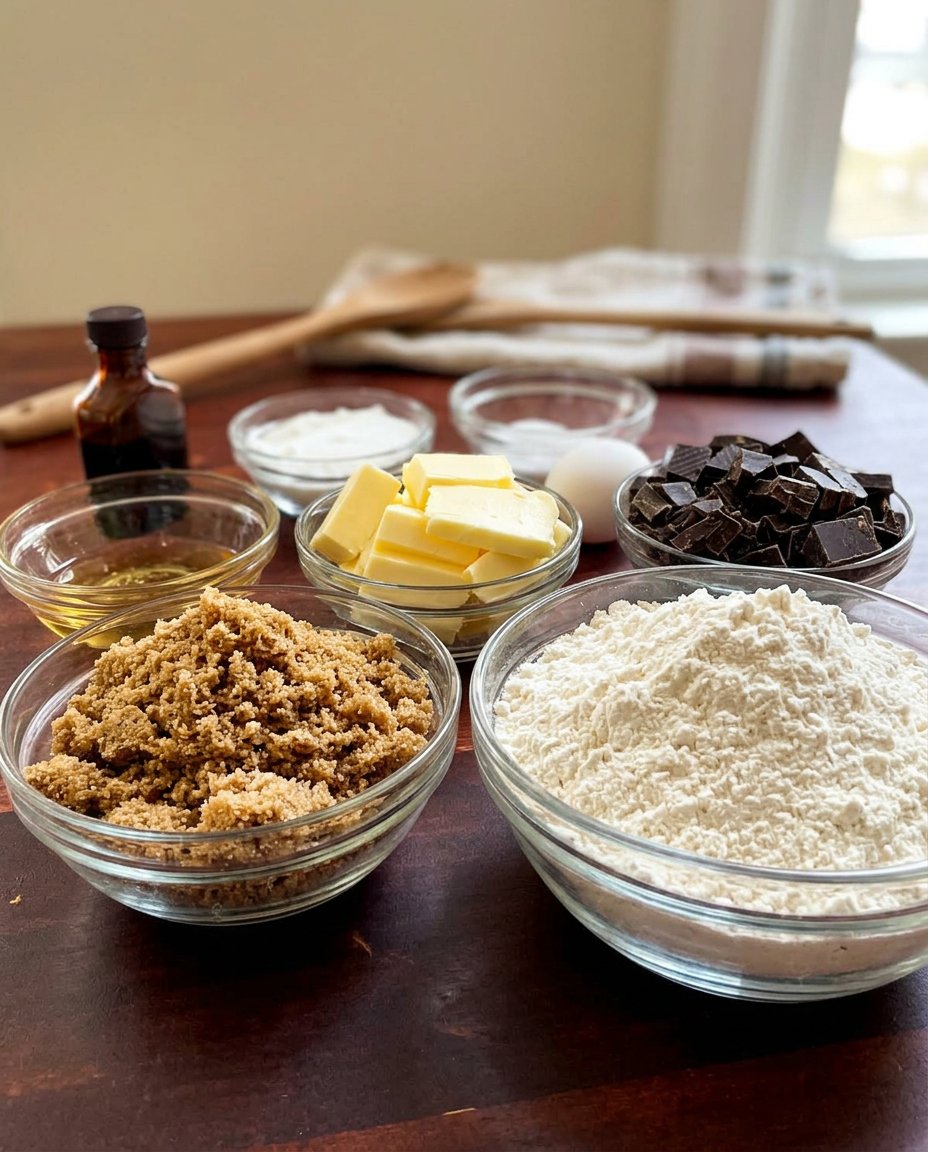
To achieve that perfect baking cookies aesthetic, we start with high-quality staples that you likely already have in your pantry. Each one plays a specific role in creating the texture and flavor profile that makes these cookies so memorable.
- All-Purpose Flour: This provides the sturdy foundation for our cookies. I recommend weighing your flour to get exactly 250 grams, which keeps the dough from becoming too dry or crumbly.
- Baking Soda: Our leavening agent that helps the cookies spread just enough and provides that beautiful golden-brown color we’re looking for.
- Salted Butter: Using salted butter at room temperature adds a layer of savory depth that balances the sweetness of the sugars. It should be soft enough to smear but not so warm that it’s greasy.
- Dark Brown Sugar: This is the secret to a chewy, moist center. The molasses in the dark brown sugar brings a caramel-like richness that light brown sugar just can’t match.
- Granulated Sugar: This helps create those slightly crisp, lacy edges that contrast so perfectly with the soft middle.
- Pure Vanilla Extract: Never settle for the imitation stuff. A full teaspoon of high-quality vanilla adds that floral, sweet aroma that defines a classic home-baked treat.
- Honey or Corn Syrup: Just a small touch of honey acts as a humectant, keeping the cookies soft for days and adding a very subtle floral note that makes people wonder what your secret is.
- Dark Chocolate Chunks: Use a good quality bar (55-70% cocoa) and chop it yourself. This creates those beautiful ‘pools’ of chocolate and varied textures that make these cookies look as good as they taste.
- Flaky Sea Salt: A little sprinkle on top right after baking acts as a flavor waker-upper, cutting through the richness of the chocolate and butter.
The Comfort Method
Step 1: Prep Your Dry Ingredients
Start by grabbing a medium-sized bowl and whisking together your all-purpose flour, baking soda, and salt. Make sure they are blended evenly so your cookies rise and brown consistently. Taking a moment to whisk thoroughly prevents any salty or soapy clumps of soda later on.
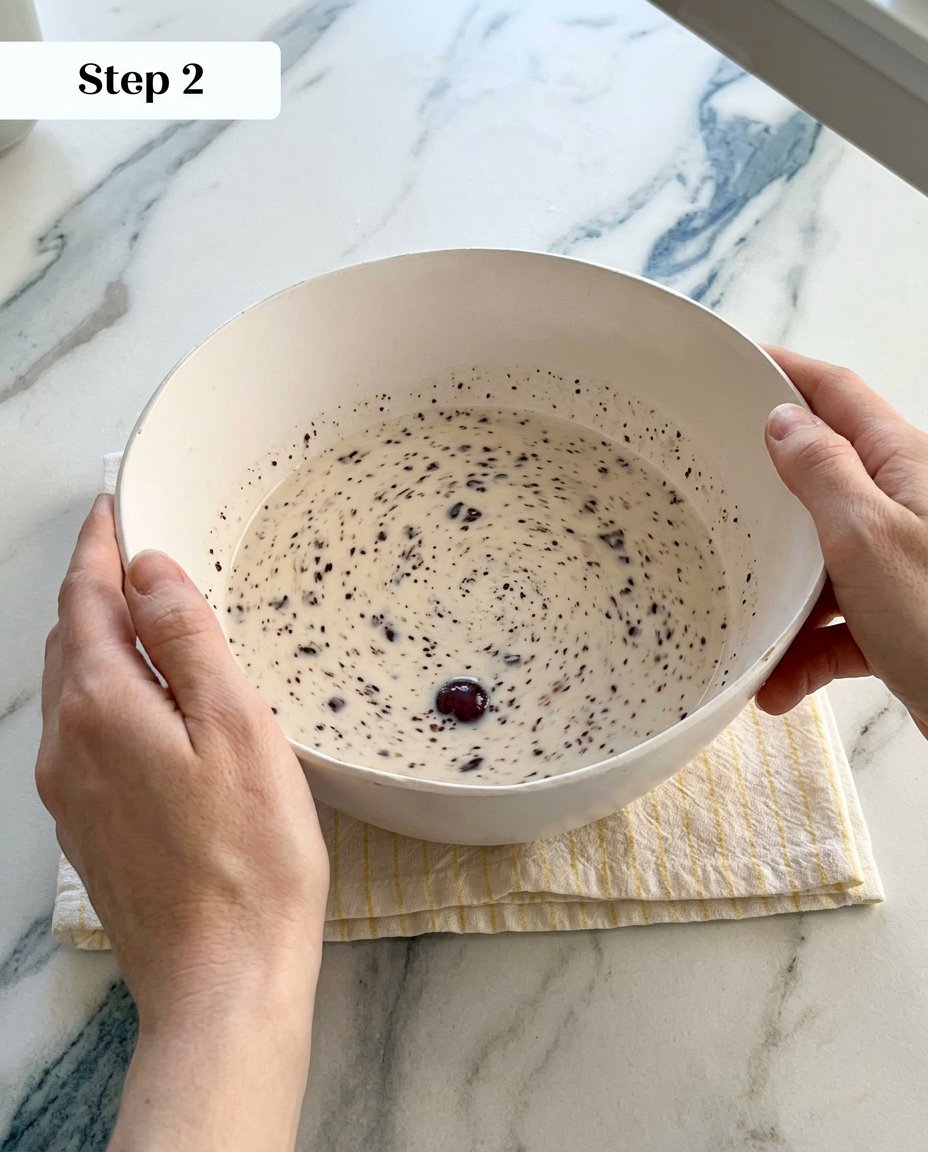
Step 2: Cream the Butter and Sugars
In a large bowl, or using your trusty stand mixer, combine the softened salted butter with the dark brown sugar, granulated sugar, and vanilla extract. I like to use the ‘creaming method’ by hand with a wide rubber spatula, smearing the butter against the side of the bowl until it looks like a thick, damp sand paste. If you use a mixer, keep it on medium-low; we want a smooth mixture, but we aren’t trying to whip in too much air.
Step 3: Add the Liquid Gold
Mix in your teaspoon of honey. This is that little Southern twist that helps with the texture. Once that’s incorporated, add your room-temperature egg. Mix it in until the dough looks glossy and well-combined. The egg is what binds everything together into that familiar, comforting dough.
Step 4: Fold in the Flour and Chocolate
Add your flour mixture all at once to the butter mixture. Stir gently until most of the flour is absorbed, but stop just before it’s fully gone. Now, toss in those beautiful dark chocolate chunks. Continue folding until the chocolate is evenly distributed and no streaks of flour remain. You should have a soft, moderately moist dough that smells incredible.
Step 5: The Essential Chill
Cover your bowl tightly with plastic wrap and put it in the refrigerator for at least 8 to 24 hours. I know it’s hard to wait, but this is how we achieve that deep, ancestral flavor and the perfect baking cookies aesthetic. If you’re in a real pinch, four hours will do, but overnight is where the magic happens.
Step 6: Portion and Bake
When you’re ready, preheat your oven to 350°F (175°C) and line your sheets with parchment paper. Use a cookie scoop to create 16 balls of dough. Place them two inches apart on the tray—no need to flatten them! Press a few extra chocolate chunks on top of each ball for that picture-perfect look.
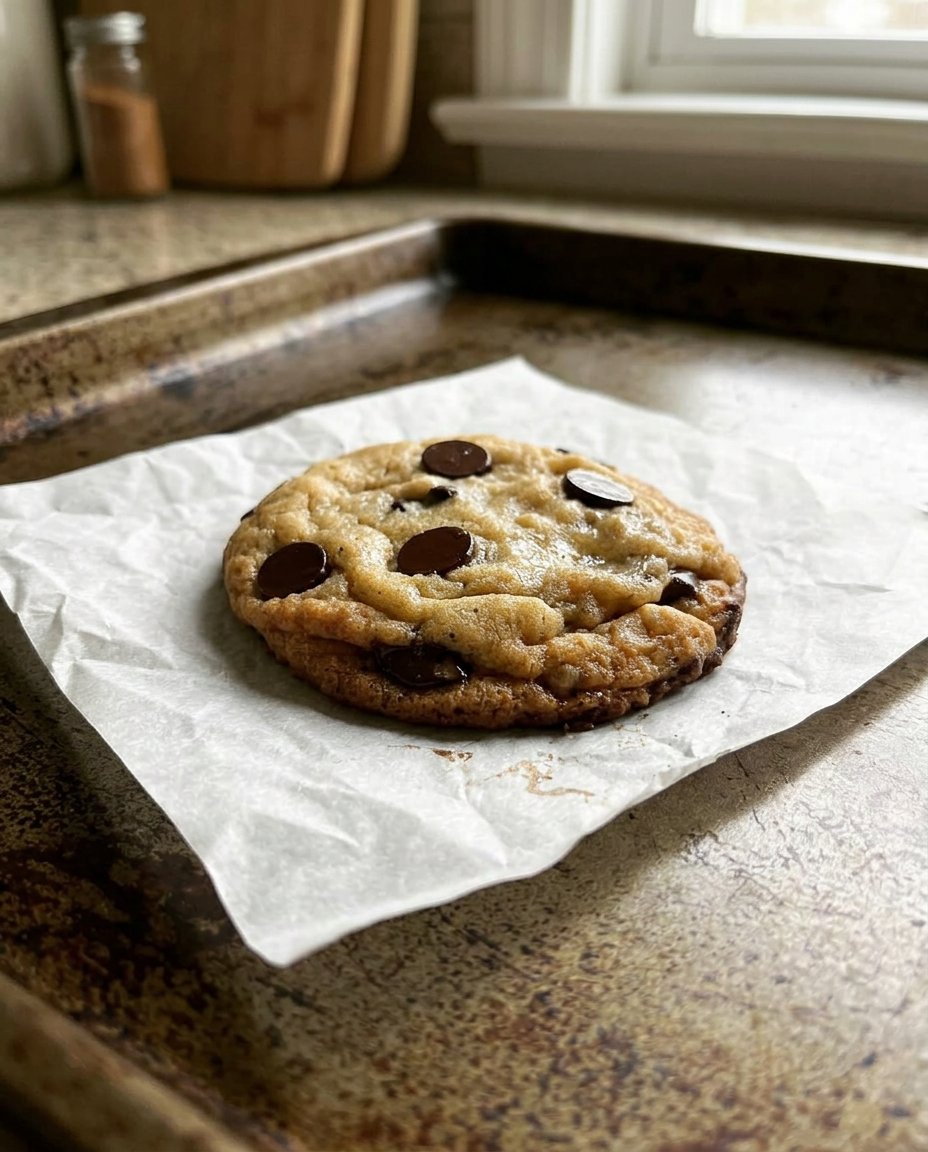
Step 7: The Golden Finish
Bake for 9-11 minutes. You want the edges to be puffed and a light honey-gold, while the centers should still look slightly soft and underbaked. Let them sit on the hot tray for two minutes to finish setting up, then move them to a wire rack. Sprinkle with flaky sea salt while they’re still warm and enjoy the comfort.
Jesse’s Comfort Secrets
One of my favorite ways to master the baking cookies aesthetic is to focus on the chocolate. Instead of using bags of chips, I always reach for a high-quality chocolate bar. Chopping the chocolate yourself creates ‘chocolate dust’ that streaks through the dough, making every single bite flavorful. If you want to see how we apply these decorative touches to other treats, take a peek at our Artisan Cookie Collection.
Another secret is the temperature of your egg. A cold egg can cause your creamed butter to seize up and become chunky. Simply place your egg in a bowl of warm water for five minutes before you start, and you’ll find the dough comes together much smoother. Lastly, don’t be afraid of the salt! A little extra salt, especially on top, actually makes the chocolate taste more like chocolate.
Classic Options and Spice Ideas
You can easily put your own mark on this recipe without losing that familiar heart. If you want a more autumnal feel, try adding half a teaspoon of cinnamon and a pinch of nutmeg to the flour. For a sophisticated floral twist, a little dried culinary lavender or a bit of orange zest rubbed into the sugar works wonders. For more inspiration on how to change up your look, check out our guide on Seasonal Cookie Design.
If you prefer a nuttier profile, toasted pecans or walnuts are a classic Southern addition that fits right in. You can also swap the dark chocolate for white chocolate and macadamia nuts if you’re feeling adventurous. For those who love a deeper flavor, try browning your butter first and letting it cool before creaming it with the sugars; it adds a toasted, nutty depth that is simply irresistible.
Cozy Enjoyment and Sharing
There is nothing quite like a warm chocolate chunk cookie paired with a cold glass of milk, but if you want to lean into that Southern hospitality, serve these alongside a hot mug of coffee or a spiced chai tea. These cookies are sturdy enough to be gifted in a beautiful tin, making them a wonderful way to show someone you care. For those interested in making their cookie displays even more beautiful, our Cookie Decorating Studio has plenty of ideas for presenting your bakes.
I also love to crumble a slightly warm cookie over a scoop of high-quality vanilla bean ice cream. The way the dark chocolate chunks interact with the cold cream is pure heaven. Whether you’re sharing them at a Sunday potluck or enjoying one quietly by the window, these cookies are meant to be savored slowly.
Spiced Joy in Every Bite
At the end of the day, baking is about more than just the final product; it’s about the memories we create while the oven is on. This recipe for a baking cookies aesthetic isn’t just a list of steps, but a way to bring a little bit of ancestral warmth into your modern kitchen. If you’re looking for more ways to keep your kitchen smelling like home, be sure to browse our Trending Cookie Creations. You can also find more technical insights on the science of the perfect bake over at Scientifically Sweet.
Don’t forget to share your beautiful bakes with us! Tag us on Instagram, share your tray on Pinterest, or join our community on Facebook. We love seeing how you bring these classics to life in your own home. Keep baking, keep sharing, and keep finding joy in the simple, buttery things.

