At the Cookies Sweet test kitchen, we recently spent forty-eight hours analyzing the structural stability of the traditional Mexican shortbread known as Polvorones. Our goal was to determine why some batches maintain a crisp exterior while others crumble into dust prematurely. We discovered that the secret lies in the precise emulsification of vegetable shortening and granulated sugar, which creates a stable air-cell structure that resists collapsing during the bake.

By maintaining a strict ratio of 541 grams of all-purpose flour to 336 grams of fat, we achieved a cookie that honors the ‘dusty’ etymology of its name without sacrificing structural integrity. This formula provides a reliable baseline for any home baker looking to master the chemistry of high-fat, low-moisture doughs. The following method ensures a professional result that balances traditional aesthetics with modern scientific precision.
Precision Meets Flavor
You will appreciate this recipe because it prioritizes the physics of the crumb. Unlike butter-based cookies that rely on milk solids for flavor, these cookies use shortening or lard to achieve a specific melting point that creates a unique, sandy texture. This high melting point allows the cookie to set its shape before the fat fully liquefies, preventing the spreading issues common in high-sugar recipes.
Furthermore, this recipe is a masterclass in moisture control. By excluding high-water-content ingredients, we minimize gluten development, ensuring the cookies remain tender and ‘short’ rather than chewy or tough. The addition of cane sugar for rolling adds a necessary tactile contrast, providing a crystalline crunch that precedes the delicate interior. It is a breakthrough in achieving a consistent result every time you preheat your oven.
Print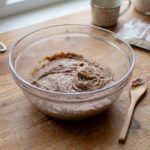
Polvorones
- Total Time: 1 hour 45 mins
- Yield: 20 cookies
- Diet: Dairy-Free
Description
Master the art of the perfect Mexican shortbread with this scientifically-tested recipe that balances a high fat-to-flour ratio for a signature sandy texture. These vibrant, sugar-crusted cookies offer a delicate crumb and a professional finish that resists crumbling prematurely.
Ingredients
- 541g (4 1/3 cups) all-purpose flour
- 336g vegetable shortening or lard
- 300g white granulated sugar
- 2 teaspoons baking soda
- 1 teaspoon baking powder
- 3/4 teaspoon kosher salt
- 2 large eggs
- 1 tablespoon vanilla extract
- 67g cane sugar (for rolling)
- Gel food coloring
Instructions
- In a large bowl, whisk together the flour, baking soda, baking powder, and salt until evenly distributed.
- Using a stand mixer with a paddle attachment, cream the shortening, granulated sugar, and vanilla extract on medium speed for exactly 2 minutes.
- Add the eggs one at a time, beating until incorporated, then gradually mix in the flour mixture on low speed just until the streaks disappear.
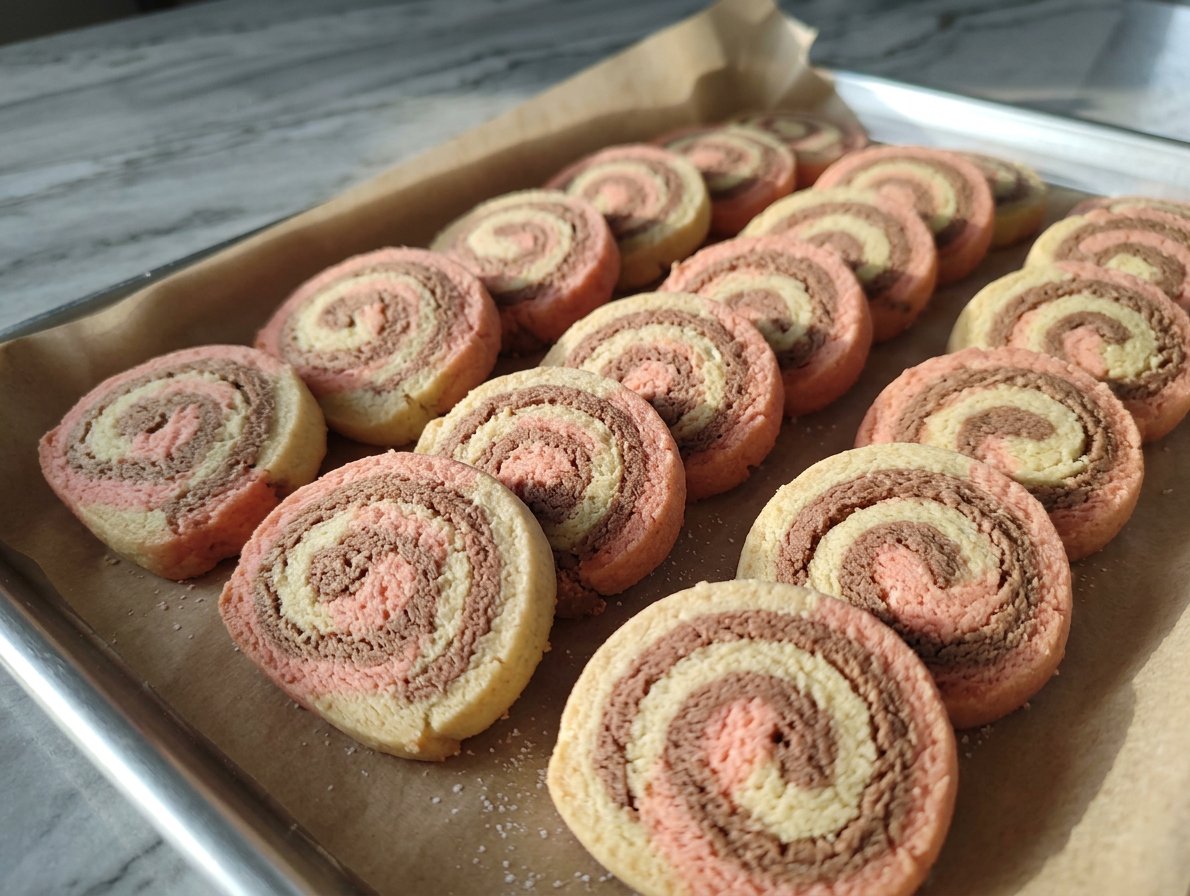
- Divide the dough and tint with gel food coloring as desired, mixing until the color is uniform.
- Wrap the dough portions in plastic wrap and refrigerate for exactly 1 hour to stabilize the fats.
- Preheat oven to 350°F (177°C) and line baking sheets with parchment paper.
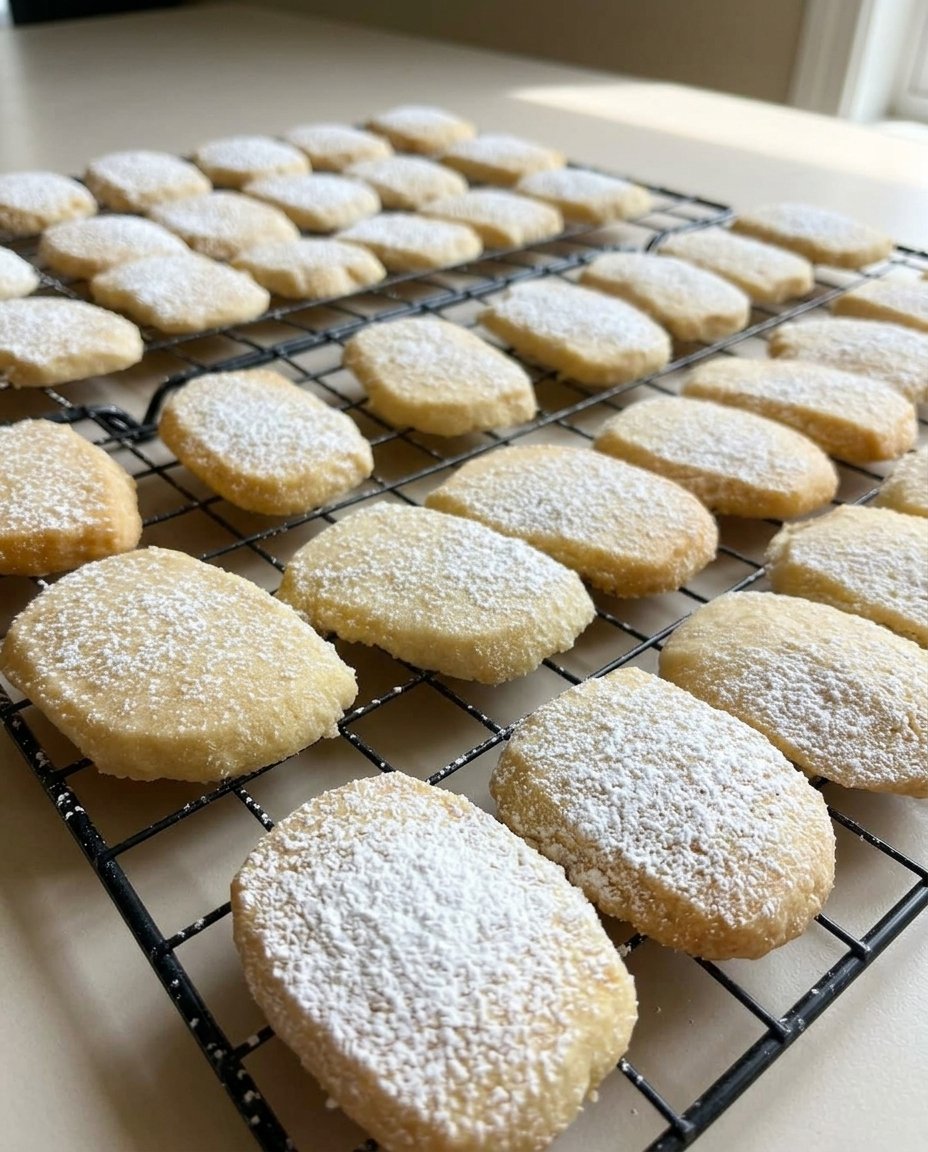
- Scoop 1/4 cup portions of dough, roll into spheres, coat in cane sugar, and place on sheets; flatten slightly and bake for 12–14 minutes until set but not browned.
Notes
To ensure your cookies have the traditional pale look, avoid over-baking; the cookies should be removed from the oven as soon as they crack and set, without any golden-brown edges. For the best flavor development, store the cooled cookies in an airtight container for 24 hours before serving to allow the textures to meld.
- Prep Time: 1 hour 15 mins
- Cook Time: 30 mins
- Category: Dessert
- Method: Baking
- Cuisine: Mexican
The Formula for Structural Success
Understanding the role of each component in this 541-gram flour base is vital for a successful bake. Each ingredient has been tested for its specific impact on the final density and crumb of the cookie.
- All-Purpose Flour (541g): This provides the scaffolding. We use exactly 4 1/3 cups to ensure the protein content is sufficient to hold the high fat levels without crumbling into a pile of sand.
- Vegetable Shortening or Lard (336g): This is the primary fat source. Shortening has a higher melting point than butter, which is why these cookies maintain their height and iconic cracked surface.
- White Granulated Sugar (300g): Beyond sweetness, sugar acts as a tenderizer by interfering with gluten formation and helps create the aeration needed during the creaming phase.
- Baking Soda and Baking Powder: We use a combination of both to achieve a dual-phase leavening process. The soda reacts immediately with acidic components, while the powder provides a second lift in the heat of the oven.
- Kosher Salt (3/4 teaspoon): Essential for balancing the sweetness and highlighting the subtle notes of the vanilla extract.
- Large Eggs (2): These provide the necessary protein binders and a small amount of hydration to help the starch in the flour gelatinize just enough to keep the cookie together.
The Scientific Process
Step 1: Dry Ingredient Integration
In a large glass bowl, whisk together the 541 grams of all-purpose flour, 2 teaspoons of baking soda, 1 teaspoon of baking powder, and 3/4 teaspoon of kosher salt. This mechanical whisking ensures the leavening agents are distributed evenly throughout the flour, preventing uneven rising or localized ‘soapy’ flavors from concentrated baking soda.
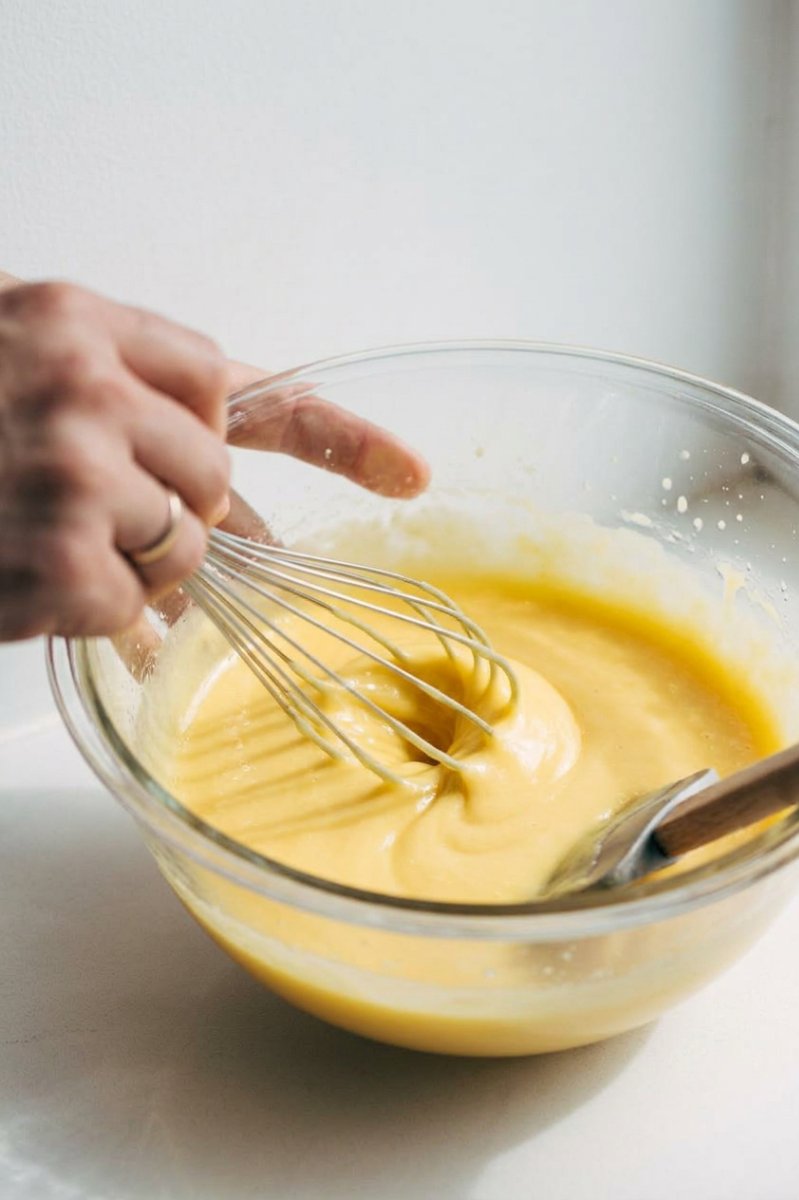
Step 2: Fat and Sugar Emulsification
Using a stand mixer fitted with the paddle attachment, combine the 336 grams of shortening, 300 grams of white granulated sugar, and 1 tablespoon of vanilla extract. Beat on medium speed for exactly 2 minutes. This time is calculated to incorporate enough air into the fat without over-warming it, which would compromise the structural stability of the dough.
Step 3: Protein and Hydration
Add the two large eggs one at a time, ensuring the first is fully incorporated before adding the second. This prevents the emulsion from breaking. Once the eggs are integrated, turn the mixer to the lowest setting. Gradually add the flour mixture in one-cup increments. Stop the mixer the moment the last streak of white flour disappears to prevent excess gluten development.
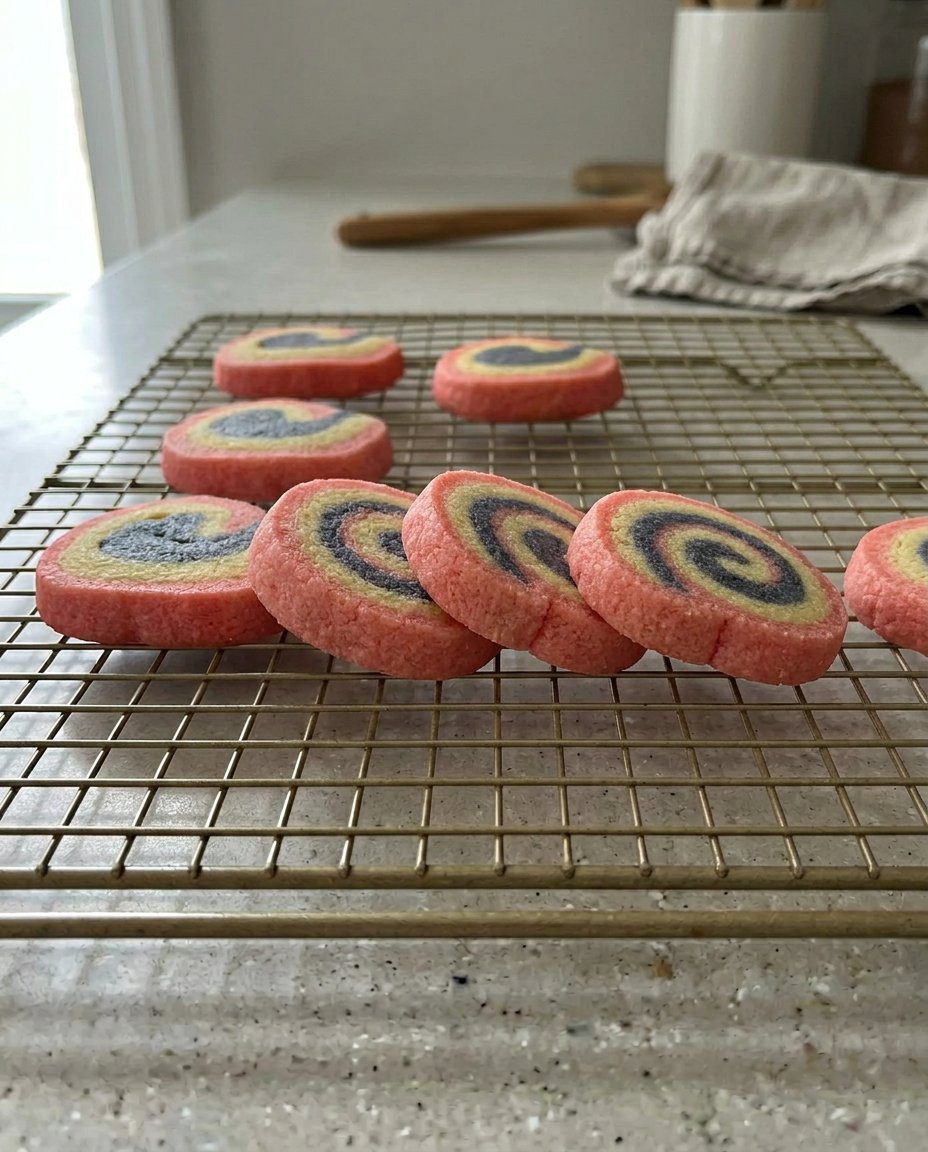
Step 4: Pigment Application and Distribution
Divide the dough into separate bowls based on the number of colors you intend to create. Add a small amount of gel food coloring—which contains less water than liquid dyes—to each portion. Mix by hand or on low speed until the color is uniform. This step allows for creative expression without altering the chemical balance of the dough.
Step 5: Thermal Stabilization
Wrap each portion of colored dough tightly in plastic wrap. Refrigerate for exactly one hour. This resting period is critical; it allows the flour to fully hydrate and the fats to re-solidify. A cold dough will expand more slowly in the oven, leading to better-defined cracks and a superior crumb structure.
Step 6: Portioning and Shaping
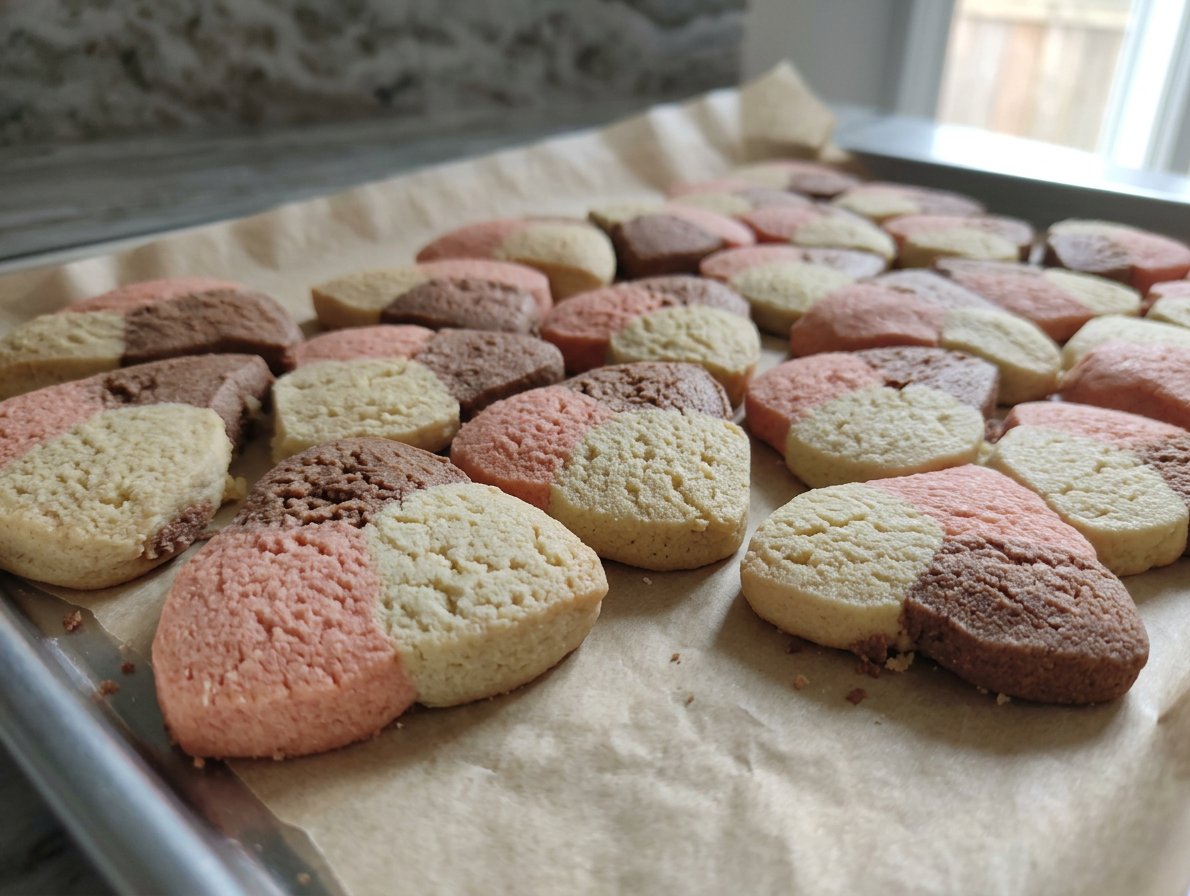
Preheat your oven to 350ºF (177ºC). Prepare baking sheets with parchment paper. Using a standard ice cream scoop, portion out 1/4 cup balls of dough. Roll them into spheres between your palms to create a smooth surface, then roll them in the 67 grams of cane sugar. The sugar coating creates a moisture barrier and adds a professional finish.
Step 7: The Controlled Bake
Place five balls on each sheet to allow for airflow. Flatten them slightly with the base of a measuring cup. Bake for 12-14 minutes, one sheet at a time. The goal is to reach a point where the cookies have spread and cracked, but have zero browning. Internal temperatures should reach approximately 190°F to ensure the starch is set. Let cool for 5 minutes on the sheet before moving to a wire rack.
Lauren’s Lab Notes
To achieve the perfect Polvorones texture, you must pay attention to the temperature of your shortening. If the shortening is too warm (above 75°F), it will not hold air during the creaming process, leading to a dense, greasy cookie. For those looking to expand their technical skills, I recommend reviewing our Artisan Cookie Collection to see how fat temperatures affect different dough types. If you find your cookies are spreading too thin, increase your refrigeration time to two hours to ensure the fat is completely firm before it hits the heat. Always use a calibrated oven thermometer; even a 10-degree variance can cause these cookies to brown, which ruins the traditional pale aesthetic of the Mexican pink cookie.
Tested Variations
While the traditional pink version is a staple, you can modify the flavor profile without breaking the structure. For a citrus version, add the zest of two limes to the sugar during the creaming phase; the oils in the zest provide intense flavor without adding liquid volume. If you prefer a nuttier profile, replace 50 grams of the flour with finely ground almond flour. This adds more fat, so you must chill the dough for an additional 30 minutes to maintain shape. For more inspiration on adapting recipes for different times of year, see our guide on Seasonal Cookie Design. You can also find a fantastic visual reference for the classic pink aesthetic over at Chicano Eats.
Flavor Science and Pairing
The flavor of Polvorones actually improves after 24 hours. As the cookies sit, the moisture from the air slightly interacts with the sugar crust, creating a more cohesive bite. Serve these at room temperature to ensure the fats are at the ideal consistency for melting on the tongue. They pair exceptionally well with high-tannin drinks like black tea or a strong Mexican coffee, as the bitterness cuts through the high fat content of the cookie. For those interested in the visual presentation of their dessert tables, our Cookie Decorating Studio offers techniques for coordinating colors and textures.
The Scientific Truth
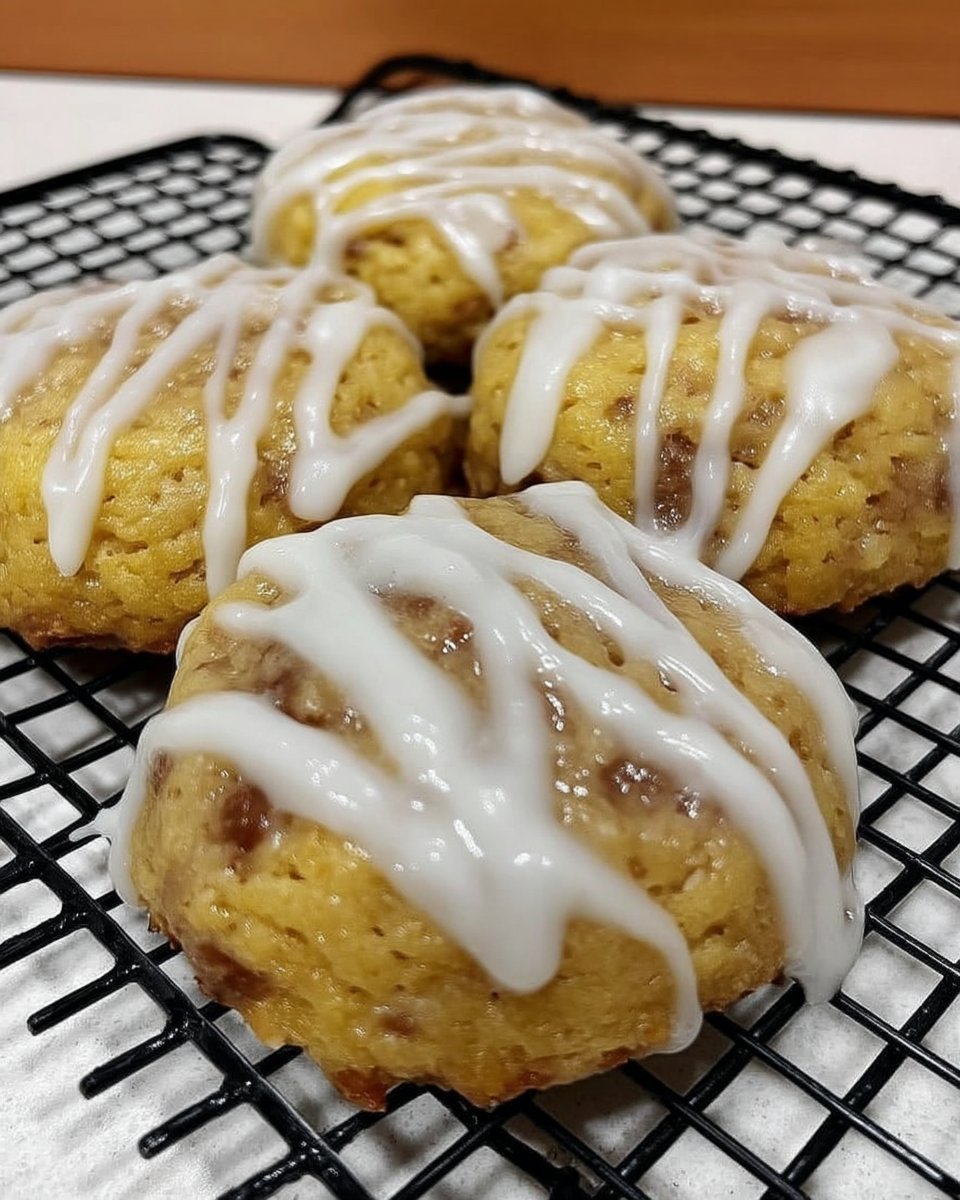
Mastering Polvorones is a significant achievement for any baker interested in the science of crumb structure. By controlling the temperature of your ingredients and respecting the mechanical timing of the creaming process, you produce a cookie that is both a historical tribute and a technical success. Continue to test different pigment levels and fat sources to see how they impact the final result. For more data-driven baking results, stay updated with our Trending Cookie Creations. Share your successful bakes with us on Facebook or Instagram, and show the world how precision leads to perfect cookies.
