We spent several days in the test kitchen perfecting the moisture-to-flour ratio for these Tuile Cookies. By adjusting the almond flour content by exactly 5 grams, we achieved a snap that remains consistent even in high-humidity conditions. This precision-driven approach transforms a temperamental French classic into a reliable staple for any home baker looking to master thin-batter mechanics.

The success of this recipe lies in the thinness of the spread and the immediate structural manipulation after the bake. This formula balances the fat from melted butter with the proteins in a single 50-gram egg to create a flexible yet crisp result. Understanding the temperature-sensitive nature of the batter is the first step toward flawless shaping results.
The Science of the Perfect Snap
These cookies offer a fascinating study in evaporation and sugar crystallization. Because the batter is spread so thinly, the water content evaporates rapidly in the oven, leaving behind a delicate lattice of sugar and flour. This process creates a remarkable texture that is both fragile and satisfyingly crunchy. You will appreciate how a simple formula of equal weights—50 grams each of egg, sugar, and butter—results in such a professional finish. This ratio is specifically designed to provide enough structural integrity for rolling while maintaining a melt-in-the-mouth quality. The addition of a small amount of almond flour adds a subtle nutty depth and a micro-texture that helps the cookie hold onto its shape as it cools. By mastering the heat-transfer properties of the baking sheet, you can produce cookies that rival any professional pastry shop.
Print
Tuile Cookies
- Total Time: 1 hour 17 mins
- Yield: 15 cookies
- Diet: Vegetarian
Description
Master the art of the French tuile with this precision-based recipe that guarantees a delicate, crispy snap every time. These elegant, buttery wafers are perfect for shaping into classic cigarettes or decorative cups to elevate any dessert presentation.
Ingredients
- 50g Egg (approximately 1 large egg)
- 50g Powdered Sugar
- 50g Unsalted Butter, melted and warm
- 45g All-Purpose Flour
- 5g Almond Flour
- 1/8 teaspoon Vanilla Extract
- Pinch of Salt
- Sliced Almonds (optional for almond tuile variety)
Instructions
- In a medium bowl, whisk together the egg, vanilla extract, salt, and powdered sugar until the mixture is completely smooth and emulsified.
- Slowly pour the warm melted butter into the mixture while whisking continuously to maintain a stable emulsion.
- Sift the all-purpose flour and almond flour into the wet ingredients and fold gently with a rubber spatula until the batter is uniform.
- Cover and refrigerate the batter for at least one hour to allow the starches to hydrate for better structural integrity.
- Preheat your oven to 330°F (165°C) and line a flat baking sheet with parchment paper.
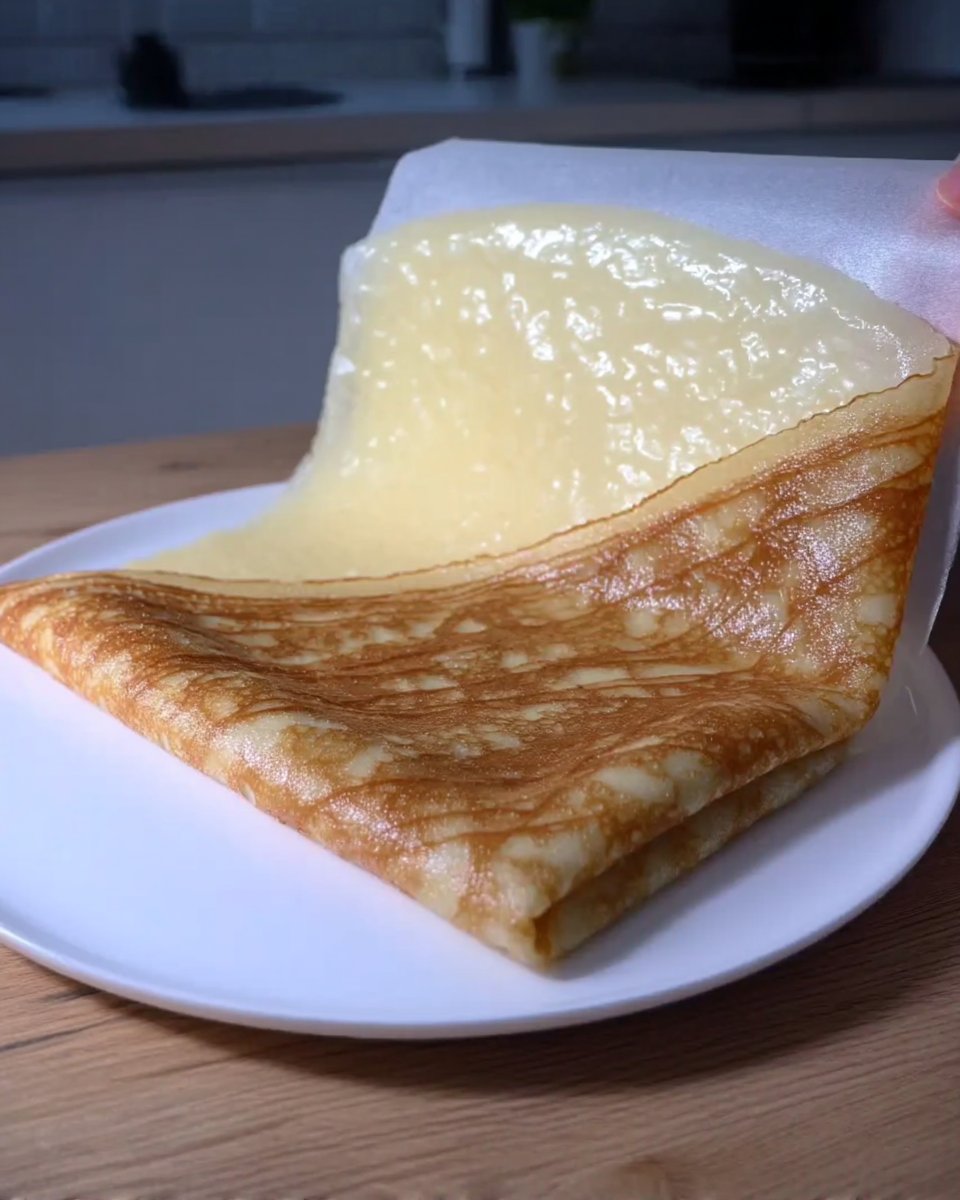
- Using a small offset spatula, spread the chilled batter onto the parchment in thin layers (approximately 1mm thick) into your desired shapes.
- If adding almonds, press them into the batter; bake for 4 to 7 minutes or until the edges are a deep honey-gold.
- Remove from the oven and immediately roll or mold the cookies while hot; work quickly as they will set and harden within seconds.
Notes
To ensure a perfect shape, bake only two or three cookies at a time so you have enough time to roll them before they cool. If the cookies become too brittle to work with, return the baking sheet to the oven for 20 seconds to soften the sugar again.
- Prep Time: 10 mins
- Cook Time: 7 mins
- Category: Dessert
- Method: Baking
- Cuisine: French
The Formula for Tuile Cookies Success

Each component in this recipe serves a specific chemical purpose to maintain the cookie’s integrity during the high-heat evaporation process. Using a digital scale for these measurements is highly recommended to maintain the correct fat-to-protein ratio.
- Egg (50g): This is the primary binder. The proteins provide the elastic structure necessary for the cookie to hold its shape while it is still hot and pliable.
- Powdered Sugar (50g): We use powdered sugar because it contains a small amount of cornstarch, which assists in moisture absorption and results in a smoother, more refined crumb than granulated sugar.
- Unsalted Butter (50g): This provides the fat that creates tenderness. Melting it beforehand allows for a homogeneous batter that spreads evenly without lumps.
- All-Purpose Flour (45g) & Almond Flour (5g): This specific ratio provides enough gluten for strength while the almond flour adds just enough natural oil for a complex flavor profile.
- Vanilla and Salt: These act as flavor catalysts, sharpening the perception of sweetness and highlighting the toasted notes of the almond flour.
When these ingredients are combined, they create a suspension that must be chilled. Chilling the batter allows the starch granules to hydrate, which results in a more uniform browning and a stronger structure when the cookies are rolled.
The Scientific Process
Step 1: Emulsify the Base
In a medium bowl, combine the 50g egg, 1/8 teaspoon vanilla extract, a few pinches of salt, and 50g powdered sugar. Whisk these components until the mixture is completely smooth. You want to avoid over-aerating the batter; the goal is a dense, stable emulsion rather than a foam.
Step 2: Incorporate Liquid Fat
Slowly pour in the 50g of warm melted butter. Whisk continuously to create a stable emulsion. The temperature of the butter should be warm to the touch but not boiling, as excessive heat could prematurely denature the egg proteins.
Step 3: Sift and Fold the Flours
Add the 5g of almond flour and 45g of all-purpose flour to the wet mixture. Use a rubber spatula to fold the ingredients together until the batter is uniform. Make certain to scrape the sides and bottom of the bowl to integrate every gram of flour, as any unmixed pockets will create weak spots in the thin cookies.
Step 4: The Hydration Phase
Place the batter in the refrigerator for at least one hour. This step is mandatory for structural success. The hydration period allows the flour’s starches to absorb moisture, which makes the batter significantly easier to spread to the required thickness of one millimeter.
Step 5: Preparing Almond Tuiles
If making the almond variety, toast your sliced almonds until lightly golden. Spread the chilled batter onto parchment paper using a small offset spatula until it is transparently thin. Press the toasted almonds into the surface before baking at 330°F (165°C) for 4 to 7 minutes until the edges are honey-gold.
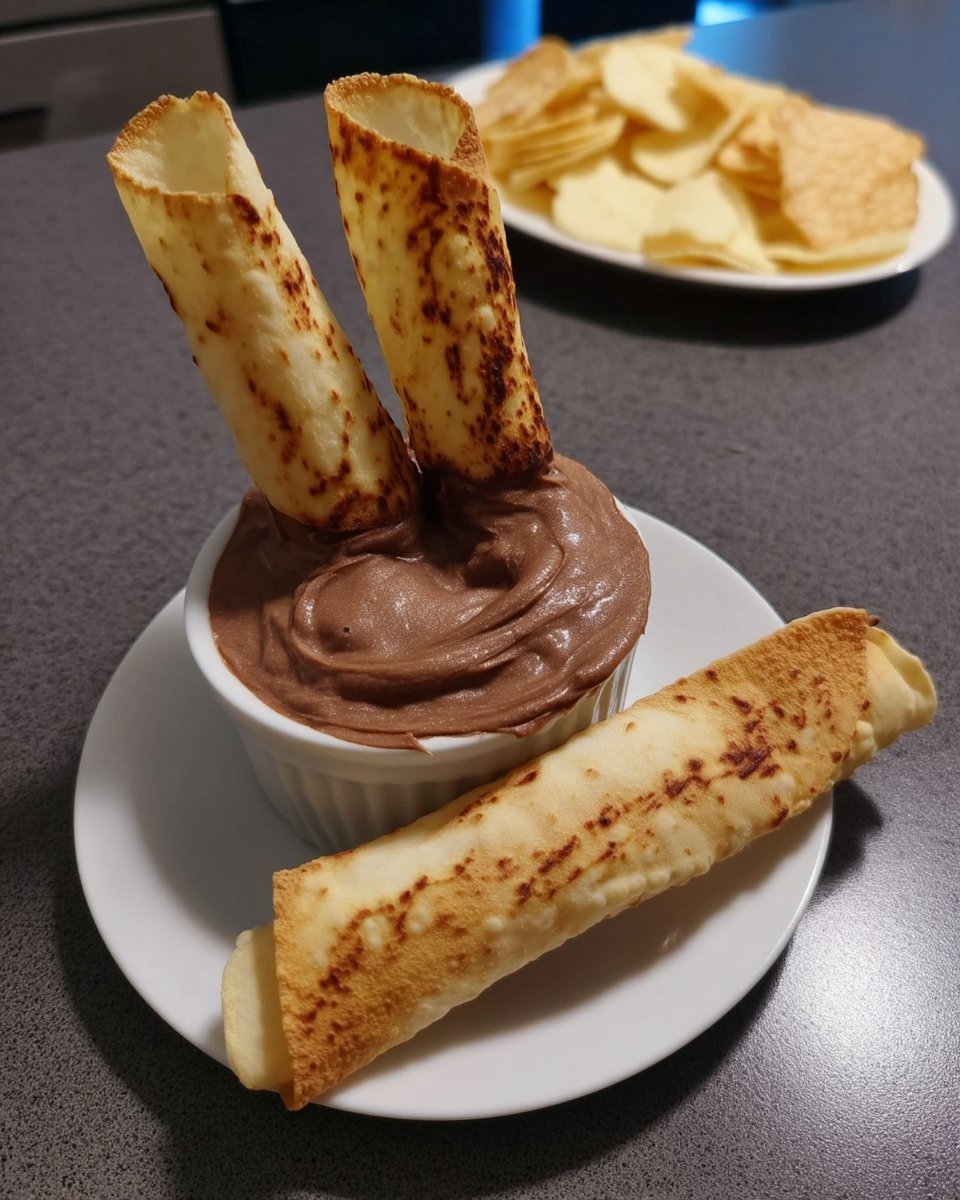
Step 6: Shaping Cigarette Cookies
For the cigarette shape, spread the batter into 5×10-inch rectangles. Immediately after removing them from the oven, roll the hot cookie around a wooden dowel rod. You must work quickly as the sugar sets and hardens within seconds of hitting the cooler room temperature air.
Lauren’s Lab Notes for Balance
The most critical factor in achieving the characteristic snap is spreading the batter to a thickness of approximately one millimeter or less. If the batter is too thick, moisture remains trapped in the center, resulting in a chewy texture rather than a crisp one. We recommend using parchment paper rather than silicone mats; the paper’s surface wicks away excess oil and moisture more efficiently. For more technical advice on thin-wafer structures, browse our Effortless Cookie Elegance guide. If your cookies harden before you can shape them, return the entire tray to the oven for 20-30 seconds to restore flexibility. For a visual guide on advanced shaping, visit the tutorial at Pastry Living.
Tested Flavor Modifications
To create a citrus variation, add 2 grams of lemon or orange zest to the egg mixture. The natural oils in the zest provide a bright contrast to the buttery base without altering the liquid-to-solid ratio. For a chocolate version, replace 5 grams of the all-purpose flour with high-quality cocoa powder. If you prefer a nut-free version, replace the almond flour with an equal weight of all-purpose flour, though the texture will be slightly denser. These variations are designed to work perfectly within our Artisan Cookie Collection framework, maintaining structural integrity while expanding the flavor profile.
Pairing and Texture Notes
These delicate wafers are best served at room temperature to allow the butter flavors to be fully perceived. They pair beautifully with creamy desserts like panna cotta or chocolate mousse, where their crunch provides a necessary textural contrast. For a sophisticated finish, dip the ends of cigarette tuiles in tempered dark chocolate as described in our Cookie Decorating Studio. Always serve them on the same day they are baked for the most vibrant crispness, or use silica gel packets if you must store them for a longer period to prevent atmospheric moisture from softening the sugar structure.
The Scientific Truth About Precision Baking
Mastering the tuile is a rite of passage for any baker who values precision over guesswork. By controlling the thickness and timing, you create a professional-grade treat that proves how simple ingredients, when handled with scientific care, produce spectacular results. Continue your journey with other refined recipes in our Trending Cookie Creations section. We invite you to share your structural successes and photos of your perfectly rolled cookies with our community on Instagram, Facebook, and Pinterest.


