In our test kitchen, we found that relying solely on butter often leads to a cookie that dries out too quickly, while all-oil recipes lack depth. We tested ratios of neutral oil to salted butter until we hit the perfect balance: a cookie that mimics the dense, soft texture of the famous Utah soda shop original while retaining rich flavor. This hybrid fat method creates a structure that remains tender for days.

These Swig sugar cookies feature a unique rough-edged look created by pressing the dough with a sugar-coated glass rather than rolling it out. The addition of sour cream and cream of tartar activates the leavening agents immediately, creating a soft, cake-like interior that supports the weight of the signature pink sour cream frosting.
The Science of Softness
The magic of this recipe lies in the specific interaction between fats and sugars. By using a combination of salted butter and neutral oil, we achieve a crumb that is moist without being greasy. The oil coats the flour proteins more effectively than butter alone, inhibiting gluten formation for a tender bite.
Furthermore, incorporating both granulated and powdered sugars into the dough changes the texture profile. Powdered sugar contains cornstarch, which softens the cookie’s structure, while granulated sugar provides the necessary aeration during the creaming process. This dual-sugar approach results in a cookie that is dense, velvety, and perfectly balanced.
Print
Swig Sugar Cookies
- Total Time: 28 mins
- Yield: 36 cookies
- Diet: Vegetarian
Description
These iconic Utah-style sugar cookies combine salted butter and neutral oil for a uniquely dense, tender crumb that stays soft for days. Topped with a signature tangy sour cream frosting and finished with a classic ruffled edge, they are the ultimate bakery-style treat.
Ingredients
- 1 cup salted butter, softened
- 3/4 cup neutral oil (canola or grapeseed)
- 1 1/4 cups granulated sugar
- 3/4 cup powdered sugar
- 1/2 teaspoon baking soda
- 1/2 teaspoon cream of tartar
- 1/2 teaspoon salt
- 1/2 cup sour cream
- 2 large eggs
- 1 tablespoon vanilla extract
- 5 1/2 cups (781g) all-purpose flour
- Additional granulated sugar for pressing
- 1/2 cup salted butter, softened (for frosting)
- 2 tablespoons sour cream (for frosting)
- 1 teaspoon vanilla extract (for frosting)
- 3–4 cups powdered sugar (for frosting)
- 1–2 tablespoons milk or heavy cream (for frosting)
- Pink food coloring and sprinkles
Instructions
- Preheat your oven to 350°F (175°C) and line baking sheets with parchment paper.
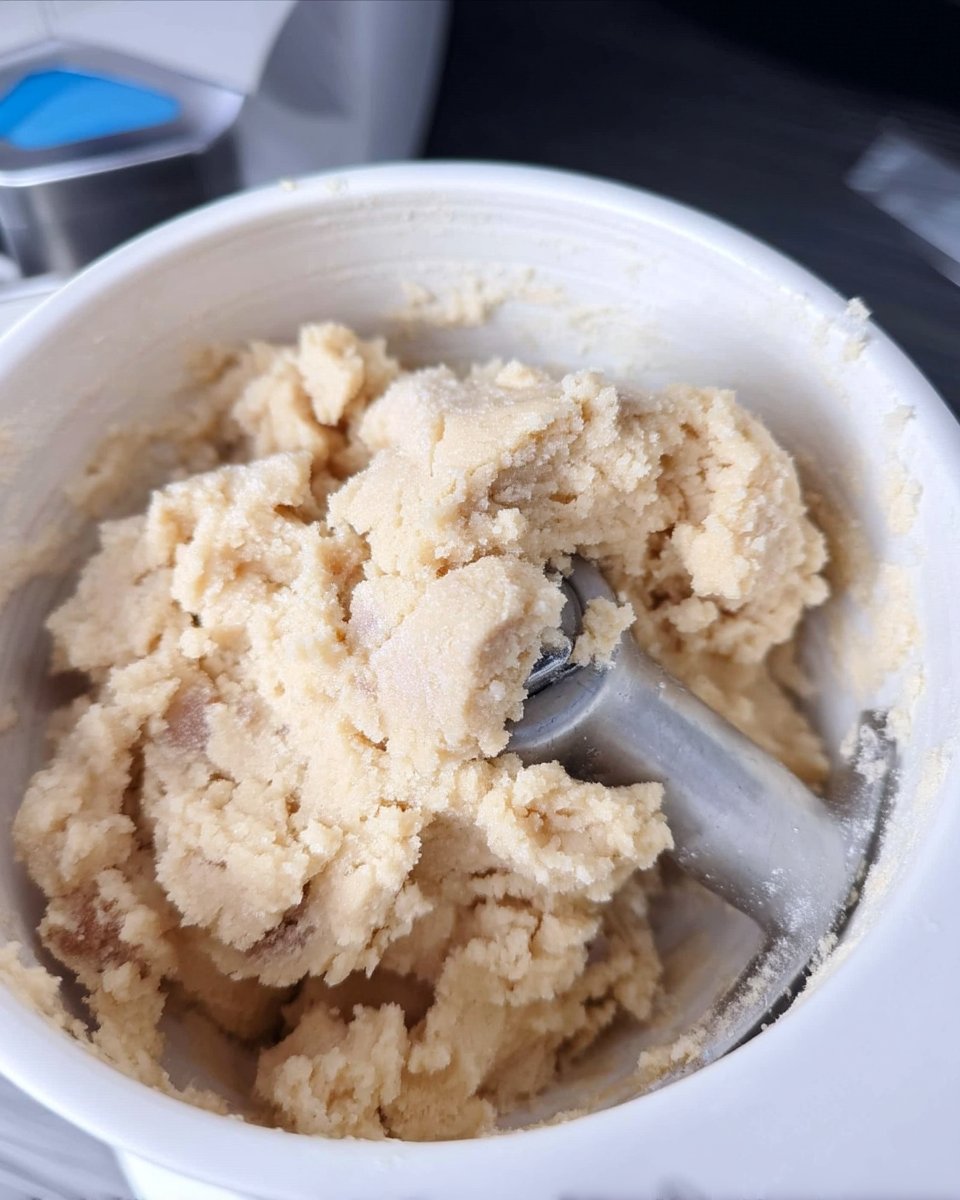
- In a stand mixer fitted with the paddle attachment, cream together the softened butter, oil, granulated sugar, powdered sugar, baking soda, cream of tartar, and salt for 1-2 minutes until pale and creamy.
- Add the sour cream, eggs, and vanilla extract to the bowl and mix for another 1-2 minutes until the mixture is smooth and velvety.
- Gradually add the all-purpose flour on low speed, mixing only until no dry streaks remain; avoid overmixing to ensure a tender texture.
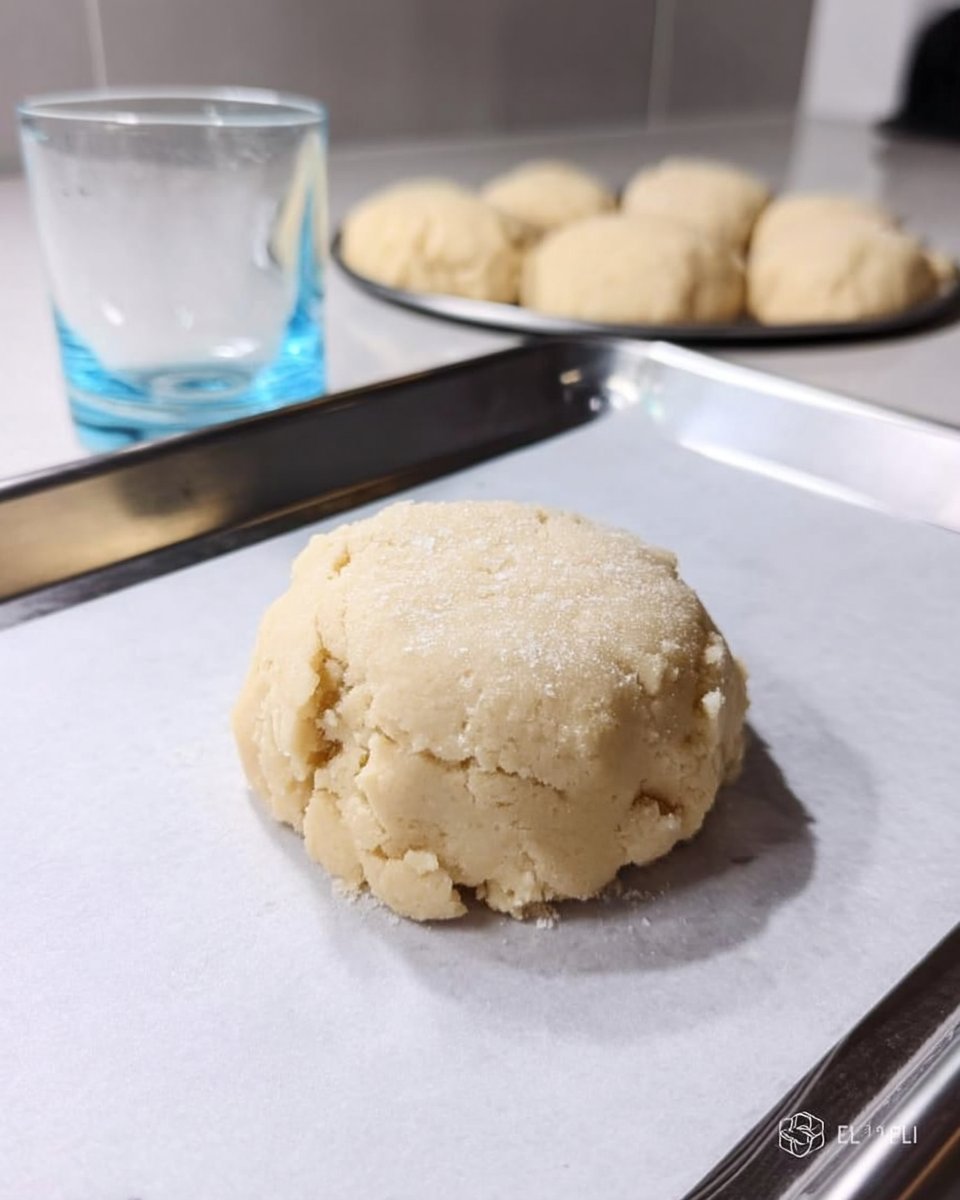
- Scoop the dough into 3-tablespoon portions, roll into balls, and place them several inches apart on the prepared baking sheets.
- Dip the bottom of a flat-bottomed glass into granulated sugar and press each dough ball until it is 1/4 to 1/2 inch thick, creating the signature ruffled edges.
- Bake for 7-9 minutes until the edges are set but the centers still look slightly pale; allow them to cool on the pan for 5 minutes before transferring to a wire rack.
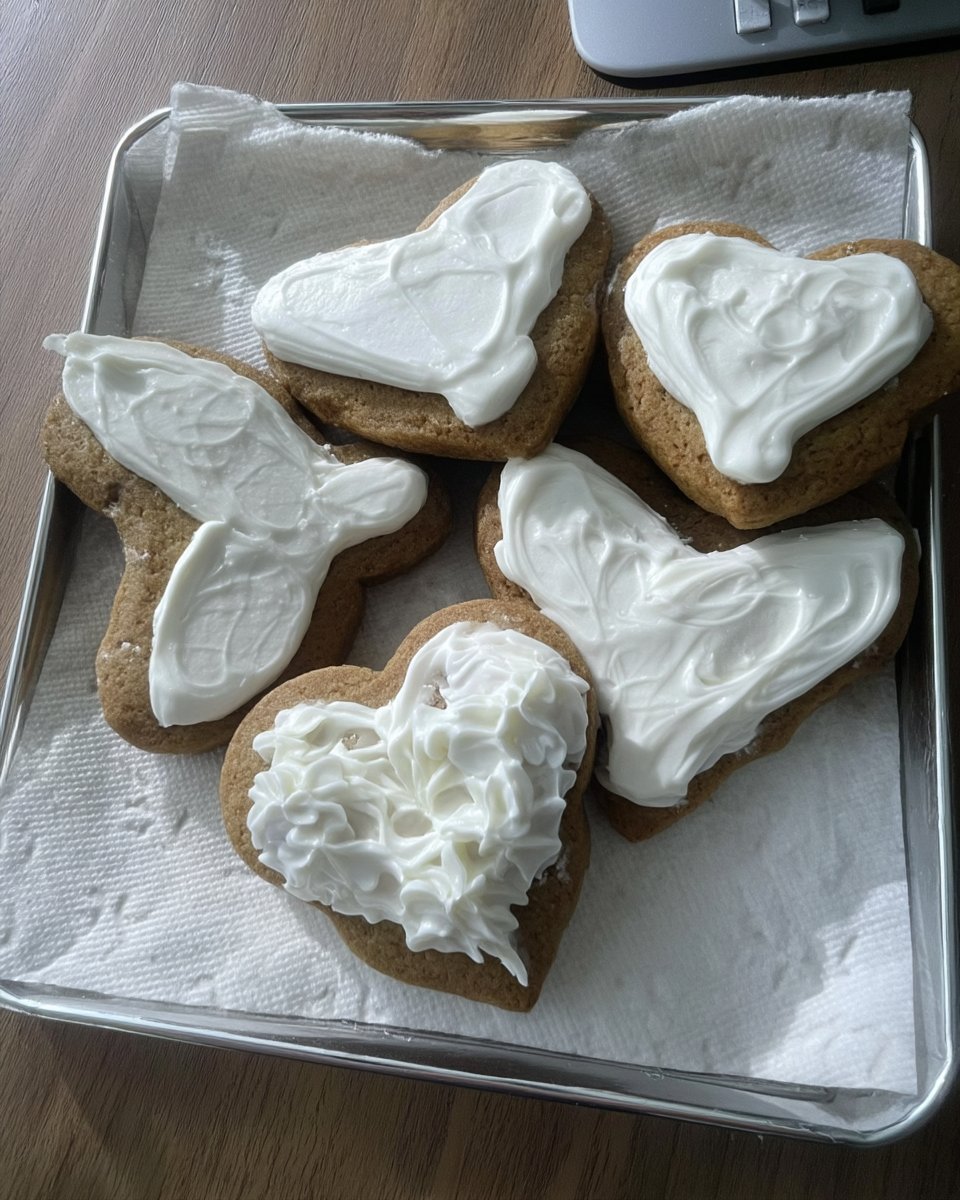
- To make the frosting, whip the butter, sour cream, and vanilla until smooth, then gradually add powdered sugar and milk until reaching a spreadable consistency; frost the completely cooled cookies and top with sprinkles.
Notes
To achieve the perfect Swig texture, ensure you use a flat-bottomed glass to press the dough, which creates the characteristic cracked edges and dense center. Always pull these cookies out of the oven while they still look slightly underbaked, as they will firm up significantly while cooling on the hot baking sheet.
- Prep Time: 20 mins
- Cook Time: 8 mins
- Category: Dessert
- Method: Baking
- Cuisine: American
The Chemical Formula
Precision in ingredient selection is critical for recreating this bakery-style texture. Here is the breakdown of the key components:
- Fats (Butter & Oil): We use 1 cup of salted butter for flavor and 3/4 cup of neutral oil (like canola or grapeseed) for tenderness. The oil keeps the crumb soft at room temperature.
- Sugars: A ratio of 1.25 cups granulated sugar to 3/4 cup powdered sugar provides the correct spread and softness. Do not substitute one for the other.
- Leavening Agents: We use baking soda reacted with cream of tartar. This acid-base reaction creates fine gas bubbles for a dense lift rather than a high rise.
- Sour Cream: Adds moisture and acidity, further activating the baking soda and tenderizing the gluten strands.
- Flour: 5.5 cups of all-purpose flour provides the structure. Weighing this ingredient (781g) is vital; scooping can lead to heavy, dry cookies.
- The Frosting: A blend of salted butter, sour cream, and powdered sugar creates a tang that cuts through the sweetness of the cookie base.
Step-by-Step Method
Step 1: Create the Fat-Sugar Matrix
Preheat your oven to 350°F (175°C). In a stand mixer fitted with the paddle attachment, combine the softened butter, oil, granulated sugar, and powdered sugar. Sprinkle the baking soda, cream of tartar, and salt over the sugars to prevent clumping. Mix on medium speed for 1-2 minutes until the mixture is creamy and pale. This step aerates the fat, establishing the cookie’s structure.
Step 2: Emulsify Wet Ingredients
Add the sour cream, eggs, and vanilla extract to the bowl. Mix for another 1-2 minutes until fully combined. Scrape down the sides of the bowl to make sure the eggs are evenly incorporated into the fat matrix. The mixture should look smooth and velvety.
Step 3: Incorporate the Flour
Add the flour gradually. Mix on low speed just until no dry streaks remain. Stop mixing immediately once the flour is incorporated. Overmixing at this stage develops gluten, which will turn your tender cookies into tough pucks.
Step 4: The Press Technique
Scoop the dough into 3-tablespoon portions (using a #20 scoop) and roll them into balls. Place them several inches apart on parchment-lined baking sheets. Place granulated sugar in a shallow dish. Lightly spray the bottom of a flat glass with cooking spray, dip it into the sugar, and press a dough ball until it is 1/4 to 1/2 inch thick. Repeat for all cookies, dipping the glass in sugar between each press to prevent sticking. This creates the signature “ruffled” edge.
Step 5: Bake and Cool
Bake for 7-9 minutes. The cookies should look set on the edges but slightly underbaked in the center. Do not let them brown. Allow them to cool on the pan for a few minutes to set the structure before transferring to a wire rack.
Step 6: Frosting Application
While cookies cool, whip the butter, sour cream, and vanilla for the frosting until smooth. Gradually add powdered sugar and milk/cream until you reach a spreadable consistency. Frost the cooled cookies and top with sprinkles immediately.
Lauren’s Lab Notes
- Weigh Your Flour: This recipe uses a large volume of flour. If you dip your cup into the bag, you can accidentally add up to 20% more mass, resulting in dry cookies. Use a scale to measure exactly 781g, or spoon and level carefully.
- The Glass Technique: Using a flat-bottomed glass is non-negotiable for the density of this cookie. If the glass sticks, re-spray it lightly or wipe it down. The sugar coating on the glass adds a crucial texture contrast to the soft interior.
- Do Not Overbake: These cookies rely on residual heat to finish setting. If they look golden brown in the oven, they are already overdone. Remove them while they still appear pale.
- Chill for Flavor: While delicious warm, the flavor profile of the sour cream frosting develops best after the cookies have been chilled. For more ideas on perfecting texture, explore our Artisan Cookie Collection.
Tested Variations
- Citrus Infusion: Rub 1 tablespoon of lemon or lime zest into the granulated sugar before creaming. This releases the essential oils for a bright, aromatic flavor that pairs perfectly with the sour cream frosting.
- Cocoa Swig: Replace 1/2 cup of flour with 1/2 cup of high-quality Dutch-process cocoa powder for a chocolate version. You may need an extra tablespoon of milk in the dough to account for the cocoa’s absorption.
- Almond Extract: Swap half of the vanilla extract for almond extract in the frosting for a classic wedding cake flavor profile. If you enjoy experimenting with flavors, check out our Seasonal Cookie Design category for more inspiration.
Serving Analysis
These cookies offer a different sensory experience depending on their temperature. Served at room temperature, the frosting is soft and the cookie is tender. However, serving them chilled from the refrigerator changes the dynamic; the frosting firms up, creating a pleasant resistance against the dense cookie base. This cold temperature also suppresses the sweetness slightly, allowing the tangy sour cream notes to shine. For additional presentation ideas, visit our Cookie Decorating Studio.
Precision Baking Conclusion
Mastering the Swig sugar cookie is a lesson in chemical balance—using fats and acids to create a texture that is both dense and incredibly tender. By weighing your ingredients and trusting the visual cues of the baking process, you can replicate this viral favorite with consistency. Keep testing your oven times to find that perfect moment of “set but pale.” For more reliable recipes, try our Effortless Cookie Elegance or see the original inspiration at Mel’s Kitchen Cafe.
Share your results with us on social media:
