I still remember the first time I discovered the secret of a true velvet texture while wandering through a small spice boutique in London. The air was thick with the scent of roasted cocoa and sweet vanilla, a combination that felt both ancient and excitingly new. These Red Velvet Cookies are the result of that aromatic adventure, capturing a vibrant crimson hue and a flavor profile that balances earthy cocoa with the bright sweetness of white chocolate.

This isn’t just a cookie; it’s a sensory journey into the heart of a baking tradition that values depth over simple sweetness. By using a specific ratio of light brown sugar and Dutch-processed cocoa, we create a soft, fudgy interior that feels like a decadent secret revealed with every bite. The unexpected warmth of the vanilla extract binds everything together, making these a standout addition to any baker’s repertoire.
Aromatic Magic and Fudgy Discovery
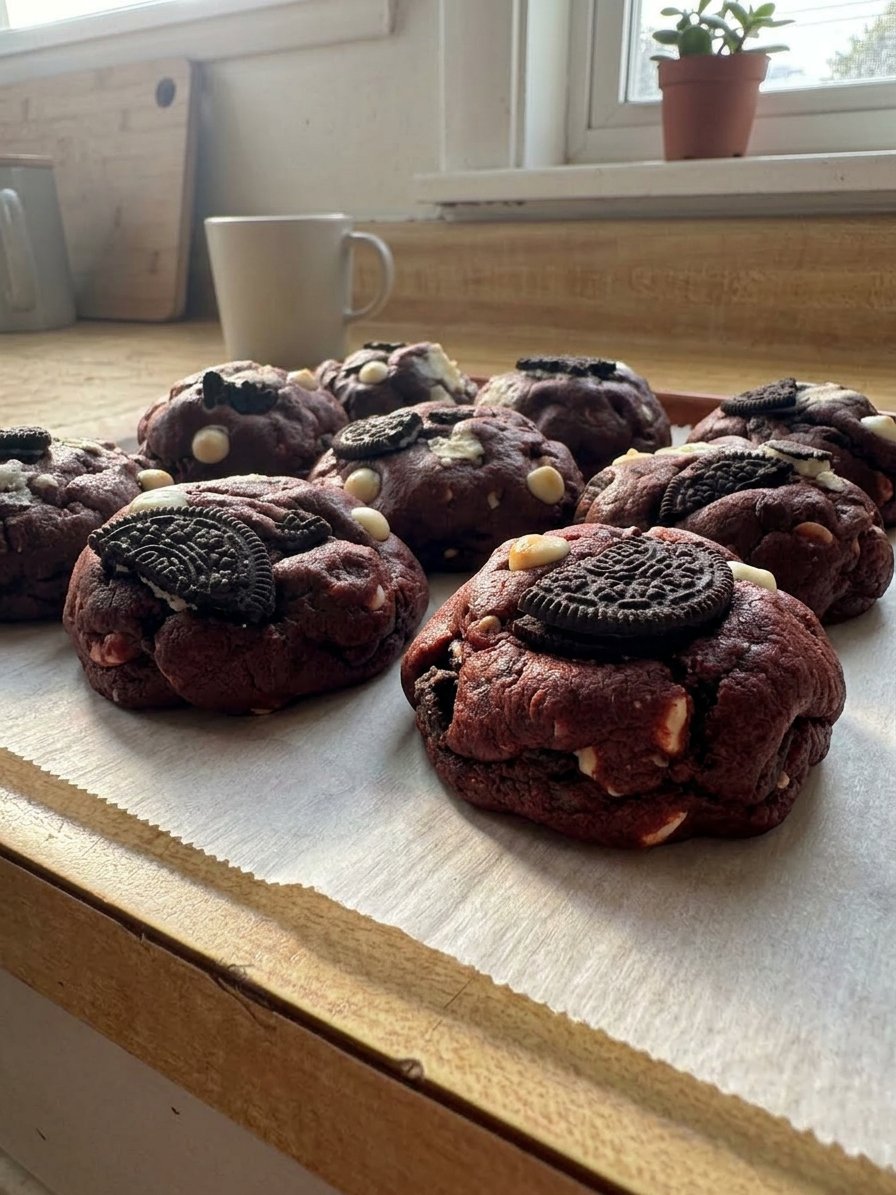
You will fall in love with these cookies because they offer a sophisticated flavor twist on a classic American dessert. Unlike standard chocolate chip varieties, the Red Velvet Cookies provide a unique tang and a visual vibrancy that makes them the center of attention at any gathering. The contrast between the deep red dough and the melting pools of white chocolate creates a beautiful aesthetic that is as pleasing to the eye as it is to the palate.
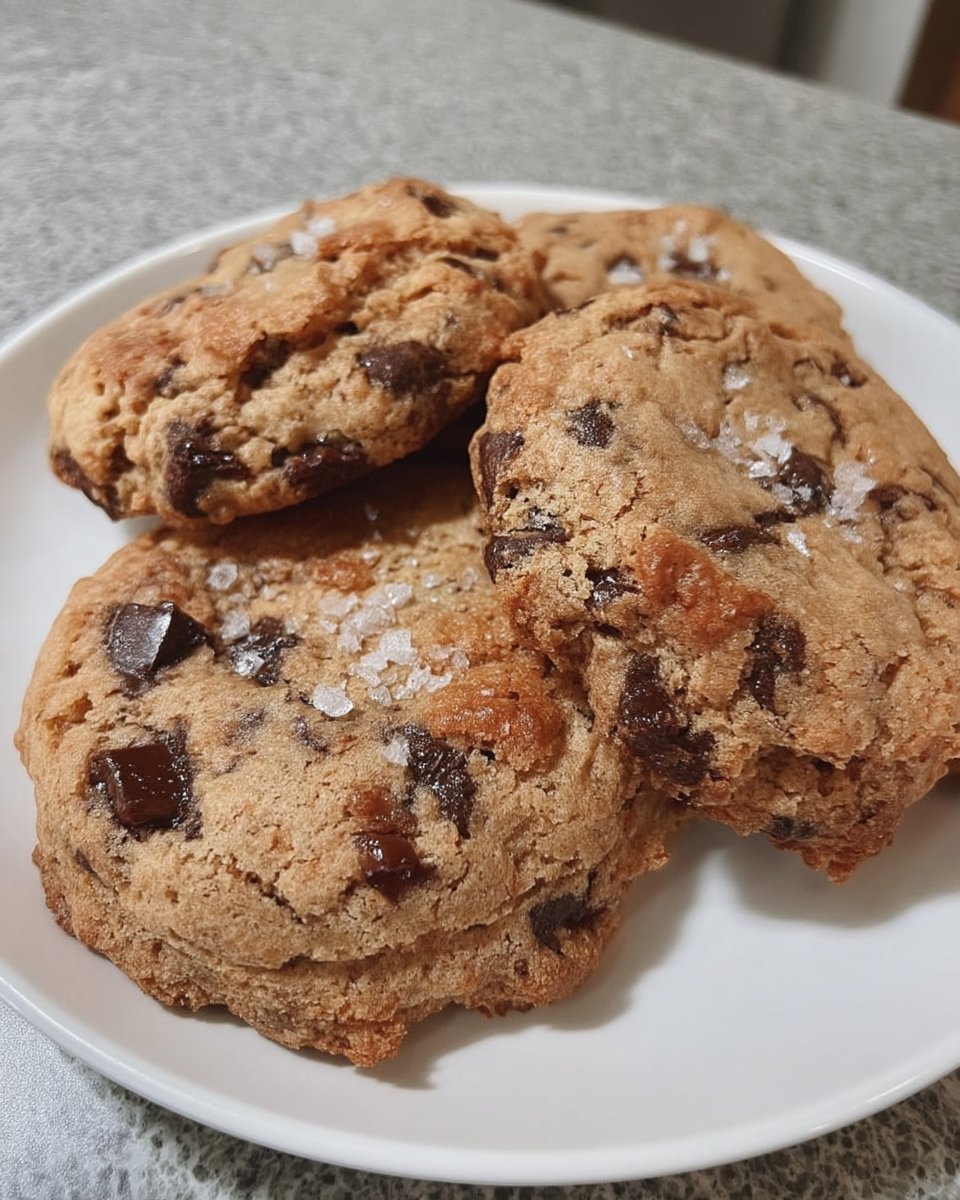
Every bite delivers a perfect harmony of textures—crisp at the edges and impossibly soft in the center. The addition of sea salt cuts through the richness of the white chocolate, providing a savory counterpoint that keeps you coming back for more. It is a recipe that celebrates the curiosity of the home baker, inviting you to investigate how simple ingredients can transform into something truly remarkable. Whether you are baking for a holiday or just looking for a mid-week treat, these cookies offer a thrilling experience for those who appreciate the finer details of aromatic baking.
Print
Red Velvet Cookies
- Total Time: 1 hour
- Yield: 8 large cookies
- Diet: Vegetarian
Description
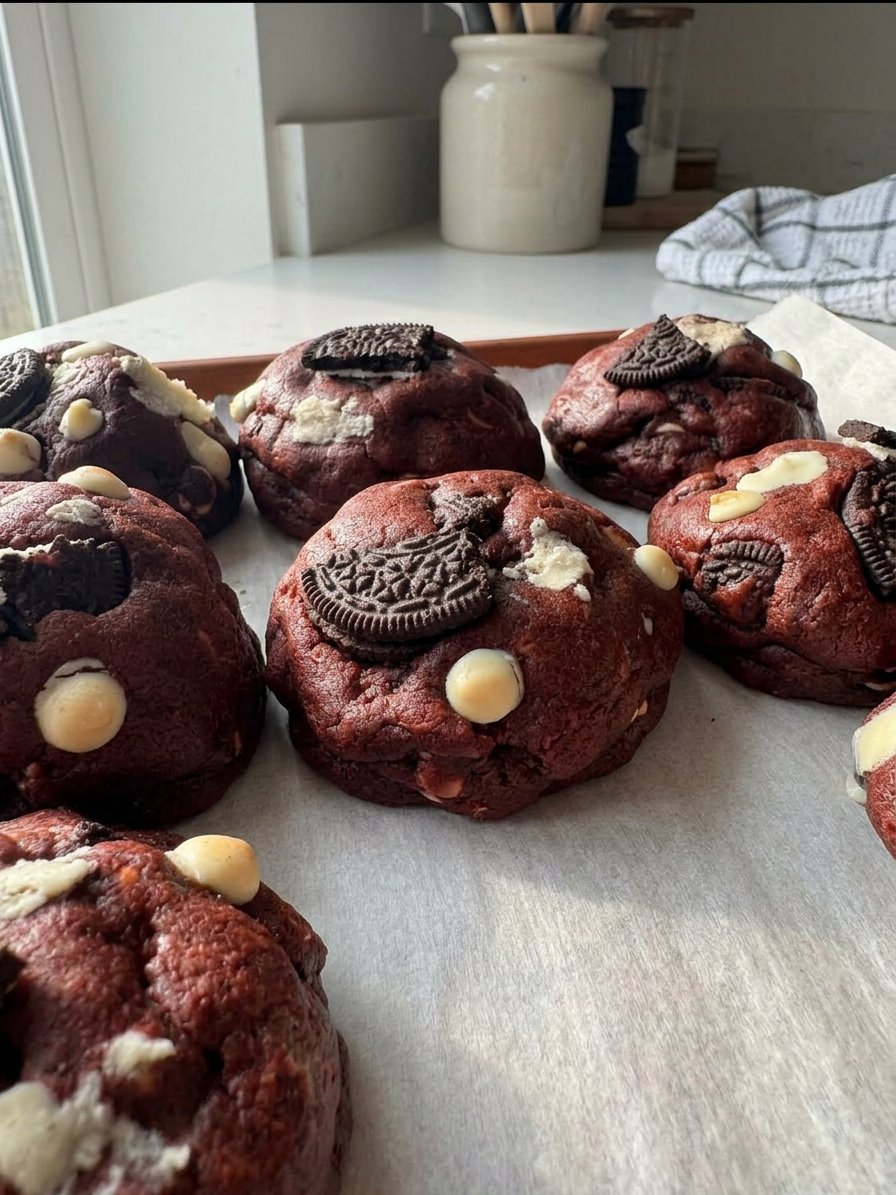
These decadent red velvet cookies boast a vibrant crimson hue and a luxurious, fudgy texture that melts in your mouth. Studded with sweet white chocolate chips, they offer a perfect balance of earthy cocoa and aromatic vanilla in every bite.
Ingredients
- 125g Unsalted Butter, softened
- 100g Light Brown Sugar
- 75g Granulated Sugar
- 1 Medium Egg
- 1 tsp Vanilla Extract
- 1 tsp Red Food Coloring (gel)
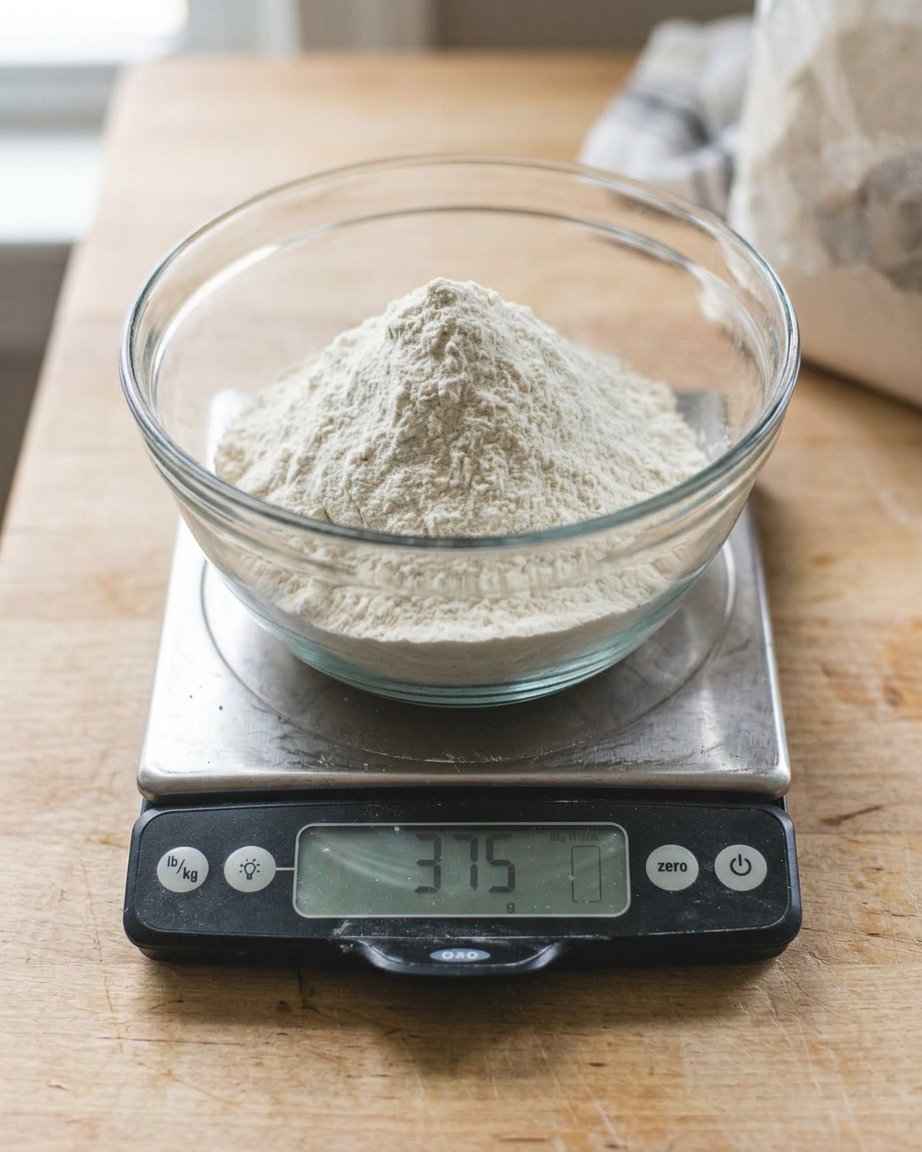
- 350g Plain Flour
- 15g Dutch-Processed Cocoa Powder
- 1 tsp Baking Powder
- 1 tsp Bicarbonate of Soda
- 1/2 tsp Sea Salt
- 300g White Chocolate Chips
Instructions
- Cream the softened unsalted butter with the light brown and granulated sugars in a stand mixer until the mixture is pale and fluffy.
- Incorporate the medium egg, vanilla extract, and red food coloring, beating until the color is vibrant and uniform.
- Sift in the plain flour, cocoa powder, baking powder, bicarbonate of soda, and sea salt, mixing on low speed until a thick dough forms.
- Fold in the white chocolate chips using a spatula or the lowest mixer setting until they are evenly distributed.
- Divide the dough into 8 large balls (approximately 115g to 120g each) and roll them smoothly between your palms.
- Place the dough balls on a tray and chill in the freezer for 30 minutes or the refrigerator for at least one hour.
- Preheat your oven to 180C (350F) Fan or 200C (400F) regular and line a large baking tray with parchment paper.
- Bake for 12 to 14 minutes, ensuring only four cookies are placed on each tray to allow room for spreading.
- Allow the cookies to rest and set on the hot baking tray for at least 30 minutes before moving them.
Notes
To ensure the most striking visual contrast, reserve a small handful of white chocolate chips to press into the tops of the dough balls immediately before they go into the oven. Additionally, using a high-quality gel-based food coloring is essential to maintain the structural integrity of the dough while achieving that deep, iconic crimson shade.
- Prep Time: 15 mins
- Cook Time: 14 mins
- Category: Dessert
- Method: Baking
- Cuisine: American
The Aromatic Pantry and Flavor Stars
To achieve the perfect red velvet profile, the quality of your ingredients is paramount. We focus on natural flavor sources and specific textures to build a cookie that is both structural and meltingly tender.
- Unsalted Butter (125g): This provides the creamy foundation. Using unsalted butter allows us to control the salt levels precisely, which is vital when working with white chocolate.
- Sugars (100g Light Brown, 75g Granulated): The light brown sugar introduces a hint of molasses and moisture, creating that signature chew, while the granulated sugar helps the edges achieve a delicate crunch.
- Dutch-Processed Cocoa Powder (15g): We use a small amount to keep the color bright while adding a necessary earthy depth. It’s the backbone of the red velvet flavor.
- Red Food Coloring (1 tsp): A high-quality gel coloring is best to achieve that iconic crimson shade without thinning the dough.
- White Chocolate Chips (300g): These are the crowning jewels. The milky sweetness of the white chocolate complements the cocoa-infused dough perfectly.
- Vanilla Extract (1 tsp): This aromatic staple brings a floral sweetness that bridges the gap between the cocoa and the sugar.
- Sea Salt (1/2 tsp): Never skip the salt; it is the secret to making the other flavors sing with clarity.
The Method of Flavor Innovation
Step 1: Cream the Butter and Sugars
Begin by combining your softened unsalted butter with the light brown sugar and white granulated sugar in a large bowl. Use a stand mixer with a beater attachment to cream them together until the mixture is pale and fluffy. This process incorporates air, which is essential for the final texture.
Step 2: Incorporate the Aromatic Liquids
Add the medium egg, vanilla extract, and red food coloring to the butter mixture. Beat again until the color is consistent throughout. You want to see a vibrant, uniform red that looks like a liquid velvet before moving on to the dry ingredients.
Step 3: Sift and Fold the Dry Ingredients
Into the same bowl, add your plain flour, cocoa powder, baking powder, bicarbonate of soda, and sea salt. Mix on a low speed until a thick cookie dough begins to form. Be careful not to overmix at this stage; we want to keep the gluten development to a minimum for a tender bite.
Step 4: Fold in the White Chocolate
Add the white chocolate chips or chopped chocolate chunks. Use a spatula or the mixer on the lowest setting to distribute the chocolate evenly throughout the crimson dough. This ensures every cookie has a generous amount of melting white chocolate.
Step 5: Shape the Cookie Dough
Divide the dough into eight large balls, approximately 115g to 120g each. This generous size allows for the best contrast between the crisp exterior and the soft, fudgy middle. Roll them smoothly between your palms.
Step 6: The Essential Chill
Place the dough balls on a tray and put them in the freezer for 30 minutes or the fridge for at least an hour. This chilling time prevents the cookies from spreading too thin and allows the flavors to meld and deepen.
Step 7: Preheat and Prepare
While the dough rests, heat your oven to 180C (350F) Fan or 200C (400F) regular. Line a large baking tray with parchment paper to prevent sticking and ensure an even bake.
Step 8: Bake to Perfection
Place four dough balls on each tray to give them plenty of room to expand. Bake for 12 to 14 minutes. They will look slightly soft when they come out, but they will firm up as they cool on the tray, resulting in a perfect texture.
Step 9: Cool and Set
Allow the cookies to rest on the hot tray for at least 30 minutes. This patience is rewarded with a cookie that is fully set but remains wonderfully chewy on the inside.
Jasmine’s Aromatic Wisdom for Better Baking
One of my favorite secrets for a truly vibrant cookie is to use a gel-based food coloring rather than a liquid one. Liquid colors can alter the hydration of the dough, whereas gels provide an intense hue without changing the consistency. Additionally, make sure your egg is at room temperature before you begin. This allows the fats and liquids to emulsify more effectively, resulting in a smoother dough. For those who want to broaden their skills, checking out our Artisan Cookie Collection can provide more insights into professional techniques. Another tip is to lightly toast your cocoa powder in a dry pan for 60 seconds before sifting; this wakes up the aromatic oils and deepens the chocolate profile significantly. If your oven has a tendency to run hot, always reduce the temperature by 10 degrees to prevent the red color from browning too much on the edges.
Other Vibrant Flavor Adventures
If you are feeling curious about a different flavor twist, consider adding a teaspoon of orange zest to the dough. The brightness of the citrus cuts through the cocoa in a way that is incredibly refreshing. For a more global inspiration, a pinch of ground cardamom can introduce an unexpected warmth that reminds me of traditional Persian sweets. You might also want to look at Trending Cookie Creations for other innovative ideas on mixing textures. For a different take on the classic red velvet style, you can find inspiration from this NYC Red Velvet recipe which uses different chocolate ratios. Another beautiful variation is to swap the white chocolate for dark chocolate chunks if you prefer a less sweet, more intense cocoa experience.
Aromatic Pairings and Enjoyment
These cookies are best enjoyed when the white chocolate is still slightly soft. I love pairing them with a cup of Earl Grey tea; the bergamot notes in the tea highlight the vanilla in the cookie beautifully. For a more indulgent experience, serve them alongside a glass of cold almond milk or even a small cup of Turkish coffee to contrast the sweetness. To see more ways to present your treats, browse our guide on Effortless Cookie Elegance. If you are serving these at a party, arrange them on a white marble slab to let the vibrant crimson color really stand out against the neutral background.
The Aromatic Joy of Discovery
Baking these Red Velvet Cookies is more than just a kitchen task; it is an act of flavor exploration that honors the past while embracing the new. The combination of heritage techniques and modern ingredients results in a cookie that is truly special. As you continue your baking journey, remember that the best recipes are those that invite you to experiment and find your own favorite aromatic combinations. For more seasonal inspiration, don’t miss our Seasonal Cookie Design gallery. We would love to see your creations, so please share them with us on Instagram, Pinterest, and Facebook. For more detailed NYC-style baking tips, visit Janes Patisserie. Happy baking!


