I remember standing in a small kitchen where the air smelled of toasted hazelnuts and caramelizing butter. It was a moment of pure aromatic revelation that led me to wonder what happens when we trap that richness inside a soft, salted dough. This recipe is the result of that curious experiment, bringing a molten surprise to every bite.

These gourmet treats are more than just a sweet snack; they are a study in flavor balance and texture. By using browned butter and a pinch of sea salt, we create a sophisticated profile that highlights the creamy hazelnut core. Every bite offers a contrast between the crispy edges and the gooey, chocolatey center.
Aromatic Magic in Every Bite
You will fall in love with these cookies because they offer a sensory journey that goes far beyond your typical bakery find. The first thing you notice is the scent—the deep, toasted fragrance of browned butter that fills your kitchen and promises something special. It is a warm, nutty aroma that sets the stage for the complex flavors to follow.
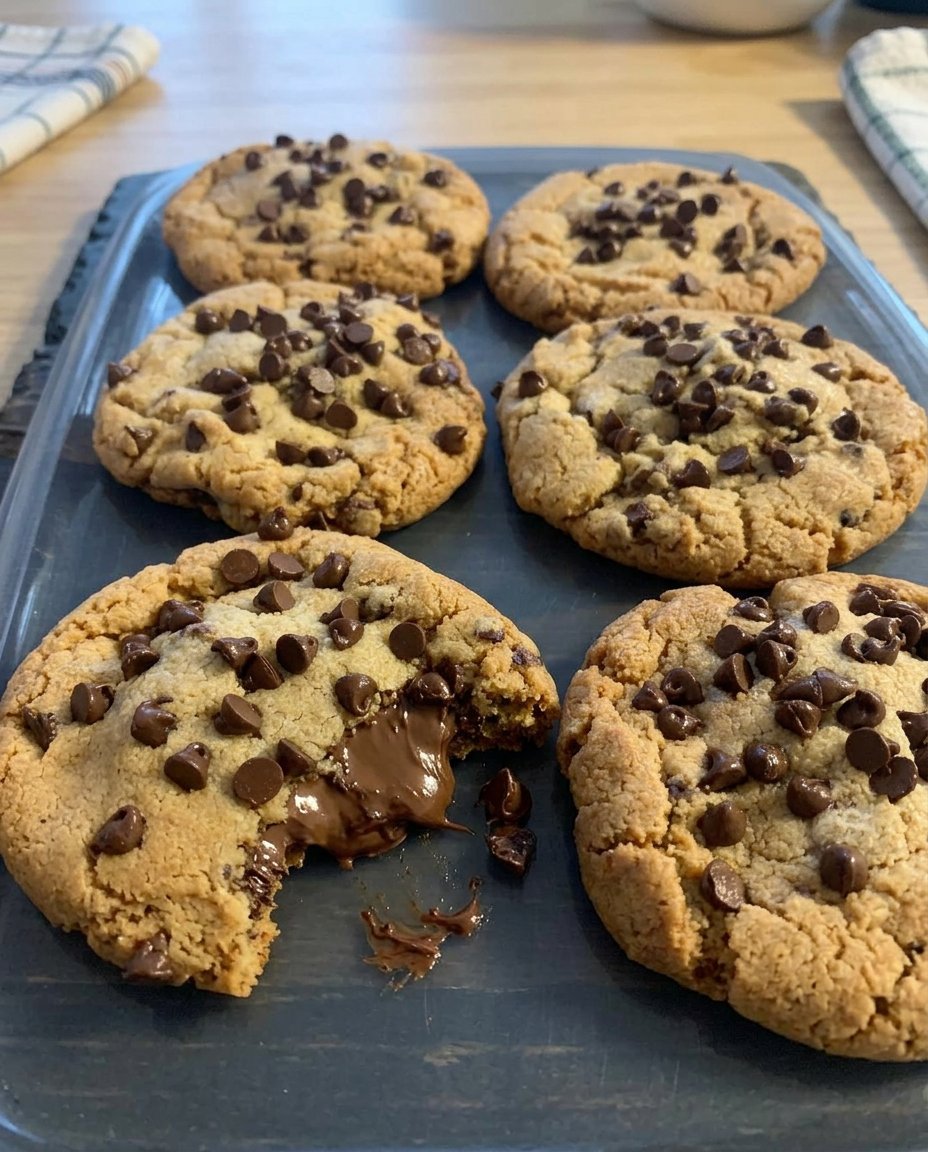
The texture is the second reason these are truly remarkable. By incorporating cornstarch and a specific chilling process, we achieve a dough that is incredibly soft and tender, yet strong enough to hold a secret. When you pull a warm cookie apart, the molten hazelnut spread flows out like liquid gold, creating a decadent moment that feels both luxurious and comforting.
Finally, the balance of salt and sugar is what makes this recipe a masterpiece. We use a combination of dark brown sugar for moisture and granulated sugar for those perfectly crisp edges. The addition of flaky sea salt on top isn’t just for decoration; it cuts through the richness of the chocolate and hazelnut, making the flavors pop and keeping you coming back for just one more taste. This is flavor innovation at its finest, turning a simple concept into a gourmet discovery.
Print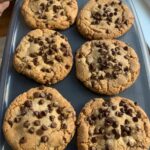
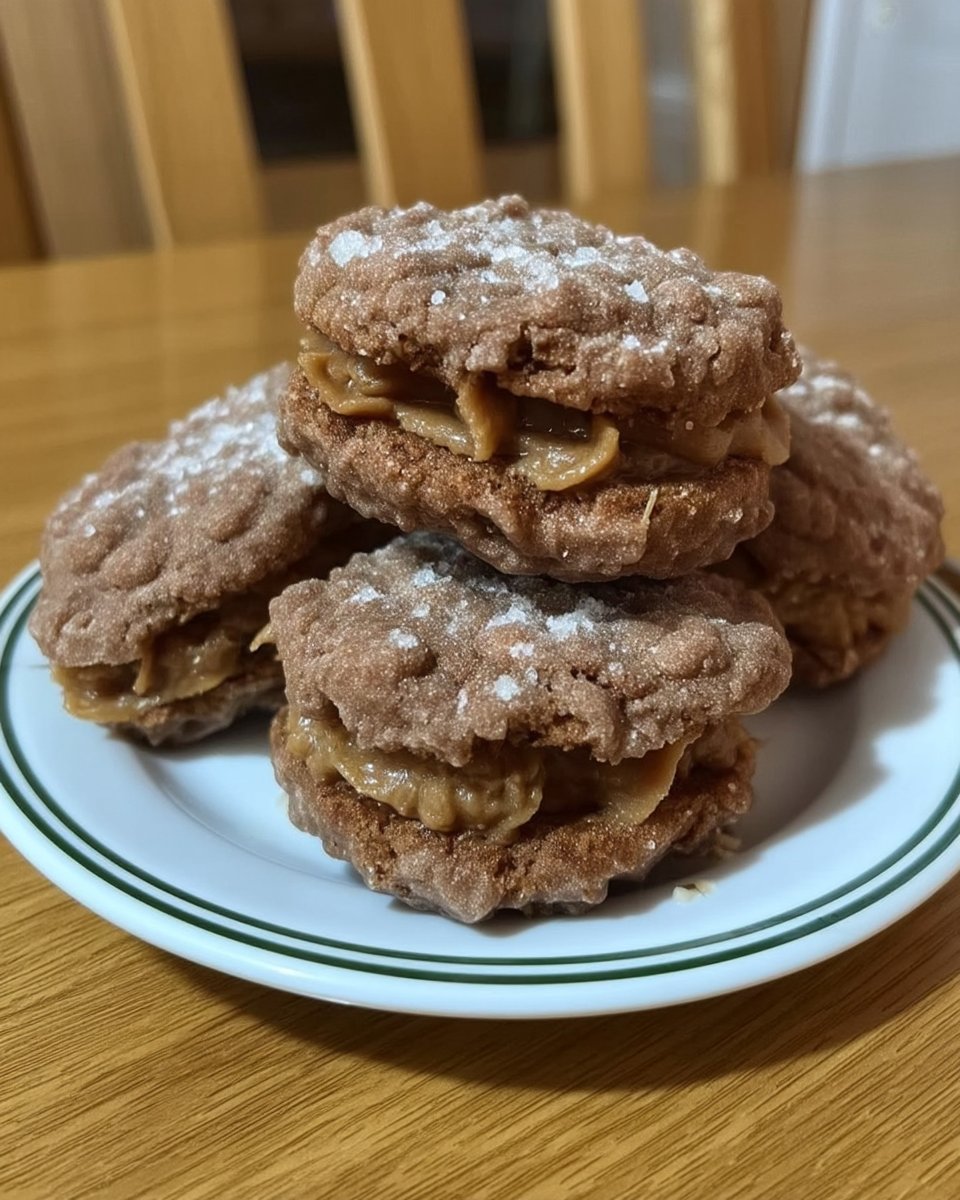
Nutella Stuffed Cookies 2
- Total Time: 1 hour 28 mins
- Yield: 20 cookies
- Diet: Vegetarian
Description
Experience the ultimate indulgence with these gourmet browned butter cookies featuring a molten hazelnut chocolate center. The combination of toasted butter solids, ribbons of dark chocolate, and a delicate finish of sea salt creates a complex flavor profile that is both sophisticated and comforting.
Ingredients
- 1 cup unsalted butter, cut into pieces
- 20 teaspoons Nutella (hazelnut spread)
- 1 cup dark brown sugar, packed
- 1/2 cup granulated white sugar
- 2 large eggs, room temperature
- 1 tablespoon high-quality vanilla extract
- 2 1/4 cups all-purpose flour
- 1 tablespoon cornstarch
- 1 teaspoon baking powder
- 1/2 teaspoon baking soda
- 1/2 teaspoon salt
- 4 ounces semisweet chocolate bar, finely chopped
- Flaky sea salt, for sprinkling
Instructions
- Line a baking sheet with wax paper, drop 20 individual teaspoons of Nutella onto the paper, and freeze until rock-solid.
- In a light-colored saucepan over medium-low heat, melt the butter and continue cooking until the milk solids turn golden brown and smell toasted; transfer to a bowl and cool for 30 minutes.
- Stir the dark brown sugar and white sugar into the cooled browned butter until it reaches the consistency of wet sand.
- Whisk in the room temperature eggs one at a time, followed by the vanilla extract, until the mixture is smooth and glossy.
- In a separate mixing bowl, whisk together the flour, cornstarch, baking powder, baking soda, and salt to ensure even distribution.
- Gradually fold the dry ingredients into the wet mixture using a spatula, stirring just until no flour streaks remain.
- Gently fold in the finely chopped semisweet chocolate ribbons.
- Place the dough in the refrigerator to chill for 20 minutes to make it easier to handle.
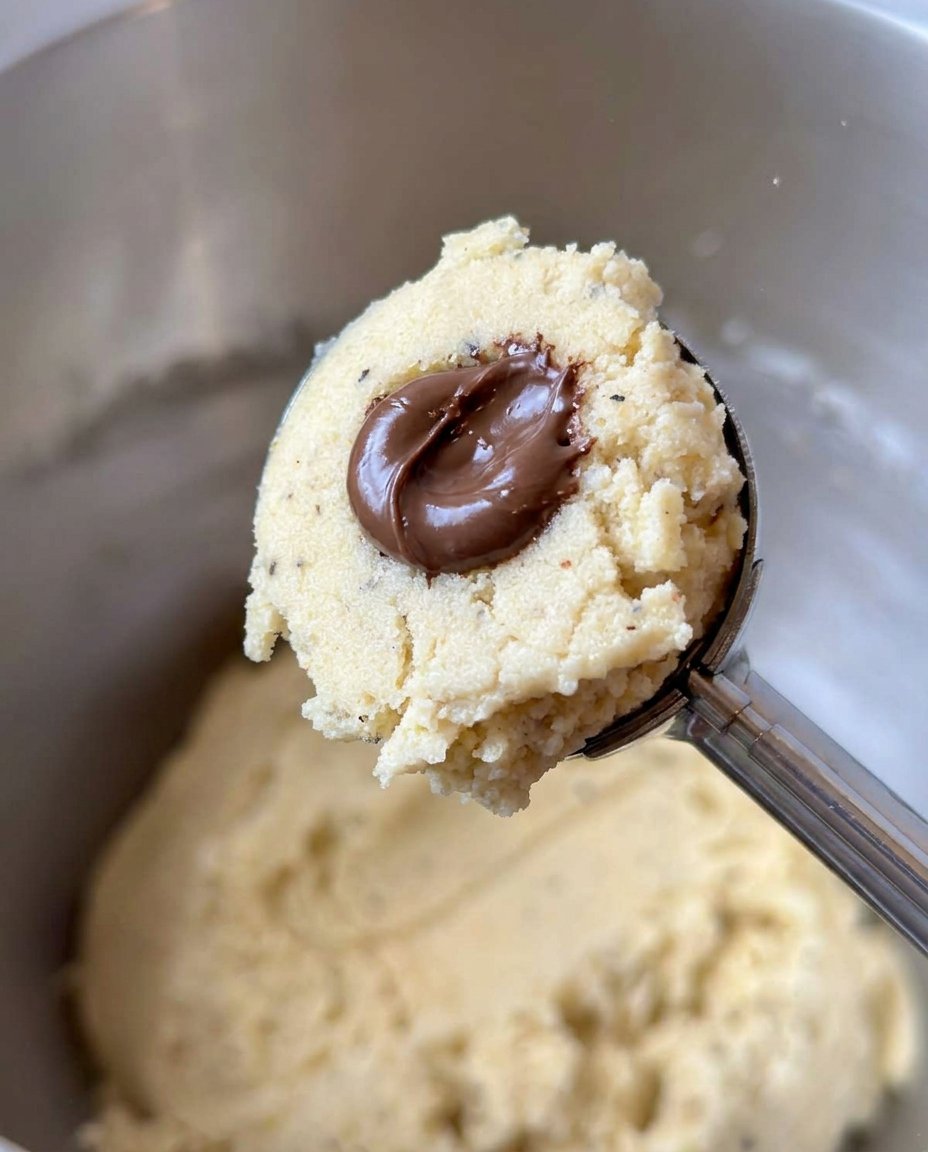
- Take a heaping tablespoon of dough, flatten it, place a frozen Nutella disc in the center, and pinch the dough closed to seal the filling completely.
- Place the stuffed dough balls back in the freezer for 15 minutes to stabilize the center and prevent over-spreading.
- Preheat your oven to 375°F (190°C) and bake the cookies on a parchment-lined sheet for 12 to 13 minutes.
- Immediately sprinkle the warm cookies with flaky sea salt and allow them to firm up on the pan for at least 15 minutes.
Notes
To ensure the perfect molten center, do not skip the final 15-minute freeze after stuffing the cookies, as this helps maintain the structure of the Nutella during baking. Use a light-colored pan for browning your butter so you can accurately judge the color of the toasted milk solids and avoid burning them.
- Prep Time: 1 hour 15 mins
- Cook Time: 13 mins
- Category: Dessert
- Method: Baking
- Cuisine: American
The Spice Pantry and Flavor Stars
To create these masterpieces, you need ingredients that bring their own unique character to the bowl. Quality matters when you are working with such a focused flavor profile. Here is what you will need to gather for your aromatic adventure:
- Unsalted Butter: We start with a full cup of butter, which we will transform into browned butter. This process removes the water and toasts the milk solids, providing a deep caramel flavor that defines the entire cookie.
- Nutella: This is the heart of the recipe. We freeze small dollops of this hazelnut spread to make them manageable. It provides that iconic creamy, nutty, and chocolatey center.
- Brown and White Sugars: The brown sugar brings a hint of molasses and a chewy texture, while the white sugar helps the edges brown and provides a delicate crunch.
- Room Temperature Eggs: Using eggs at room temperature makes certain that they emulsify properly with the butter and sugars, leading to a consistent and smooth dough.
- Vanilla Extract: A high-quality vanilla acts as the foundation, bridging the gap between the nutty butter and the rich chocolate.
- All-Purpose Flour: This provides the structure. We use a precise amount to keep the cookies thick without becoming cakey.
- Cornstarch: This is my secret for a soft-baked texture. It softens the proteins in the flour, resulting in a cookie that stays tender for days.
- Leavening Agents: A combination of baking powder and baking soda gives these cookies the perfect lift and helps them brown evenly.
- Semisweet Chocolate: I prefer a finely chopped chocolate bar over chips because it creates thin ribbons of chocolate throughout the dough rather than waxy chunks.
- Sea Salt: Use a high-quality flaky sea salt for the finish. It is the final touch that brings the whole aromatic profile together.
The Flavor Method
Step 1: Prepare the Nutella Filling
Start by lining a cookie sheet with wax paper. Drop teaspoons of the hazelnut spread onto the paper, making about 20 individual dollops. Place this tray in the freezer immediately. They need to be rock-solid to be handled later without making a mess.
Step 2: Master the Browned Butter
Cut your butter into uniform pieces and place them in a light-colored saucepan over medium-low heat. As the butter melts and begins to bubble, stay close. You will hear a rhythmic popping sound as the water evaporates. Once the popping slows, the milk solids will begin to turn golden brown and smell like toasted nuts. Remove from heat instantly and pour into a heatproof bowl to stop the cooking. Let it cool for about 30 minutes until it is no longer hot to the touch.
Step 3: Cream the Sugars and Butter
Once your liquid gold has cooled, add both the brown and white sugars. Stir them together until the mixture looks like wet sand. The sugars will begin to dissolve slightly into the butter, creating the base for our chewy texture.
Step 4: Add the Aromatic Liquids
Whisk in your room temperature eggs one at a time. Make sure each egg is fully incorporated before adding the next. Stir in the vanilla extract. You should see the mixture become slightly glossy and smooth.
Step 5: Sift and Whisk Dry Ingredients
In a separate bowl, combine the flour, cornstarch, baking powder, baking soda, and salt. Whisking them together beforehand makes certain that the leavening agents are evenly distributed, which prevents any metallic aftertaste or uneven rising.
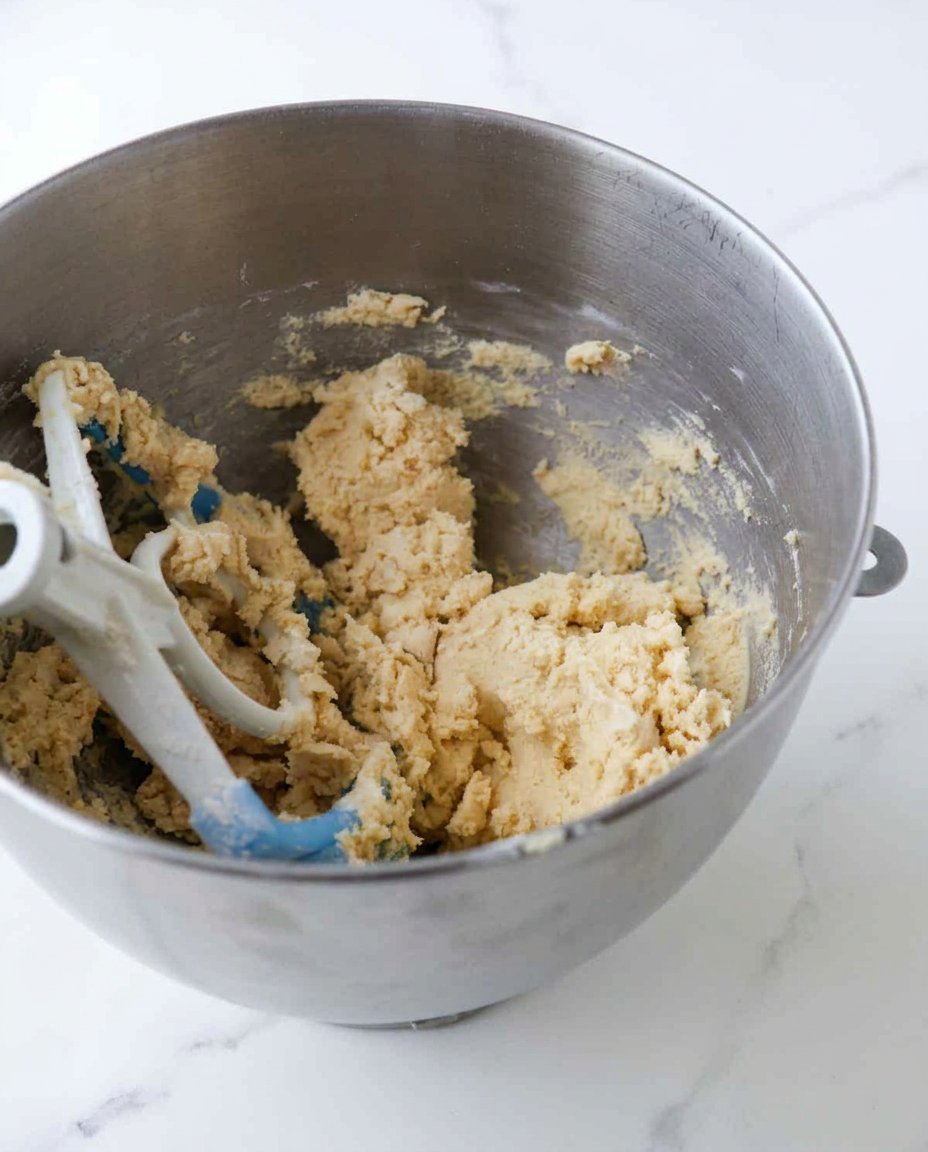
Step 6: Combine for the Final Dough
Gradually add the dry ingredients to the wet mixture. Stir gently with a spatula just until no streaks of flour remain. Over-mixing at this stage can lead to a tough cookie, so be patient and gentle.
Step 7: Fold in the Chocolate
Add your finely chopped semisweet chocolate. These tiny flecks will melt into the dough, creating a marbled effect of chocolate and brown butter dough that looks as beautiful as it tastes.
Step 8: The First Chill
Place the dough in the refrigerator for about 20 minutes. This short rest allows the flour to hydrate and the butter to firm up slightly, making the dough much easier to shape around the frozen Nutella.
Step 9: Stuff the Cookies
Take a heaping tablespoon of dough and flatten it in your palm. Place a frozen Nutella disc in the center and fold the dough around it, pinching the seams to make sure the filling is completely encased. Roll it into a smooth ball.
Step 10: The Final Freeze
Place your stuffed cookie balls back in the freezer for 15 minutes. This is a vital step! It prevents the cookies from spreading too thin in the oven and keeps that molten center protected.
Step 11: Bake to Golden Perfection
Preheat your oven to 375F (190C). Space the cookies at least two inches apart on a parchment-lined sheet. Bake for 12 to 13 minutes. The edges should be just starting to turn golden, while the centers still look slightly soft.
Step 12: The Finishing Touch
Remove the tray from the oven and immediately sprinkle each cookie with a pinch of flaky sea salt. Let them cool on the pan for at least 15 minutes. They are fragile when warm, but they will firm up as they reach room temperature.
Jasmine’s Spice Secrets
When browning your butter, use a stainless steel pan rather than a dark non-stick one. The light-colored bottom allows you to see the exact moment the milk solids turn brown, preventing you from accidentally burning it. For more advanced dough techniques, you might want to look through our Artisan Cookie Collection. If you find your Nutella is melting too fast while you are stuffing the dough, work in small batches, keeping the rest of the dollops in the freezer. You can also find great tips on maintaining the perfect temperature for your fillings in this guide on nutella stuffed cookies. Always use a digital scale for your flour to avoid adding too much, which can make the cookies dry and crumbly.
Other Flavor Twists
For a floral and aromatic adventure, try adding half a teaspoon of ground cardamom to your dry ingredients. The spicy warmth of the cardamom pairs beautifully with the hazelnut. If you prefer a brighter profile, add the zest of one large orange to the sugar before mixing it with the butter. This citrus note creates a vibrant contrast to the rich chocolate. You can find more inspiration for seasonal flavor swaps in our Seasonal Cookie Design section. For those who love a bit of heat, a tiny pinch of cayenne pepper in the dough can bring a surprising and exciting depth to the chocolate center.
Aromatic Enjoyment
These cookies are best enjoyed while still slightly warm to fully appreciate the molten center. I highly recommend serving them alongside a steaming cup of Earl Grey tea; the bergamot notes in the tea complement the hazelnut beautifully. For a more indulgent pairing, a glass of cold almond milk or a rich espresso works wonders. If you are planning a dessert platter, check out our Cookie Decorating Studio for ideas on how to style your treats for a beautiful presentation. They also make a fantastic base for an ice cream sandwich if you flatten them slightly after baking.
Aromatic Joy
Baking these cookies is a journey through scent and texture that reminds us why we love the art of the kitchen. By taking the time to brown the butter and chill the dough, you are honoring a tradition of patience and flavor discovery. I hope these treats bring a sense of wonder to your home and inspire you to keep experimenting with new aromatic combinations. For more inspiration on the latest baking fads, visit our Trending Cookie Creations. We would love to see your results, so please share your bakes with us on Instagram, Pinterest, and Facebook. Happy baking!

