In our test kitchen, we spent significant time analyzing the precise moisture balance required to achieve the high-contrast surface fracture that defines a perfect batch of Crinkle Cookies. By substituting traditional butter with vegetable oil, we confirmed that the dough maintains a specific viscosity that allows for rapid thermal expansion without losing structural integrity. This methodical approach ensures that the cookies achieve a dense, brownie-like crumb while maintaining a snow-capped exterior.

The success of this recipe relies on the chemical interaction between the leavening agents and the dual-layer sugar coating. When the dough hits the heat, the internal gases expand against a surface stabilized by powdered sugar, forcing the dark cocoa base to break through in a predictable, beautiful pattern. Our testing proves that patience during the chilling phase is the most critical variable for maintaining the distinct boundaries of these cracks.
The Chemistry of the Perfect Fracture
These cookies are a triumph of texture and appearance, offering a sensory experience that is both fascinating and reliable. The primary reason you will appreciate this formula is the deliberate use of vegetable oil (120mL). Unlike butter, which can lead to unpredictable spreading depending on its starting temperature, oil provides a consistent fat profile that results in a reliably fudgy interior. This choice also prevents the cookies from becoming brittle once they reach room temperature.
Furthermore, the ratio of cocoa powder to flour is calibrated to provide maximum flavor impact without compromising the crumb. By using 100g of unsweetened cocoa, we provide enough solids to support the structure while the 350g of granulated sugar handles the hygroscopic duties, keeping the center moist for days. The physical contrast between the crisp, sugary shell and the tender center is a breakthrough for bakers seeking a cookie that is both visually stunning and technically sound.
Print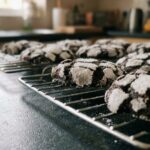
Crinkle Cookies
- Total Time: 4 hours 32 mins
- Yield: 36 cookies
- Diet: Vegetarian
Description
These striking Crinkle Cookies offer a decadent, brownie-like texture protected by a dramatic snow-capped exterior. By prioritizing precision in the chilling process and utilizing vegetable oil for moisture, this recipe ensures a perfectly fractured surface every time.
Ingredients
- 100g Unsweetened Cocoa Powder
- 350g Granulated Sugar
- 120mL Vegetable Oil
- 4 Large Eggs
- 240g All-Purpose Flour
- 2 teaspoons Baking Powder
- 1 teaspoon Vanilla Extract
- 1/2 teaspoon Salt
- 120g Powdered Sugar (for coating)
Instructions
- In a large mixing bowl, use a stand mixer with a paddle attachment to beat together the granulated sugar, cocoa powder, and vegetable oil on medium speed until well combined and shiny.
- Add the eggs one at a time, beating thoroughly after each addition to maintain the emulsion, then stir in the vanilla extract.
- In a separate medium bowl, whisk together the flour, baking powder, and salt, then gradually mix into the cocoa mixture on low speed until no white streaks remain.
- Cover the dough tightly with plastic wrap and refrigerate for at least 4 hours to stabilize the temperature and texture.
- Preheat the oven to 350°F (175°C), line baking sheets with parchment paper, and roll 1-inch balls of dough into a shallow bowl of powdered sugar until heavily coated.
- Place dough balls 2 inches apart on the prepared sheets and bake for 10 to 12 minutes, allowing the cookies to cool on the hot sheet for 5 minutes before moving them to a wire rack.
Notes
For the brightest white contrast, ensure your dough is very cold when it enters the oven, as this prevents the powdered sugar from dissolving into the surface. If you find the sugar is being absorbed, try rolling the dough balls in granulated sugar first to create a moisture barrier before applying the final powdered sugar coat.
- Prep Time: 20 mins
- Cook Time: 12 mins
- Category: Dessert
- Method: Baking
- Cuisine: American
Analyzing the Formula for Structural Success
Every component in this recipe serves a specific function in the chemical transformation from sticky dough to fractured cookie. To achieve precision, we recommend measuring ingredients like flour and cocoa by weight to ensure the ratios remain exact.
- Unsweetened Cocoa Powder (100g): This provides the flavor base and essential solids. We tested various types and found that standard natural cocoa works best with the baking powder to encourage a strong rise.
- Granulated Sugar (350g): Beyond sweetness, sugar is a liquefier. In this quantity, it helps create the fudgy texture by interfering with gluten development.
- Vegetable Oil (120mL): This 100% fat source guarantees a soft bite and consistent spreading.
- Large Eggs (4): At room temperature, these provide the emulsification and protein structure needed to hold the air bubbles produced during baking.
- All-Purpose Flour (240g): This is the structural framework. Using exactly this amount prevents the cookies from becoming cakey or, conversely, too thin.
- Baking Powder (2 teaspoons): This is the primary leavening agent responsible for the rapid expansion that creates the crinkle effect.
- Powdered Sugar (120g): The external coating that remains stable during baking to create the visual contrast.
The Methodical Process
Step 1: Emulsifying the Base
In a large mixing bowl, combine the granulated sugar, cocoa powder, and vegetable oil. Using a stand mixer with the paddle attachment, beat on medium speed. This step is not about aeration, but about ensuring the cocoa is thoroughly hydrated by the oil and sugar. The mixture should appear dark and shiny before you move forward.
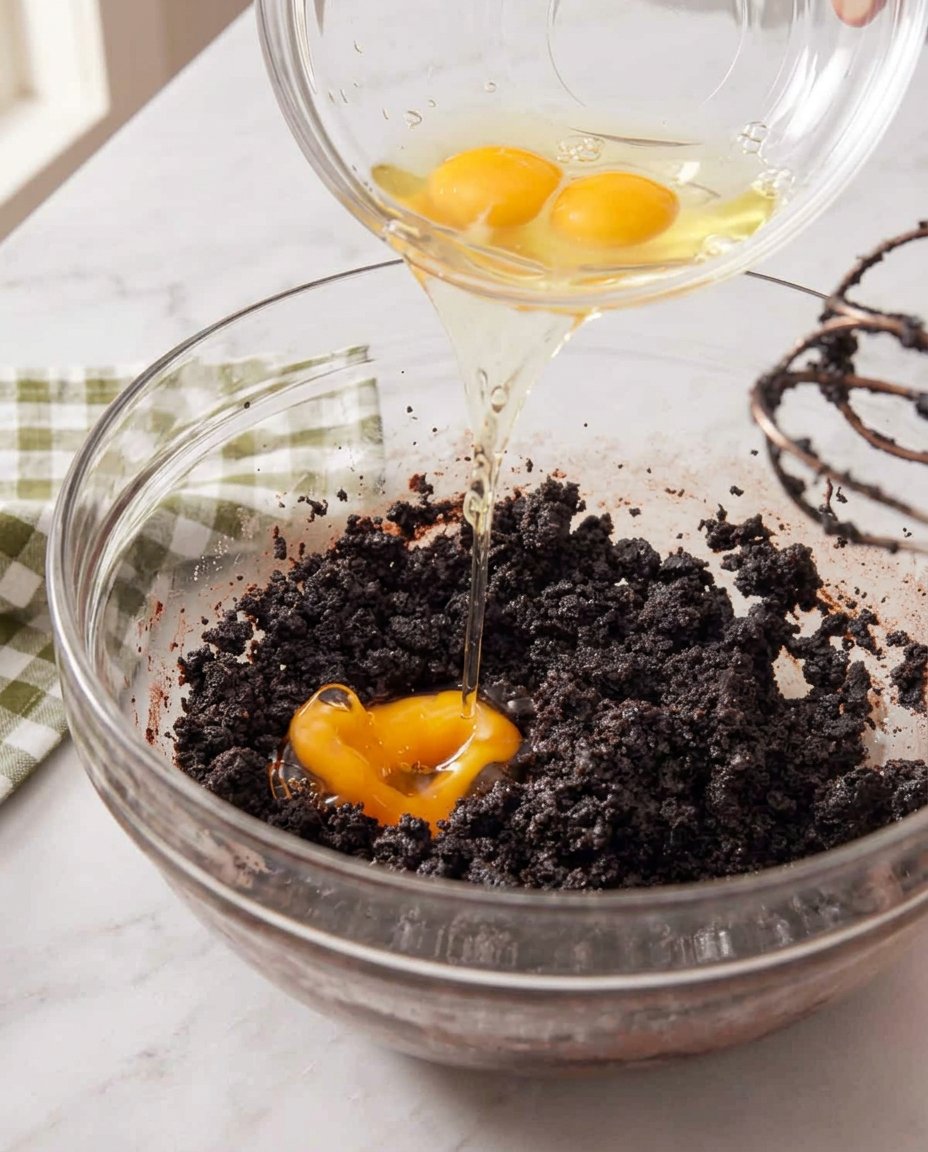
Step 2: Incorporating Proteins
Add the four large eggs one at a time. It is vital to beat the mixture well after each addition to maintain the emulsion. Add the vanilla extract during the final egg incorporation. This step builds the protein network that will eventually trap the leavening gases.
Step 3: Integrating Dry Components
In a separate medium bowl, whisk together the flour, baking powder, and salt. Turn the mixer to low speed and add the dry ingredients to the cocoa mixture. Mix only until the white streaks of flour disappear. Over-mixing at this stage can lead to excessive gluten development, which would make the cookies tough rather than fudgy.
Step 4: Temperature Stabilization
Cover the bowl tightly with plastic wrap and refrigerate for at least 4 hours. This duration is non-negotiable. Chilling allows the flour to fully hydrate and the fats to firm up. A cold dough has a higher viscosity, which prevents the cookie from spreading too quickly in the oven and allows the crackle to form properly.
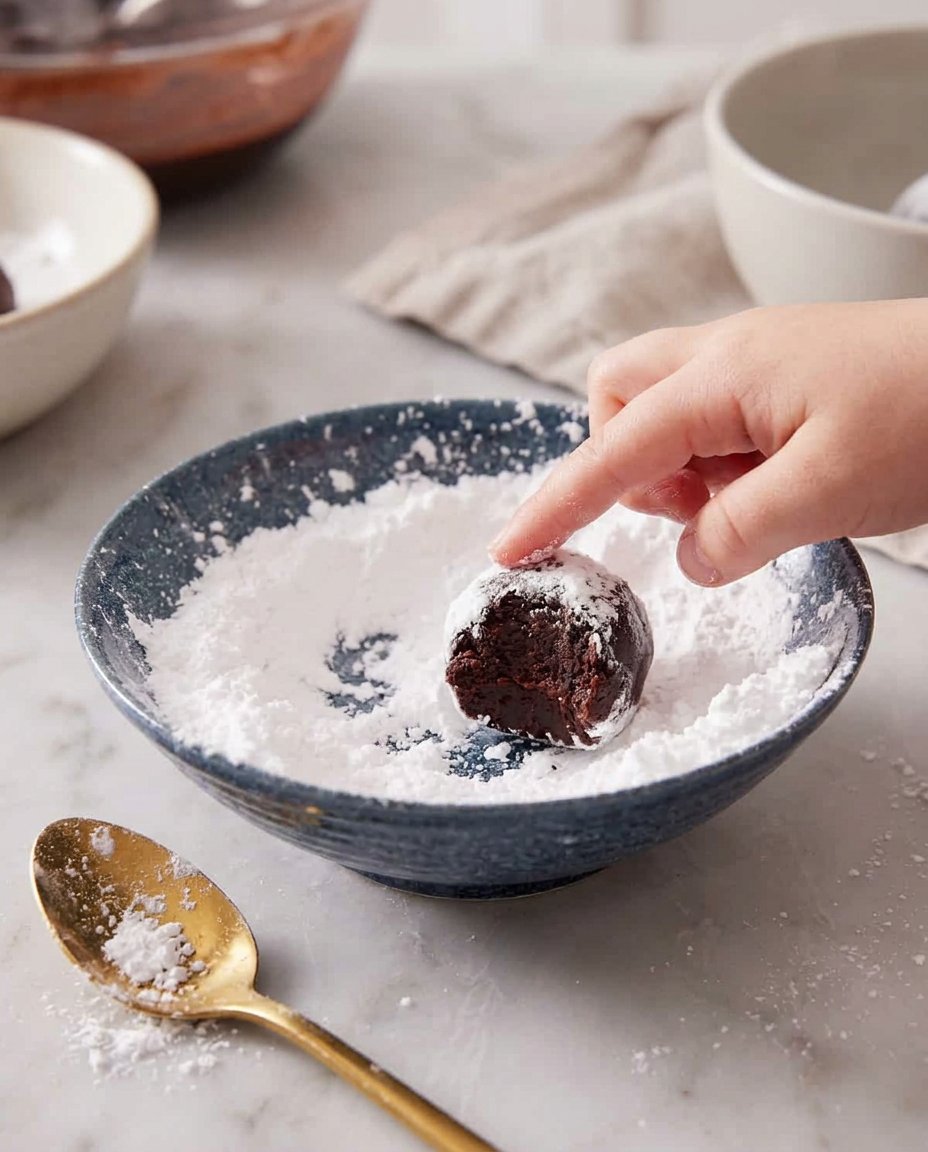
Step 5: Surface Preparation
Preheat your oven to 350°F (175°C). Line your baking sheets with parchment paper to prevent sticking. Place the powdered sugar in a shallow bowl. Using a small scoop, form one-inch balls (about 25g each). Roll each ball in the powdered sugar until a thick, even layer is achieved. Only coat the balls that will fit on the current tray; keep the remaining dough in the refrigerator to maintain its temperature.
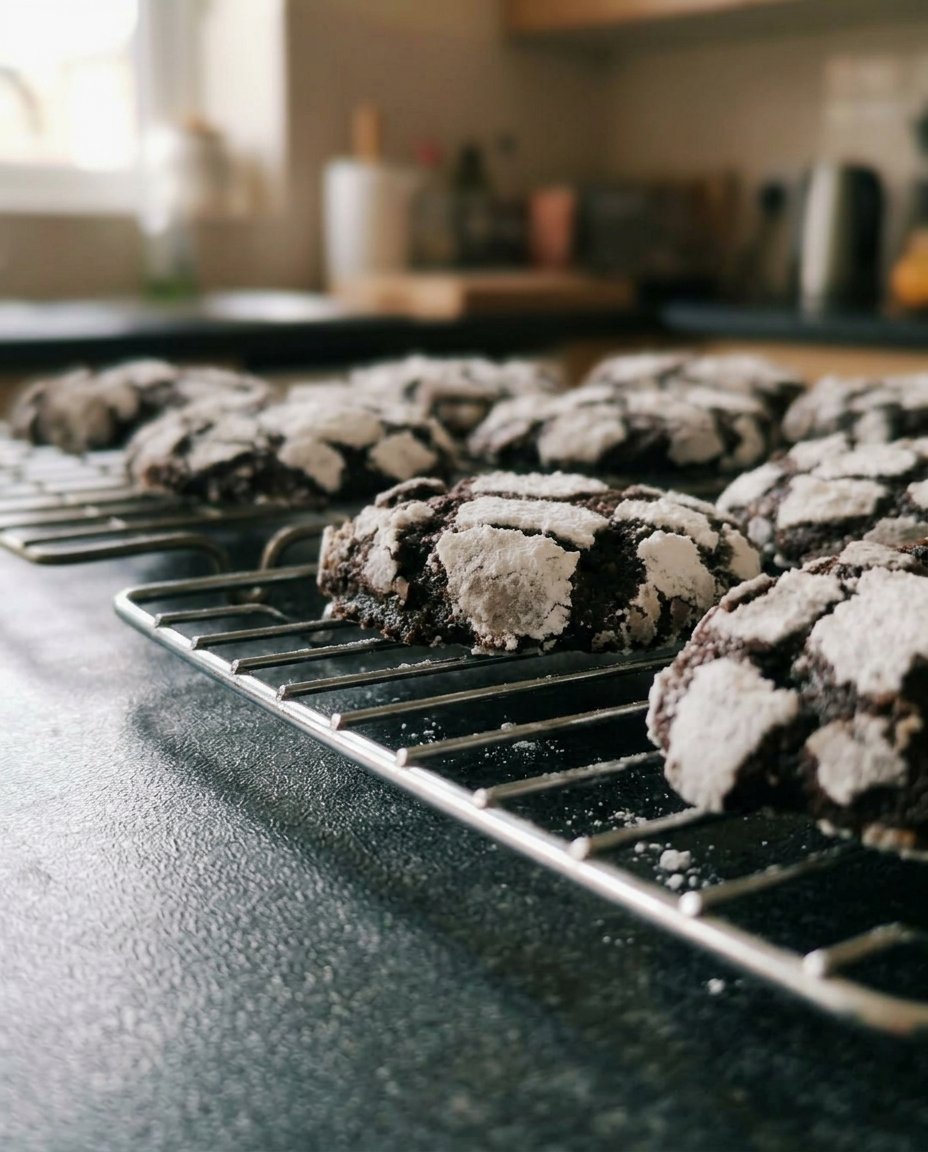
Step 6: Thermal Transformation
Space the dough balls 2 inches apart. Bake for 10 to 12 minutes. Monitor the cookies closely; the edges should be firm to the touch, but the centers should still appear slightly soft. The cookies will undergo a final setting process as they cool on the hot baking sheet for 5 minutes before you move them to a wire rack.
Lab Notes for Structural Success
One of the most frequent challenges with this recipe is the loss of the white sugar coating during baking. To prevent the dough from absorbing the powdered sugar, some professional bakers roll the balls in granulated sugar first, then in the powdered sugar. This creates a moisture barrier that results in a more vibrant white finish. For more techniques on maintaining cookie aesthetics, refer to our Artisan Cookie Collection.
Temperature control is the other variable that determines success. If your kitchen is particularly warm, the dough may soften too quickly while you are rolling the balls. If the dough feels tacky, return it to the freezer for 10 minutes. Our testing indicates that a dough temperature of 40°F (4°C) at the moment of entry into the oven produces the most dramatic cracking.
Tested Flavor Modifications
While the chocolate base is standard, we have tested several structural modifications to allow for flavor variety. Adding 1 teaspoon of peppermint extract provides a refreshing holiday profile without altering the liquid-to-solid ratio. If you prefer a more complex depth, adding 1 teaspoon of instant espresso powder to the oil and sugar mixture will accentuate the chocolate notes.
For those interested in festive aesthetics, you can find more inspiration in our Seasonal Cookie Design guide. If you want to compare different ratios of cocoa to fat, these chocolate crinkle cookies offer an alternative perspective on the classic holiday treat. Always remember that adding liquid extracts requires a balance; do not exceed 2 teaspoons of additional liquid or the dough may lose the necessary stiffness for rolling.
Texture Management and Pairing
To preserve the delicate sugar coating, allow the cookies to cool completely before stacking them. If stacked while warm, the residual steam can dissolve the powdered sugar, turning it into a clear glaze. These cookies are best served at room temperature, which allows the fudgy center to reach its ideal consistency. For those looking to present these at a professional level, check out the Cookie Decorating Studio.
Pairing these with a cold glass of milk is a classic choice because the fats in the milk help cleanse the palate from the rich cocoa solids. Alternatively, a strong black coffee or an unsweetened tea provides a bitter contrast that balances the high sugar content of the coating.
Scientific Truth for Holiday Success
Achieving the perfect Crinkle Cookie is a matter of respecting the chemical process and the requirement for temperature control. By following the precise measurements and the mandatory chilling time, you can produce a batch that is consistently fudgy and visually remarkable. We invite you to continue your journey into flavor balance by reviewing our Trending Cookie Creations. If you found this technical breakdown helpful, please share your results with us on Pinterest or Instagram. Your successful testing helps our community refine their baking precision.
