In my Southern kitchen, chocolate cookies represent more than just a quick sugar fix; they are a piece of family history that fills the house with a familiar hug. I still remember watching my grandmother carefully cream the butter, her steady hands proving that patience is the most important ingredient in any heirloom recipe. There is a specific kind of magic that happens when a simple cocoa-based dough hits the oven, turning a few pantry staples into a batch of memories that taste like Sunday afternoons.

These soft and chewy chocolate cookies are dense, intensely flavorful, and stay remarkably tender for days on end. We are using a straightforward method that honors tradition while making sure every bite delivers that deep, dark cocoa richness you crave. Whether you are baking for a school bake sale or just filling up the cookie jar for the week, this recipe provides the reliable comfort that every home baker needs in their repertoire.
A Timeless Southern Favorite
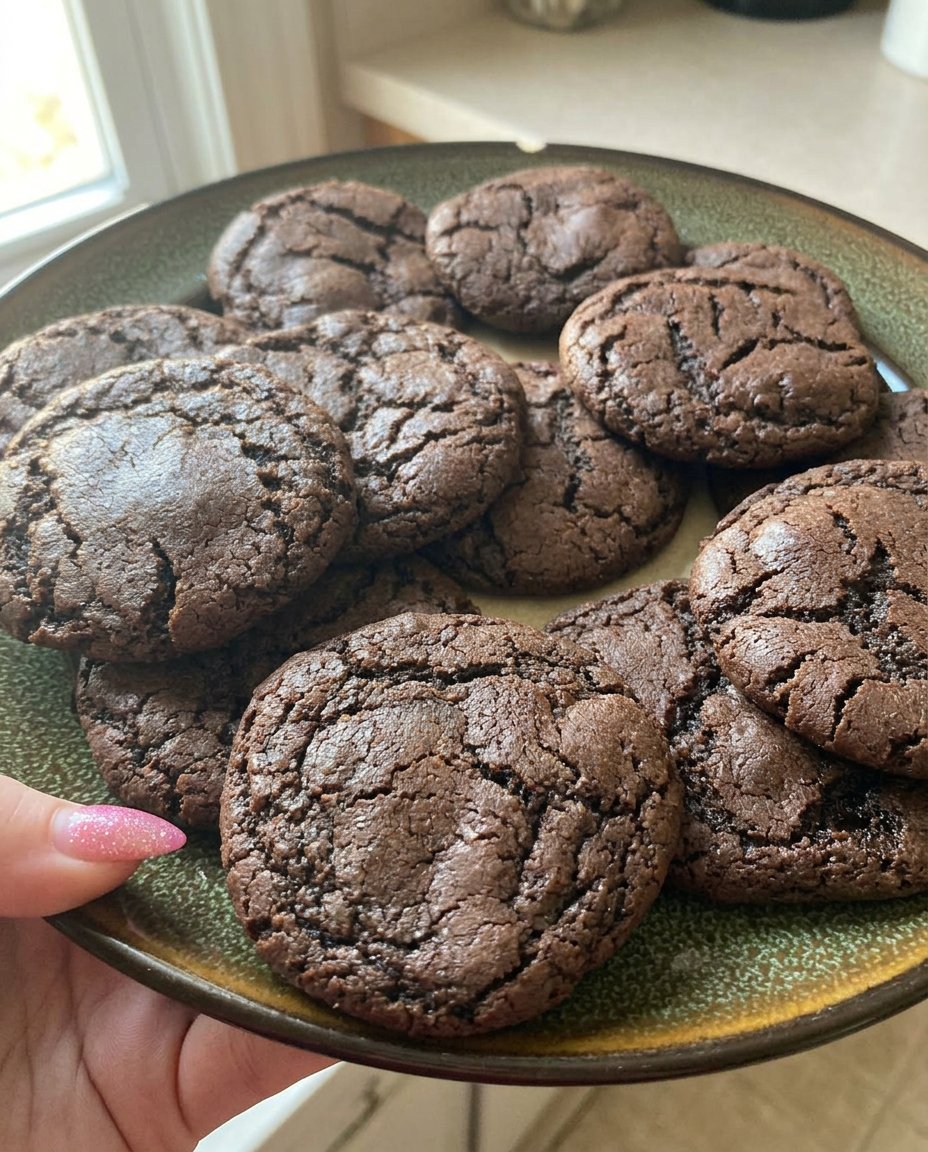
You will find that these chocolate cookies are the perfect balance of a soft, brownie-like center and a slightly crisp edge that gives way with a gentle snap. In the world of baking, it is easy to get caught up in flashy trends, but there is a profound joy in a classic that does its job well. This recipe is a keeper because it relies on the fundamental principles of Southern baking—quality fats, plenty of vanilla, and a slow creaming process that builds a beautiful structure.
Another reason to fall in love with this batch is the sheer intensity of the chocolate. By using a generous amount of unsweetened cocoa powder, we achieve a dark, sophisticated flavor that isn’t masked by over-sweetness. These cookies feel substantial and honest, much like the hand-me-down recipes that have sustained our families for generations. They are sturdy enough to travel in a lunchbox but delicate enough to serve on a silver platter at a holiday gathering.
Finally, the texture is truly the star of the show. Many recipes produce a thin, oily cookie, but this dough remains thick and holds its shape beautifully. The result is a chewy, satisfying bite that reminds you why the simple things in life are often the best. It is about finding that sweet spot where comfort meets deep flavor, creating a cookie that feels like home regardless of where you are eating it.
Print
Chocolate Cookies
- Total Time: 24 mins
- Yield: 24 cookies
- Diet: Vegetarian
Description
These heritage-style chocolate cookies deliver an intensely rich cocoa flavor with a soft, brownie-like center and a delicate, sugary crunch on the edges. Perfect for any occasion, they remain remarkably tender for days, offering a comforting bite of Southern tradition.
Ingredients
- 1 cup high-quality butter, room temperature
- 1 ½ cups granulated sugar
- 2 large eggs
- 2 teaspoons vanilla extract
- 2 cups all-purpose flour
- ¾ cup unsweetened cocoa powder
- 1 teaspoon baking soda
- ½ teaspoon salt
- Coarse sugar or sea salt for topping (optional)
Instructions
- Preheat your oven to 350°F (175°C) and line a large baking sheet with parchment paper or a silicone mat.
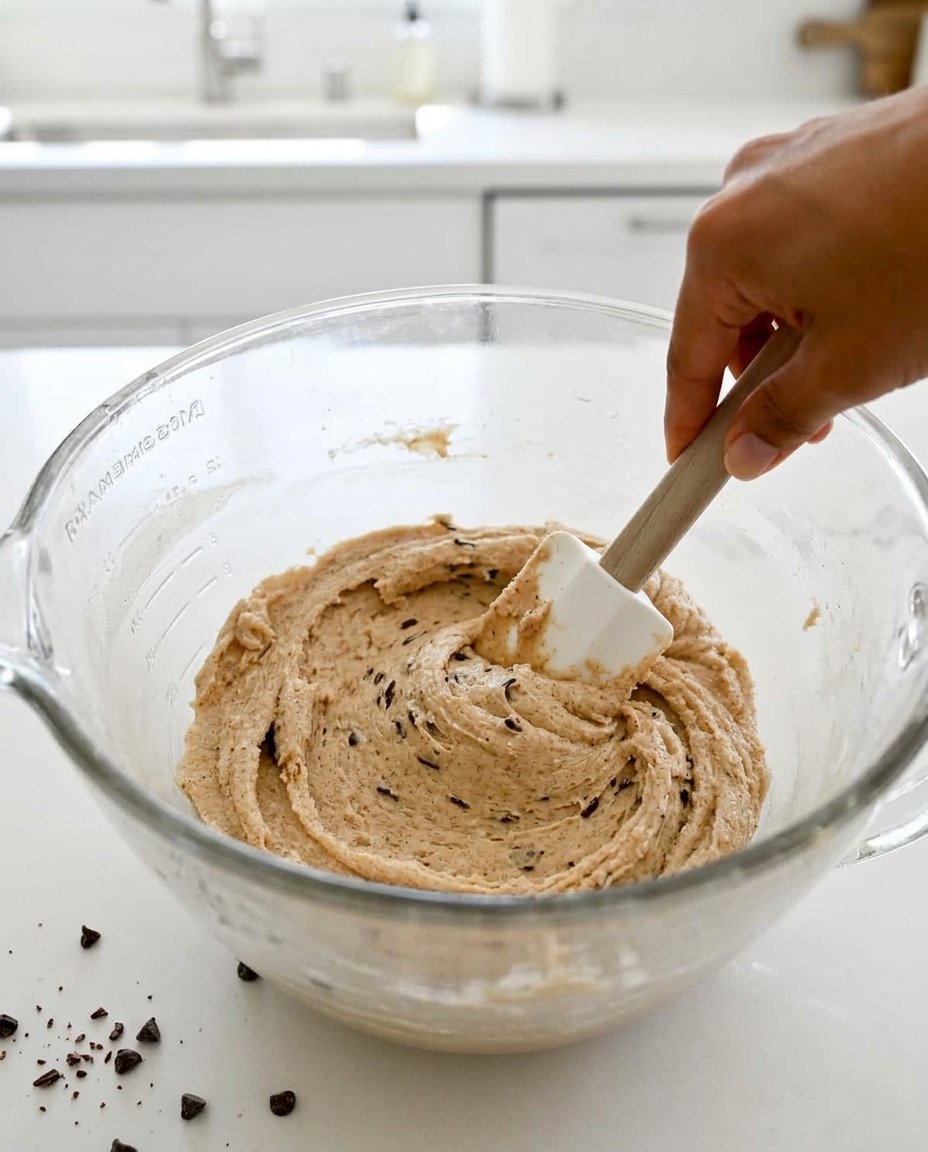
- In a stand mixer fitted with the paddle attachment, cream together the room-temperature butter and granulated sugar on medium-high speed for 4 minutes until light and fluffy.
- Lower the mixer speed and add the eggs one at a time, incorporating fully before adding the vanilla extract; scrape down the bowl as needed.
- In a separate medium bowl, whisk together the all-purpose flour, cocoa powder, baking soda, and salt, sifting if the cocoa is lumpy.
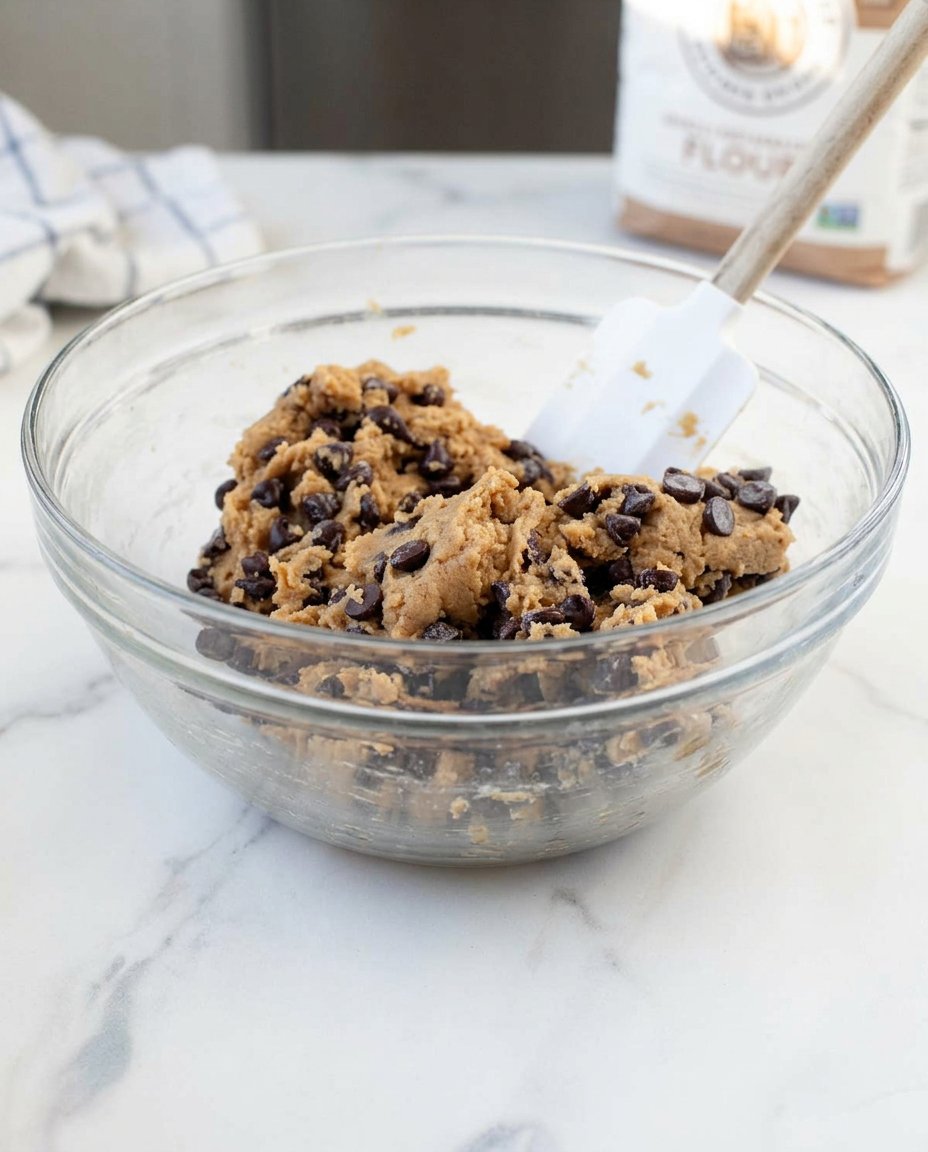
- Gradually add the dry ingredients to the wet mixture, mixing on low speed only until the flour disappears to avoid over-mixing.
- Using a medium cookie scoop (about 1.5 tablespoons), portion the dough onto the prepared baking sheet, leaving 2 inches of space between each round.
- Bake for 9 minutes until the edges are set and slightly crisp while the centers remain soft.
- Immediately sprinkle with coarse sugar or sea salt if desired, let rest on the pan for 5 minutes, then transfer to a wire rack to cool completely.
Notes
To achieve the best texture, ensure your butter is soft but not melting, and always sift your cocoa powder to prevent bitter lumps in the dough. If you prefer a thicker cookie, try chilling the scooped dough for 15 minutes before baking to control the spread.
- Prep Time: 15 mins
- Cook Time: 9 mins
- Category: Dessert
- Method: Baking
- Cuisine: Southern
Simple Ingredients for Deep Flavor
To make these cookies truly special, we start with a foundation of high-quality ingredients that work together to create a symphony of taste and texture. Each component plays a vital role in the final result, from the lift provided by the baking soda to the aromatic warmth of the vanilla extract. Here is what you will need to gather before you start:
- Butter: I recommend using high-quality butter at room temperature. Whether you choose salted or unsalted, the fat content is what gives these cookies their melt-in-your-mouth quality and buttery warmth.
- Granulated Sugar: This provides sweetness and helps create those crisp, caramelized edges that contrast so well with the soft centers.
- Eggs: Large eggs act as the binder, giving the dough its structure and contributing to the rich, chewy mouthfeel.
- Vanilla Extract: Never underestimate the power of a good vanilla; it rounds out the cocoa and adds a layer of aromatic comfort.
- All-Purpose Flour: This provides the backbone of the cookie. Measuring correctly is the secret to avoiding a dry or crumbly texture.
- Unsweetened Cocoa Powder: This is the heart of the recipe. It provides the deep, dark chocolate base that defines these heritage treats.
- Baking Soda: Our leavening agent that reacts with the acidity in the cocoa to give the cookies a gentle lift.
- Salt: A pinch of salt is necessary to balance the sugars and make the chocolate flavor pop.
- Coarse Sugar or Sea Salt: This is an optional but highly recommended finishing touch for a bit of sparkle and crunch.
Choosing the right cocoa is essential. Standard unsweetened natural cocoa powder is acidic, which is why we use baking soda to create the rise. If you decide to use a darker, Dutch-process cocoa, you will need to swap the soda for baking powder to account for the change in pH. This kind of attention to detail is what separates a good baker from a great one.
The Comfort Method
Step 1: Prep and Preheat
Begin by preheating your oven to 350°F (175°C). While the oven warms, line a large baking sheet with parchment paper or a silicone baking mat. This prevents sticking and makes certain the bottoms of your chocolate cookies bake evenly without becoming too dark.
Step 2: Cream the Butter and Sugar
In the bowl of your stand mixer fitted with the paddle attachment, combine your room-temperature butter and granulated sugar. Beat them together on medium-high speed for at least 4 minutes. You are looking for a light, fluffy texture and a pale color. This step is where you build the air that gives the cookies their wonderful texture.
Step 3: Add the Eggs and Vanilla
Lower the mixer speed and add the eggs one at a time, making sure each is fully incorporated before adding the next. Pour in the vanilla extract. Scrape down the sides and bottom of the bowl with a spatula to make sure no butter streaks remain. This creates a smooth, emulsified base for your dry ingredients.
Step 4: Sift the Dry Ingredients
In a separate medium-sized bowl, whisk together the flour, cocoa powder, baking soda, and salt. Sifting the cocoa powder is a smart move here, as cocoa often has stubborn lumps that can ruin the smooth look of your finished dough.
Step 5: Combine and Mix
Add the dry mixture to the wet ingredients. Mix on the lowest speed just until the flour disappears. Over-mixing at this stage can lead to a tough cookie, so keep a close eye on it. Use your spatula for one final manual fold to catch any dry bits at the very bottom of the mixer bowl.
Step 6: Scoop the Dough
Using a medium cookie scoop (about 1.5 tablespoons), portion out the dough and place the rounds onto your prepared baking sheet. Leave about 2 inches of space between each one to allow for a little bit of spreading as they bake.
Step 7: Bake to Perfection
Slide the tray into the oven and bake for 9 minutes. The edges should look set and slightly crisp, but the centers should still look just a tiny bit soft or “underdone.” They will finish setting up on the hot pan once you remove them from the oven.
Step 8: Cool and Finish
Immediately sprinkle the hot cookies with coarse sugar or a tiny pinch of sea salt if you like. If any cookies came out a bit wonky, use a round cutter or a spatula to gently scoot them back into a perfect circle. Let them rest on the pan for 5 minutes before moving them to a wire rack to cool completely.
Jesse’s Baking Secrets
One of the most important things I can share about making these chocolate cookies is the importance of measuring your flour by weight. If you use a measuring cup to scoop flour directly from the bag, you often pack it down, leading to a cookie that is too thick and won’t spread. For more techniques on mastering the basics, take a look at our Artisan Cookie Collection. Another trick is to make sure your butter is truly at room temperature—not melted, but soft enough that your finger leaves an easy indentation. If the butter is too cold, the sugar won’t cream properly, and you’ll lose that light, airy structure we worked so hard to build. Lastly, if you find your cookies aren’t spreading enough, a gentle tap of the baking sheet against the oven rack halfway through the bake can help them settle into that beautiful, crinkly shape we all love.
Ways to Make It Your Own
While I love the classic profile of this recipe, I often suggest a few gentle twists to keep things interesting. You can add a half-teaspoon of espresso powder to the dry ingredients to make the chocolate flavor even deeper; it won’t taste like coffee, but it adds a wonderful spark to the cocoa. For those who enjoy a bit of Southern flair, folding in half a cup of toasted pecans provides a lovely crunch and a nutty finish. If you are looking for more creative inspiration, our Seasonal Cookie Design guide has plenty of ideas for different flavor profiles. You might also try browning the butter before you begin, which adds a savory, toffee-like note that pairs perfectly with the dark chocolate. Just remember to let the brown butter solidify back to a soft room-temperature state before creaming it with the sugar.
Moments for Sharing
These chocolate cookies are best enjoyed with a tall glass of cold milk or a warm cup of coffee in the afternoon. For a truly special presentation, you can use them to make ice cream sandwiches by squishing a scoop of vanilla or mint chip ice cream between two cookies. If you are hosting a gathering, check out our Effortless Cookie Elegance page for more ways to style your dessert platters. I also find that these cookies make a wonderful gift when tucked into a pretty tin with a bit of parchment paper between the layers. There is nothing quite like showing up to a friend’s house with a warm batch of heritage cookies to show them you care.
The Heart of Home Baking
At the end of the day, baking is about the love we share with those around us through the food we create. These chocolate cookies are a testament to the fact that you don’t need fancy ingredients or complicated techniques to make something that people will remember for years to other generations. I hope this recipe finds a permanent home in your recipe box and brings as much joy to your kitchen as it has to mine. For more inspiration on what to bake next, you can discover our Trending Cookie Creations or visit our friends at Completely Delicious for more baking tips. Happy baking, and don’t forget to share your results with us on Pinterest, Instagram, and Facebook!

