In our test kitchen, we recently tackled the structural challenge of incorporating high-density mix-ins without compromising the cookie’s crumb. We discovered that a specific balance of cornstarch and high-protein all-purpose flour provides the necessary framework to support whole mini sandwich cookies and two varieties of chocolate chips. This recipe represents the perfect intersection of playful aesthetics and rigorous baking chemistry.

These vibrant blue treats are more than just a visual delight; they are a study in moisture control and fat stabilization. By using gel-based pigments instead of liquid colors, we maintain the dough’s hydration levels, resulting in a thick, chewy texture that remains stable long after baking. Every bite offers a calculated distribution of crunch and silkiness that validates our precise testing process.
A Scientific Victory in Flavor and Structure
You will appreciate this recipe because it solves the common problem of heavy cookies spreading too thin. We have calibrated the ratio of light brown sugar to granulated sugar to provide enough acidity for the baking soda to react efficiently, while the cornstarch works to inhibit excessive gluten development. This results in a cookie that is remarkably soft but sturdy enough to hold its shape.
The inclusion of both semi-sweet and white chocolate chips creates a complex flavor profile that balances bitterness and creaminess. By hand-folding the miniature cookies rather than using a mixer, we preserve the mechanical crunch that defines this specific flavor experience. It is a breakthrough for bakers who want reliable results with bold, innovative designs.
Print
Cookie Monster Cookies
- Total Time: 49 mins
- Yield: 12-14 cookies
- Diet: Vegetarian
Description
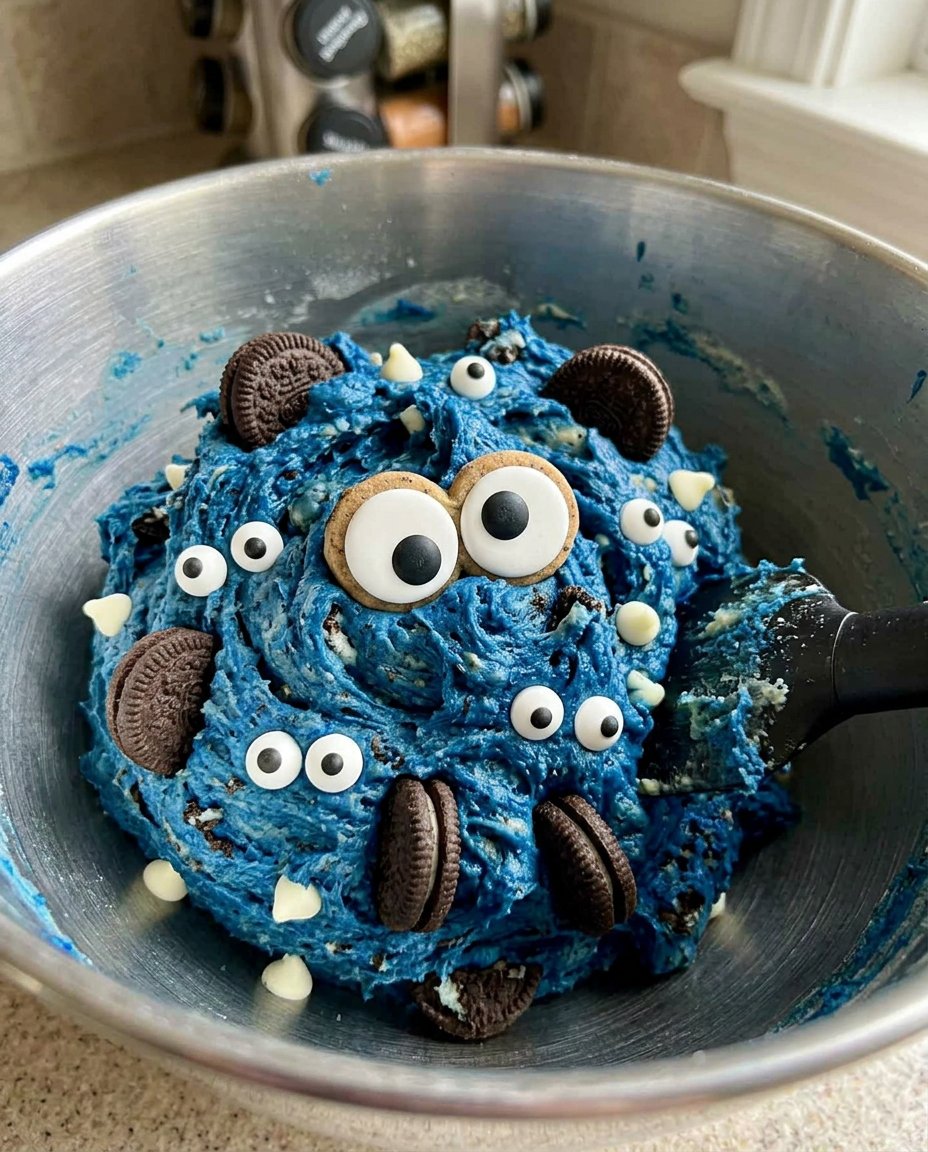
These vibrant blue cookies are a baker’s masterpiece, combining a thick, chewy dough with a mix of chocolate chips and miniature sandwich cookies. Engineered for the perfect structural balance, they offer a playful aesthetic without sacrificing professional texture.
Ingredients
- 226g Unsalted Butter, softened (65-68°F)
- 220g Light Brown Sugar
- 100g Granulated Sugar
- 2 Large Eggs
- 1 tsp Vanilla Extract
- Royal Blue and Light Blue Gel Food Coloring
- 450g All-Purpose Flour
- 4g Cornstarch
- 1 tsp Baking Soda
- 1/2 tsp Salt
- 1/2 cup Semi-sweet Chocolate Chips
- 1/2 cup White Chocolate Chips
- 1 cup Mini Sandwich Cookies (Oreos), plus extra for crumbs
- 1 cup Mini Chocolate Chip Cookies (Chips Ahoy), chopped
- Candy Eyeballs
Instructions
- Preheat your oven to 350°F (177°C) and prepare baking surfaces with parchment paper or silicone mats.
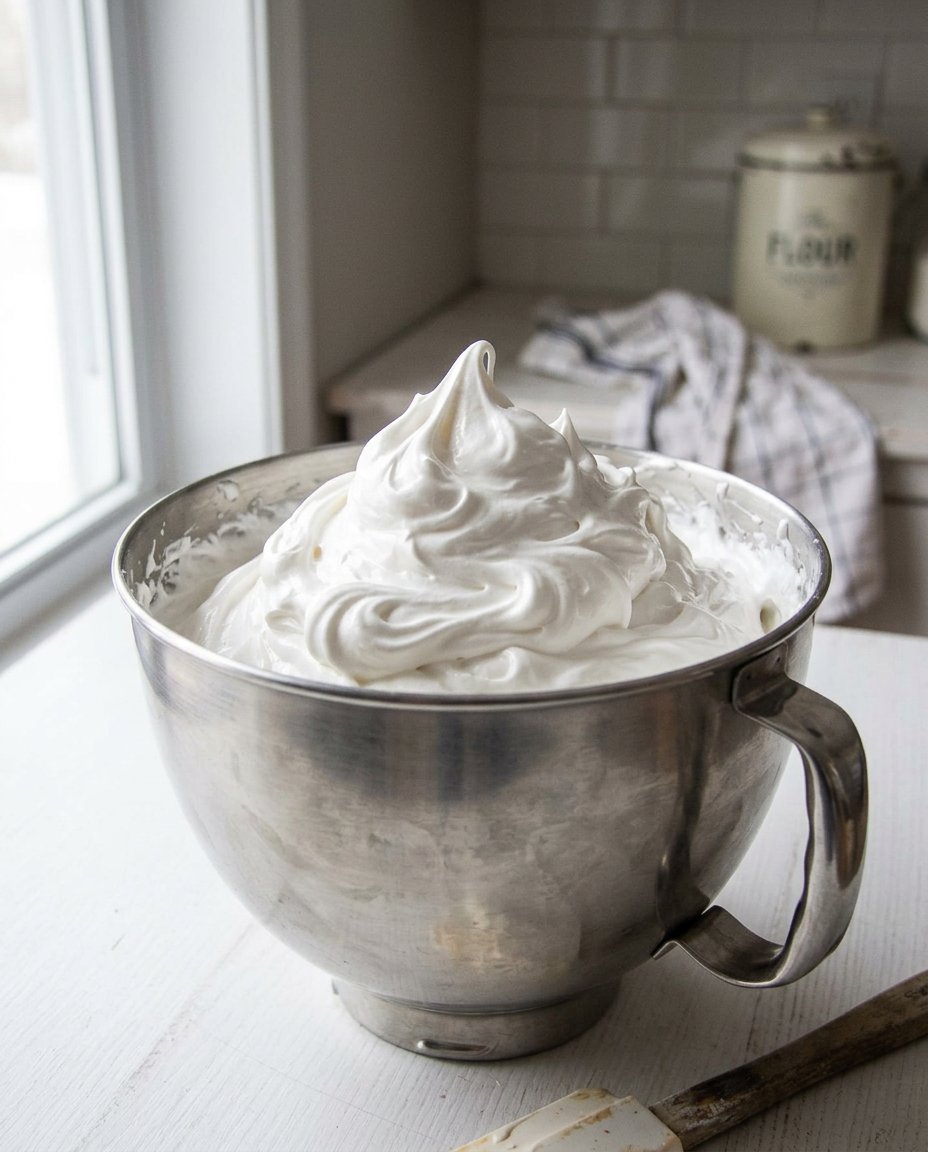
- In a stand mixer, beat the softened butter with both the light brown and granulated sugars on medium speed for 2-3 minutes until pale and fluffy.
- Incorporate the eggs one at a time, followed by the vanilla extract and the blue gel colors, mixing until the color is evenly distributed and the mixture is emulsified.
- In a separate bowl, whisk together the flour, cornstarch, salt, and baking soda. Gradually add this dry matrix to the mixer on low speed, stopping just before the flour is fully incorporated.
- Using a spatula, gently fold in the semi-sweet chips, white chocolate chips, chopped mini chocolate chip cookies, and whole mini Oreos by hand.
- Scoop the dough into 3-ounce balls and roll the tops in a fine crumb made from crushed mini cookies.
- Place the dough balls 3 inches apart and bake for 12-14 minutes. Let the cookies sit for 60 seconds before applying candy eyes, then allow them to finish cooling on the sheet for 15 minutes.
Notes
To ensure the cookies maintain their thick, mounded shape, avoid over-creaming the butter and sugar, which can introduce too much air and lead to collapsing. If your kitchen is warm, chilling the portioned dough balls for 10 minutes before baking will help preserve the vibrant blue hue and prevent excessive spreading.
- Prep Time: 20 mins
- Cook Time: 14 mins
- Category: Dessert
- Method: Baking
- Cuisine: American
The Chemical Components of a Perfect Cookie
To achieve the specific density and texture of these Cookie Monster Cookies, we must look at the function of each ingredient within the dough matrix. Each measurement is calculated to provide a specific structural or flavor result.
- Unsalted Butter (226g): At room temperature, the butter acts as the primary fat phase, allowing for the mechanical incorporation of air during the creaming stage.
- Light Brown Sugar (220g): This provides the necessary molasses content to create a chewy crumb and the acidity required to activate the leavening agents.
- Cornstarch (4g): This precise addition softens the flour’s protein structure, leading to a tender bite that doesn’t feel overly bread-like.
- Royal and Light Blue Gel Colors: These are essential because they provide concentrated pigment without adding the excess water found in liquid food coloring, which would thin the dough.
- Mini Sandwich Cookies: Both Oreo and Chips Ahoy varieties provide varied textures and fats that become integrated into the final structure during the baking cycle.
- Candy Eyeballs: These serve as the final aesthetic touch, applied post-bake to ensure they don’t melt or lose their clarity in the oven’s heat.
The Scientific Process for Optimal Results
Step 1: Thermal Stabilization and Prep
Begin by preheating your oven to 350°F (177°C). Prepare your baking surface with professional-grade parchment paper or a silicone mat. It is vital to allow your butter to reach exactly 65-68°F (18-20°C); if the butter is too warm, the air cells created during creaming will collapse, leading to a greasy final product.
Step 2: Mechanical Aeration
Combine the softened butter with both sugars in a stand mixer. Beat on medium speed for 2-3 minutes. This process is not just about mixing; it is about creating thousands of tiny air pockets that will expand when heated. When the mixture looks pale and fluffy, you have achieved the correct state of aeration.
Step 3: Emulsifying the Wet Ingredients
Add the eggs one at a time, followed by the vanilla extract. It is important to continue beating until the mixture is fully emulsified. Introduce the royal blue and light blue gel colors at this stage. By adding the color to the fat-rich mixture before the dry ingredients, you ensure an even distribution of pigment across the entire batch.
Step 4: Integrating the Dry Matrix
In a separate vessel, whisk together the flour, cornstarch, salt, and baking soda. Reduce your mixer to the lowest speed and gradually add the dry ingredients. Stop the mixer just before the last streaks of flour disappear to prevent over-working the gluten, which would result in a tough, undesirable texture.
Step 5: Manual Inclusion of Textures
Fold in the semi-sweet and white chocolate chips. Gently add the chopped mini Chips Ahoy and whole mini Oreos by hand using a spatula. This manual process protects the integrity of the cookies, preventing them from being pulverized into a fine dust that would muddy the blue color of the dough.
Step 6: Engineering the Exterior Crumb
Create a fine crumb by crushing a small portion of the mini cookies in a sealed bag. Portion the dough into 3-ounce balls (approximately 1/4 cup). Roll each ball in the prepared crumbs on the top and sides. This creates a multidimensional surface that reacts differently to the oven’s heat than the smooth dough underneath.
Step 7: The Controlled Bake
Place the dough balls 3 inches apart to allow for heat circulation. Bake for 12-14 minutes. The goal is to reach a point where the edges are set but the center remains slightly under-baked. This ensures that as the cookies cool on the sheet for 15 minutes, they finish cooking through residual heat, maintaining a soft interior.
Lab Notes for Precision Baking
One of our most important findings in the test kitchen is the impact of dough temperature on color vibrancy. If the dough becomes too warm while you are rolling the balls, the fats can begin to melt, making the blue hue look dull. We recommend chilling the portioned dough for 10 minutes before baking if your kitchen is above 75°F. For more advanced techniques on maintaining dough structure with varied fats, review our Artisan Cookie Collection.
When applying the candy eyes, wait exactly 60 seconds after the cookies exit the oven. This allows the surface tension of the cookie to stabilize so the eyes don’t sink too deep, but the chocolate chips remain melted enough to act as an adhesive. If you find your cookies are spreading more than expected, double-check that your baking soda is fresh, as older leaveners lose their ability to provide the lift needed to counteract the weight of the mini cookies.
Tested Structural Modifications
For those looking to adjust the flavor profile while maintaining structural integrity, we tested a version using dark cocoa powder. If you replace 1/4 cup of the flour with Dutch-processed cocoa, you will achieve a deep, dark base that pairs spectacularly with the blue coloring. You can find more ideas for modifying base doughs in our Seasonal Cookie Design resource.
Another successful variation involves substituting the white chocolate chips with peanut butter chips. Since peanut butter chips have a higher protein content than white chocolate, you may notice the cookies are slightly more mounded. This is a fascinating result of how different fats and proteins interact with the sugar matrix. Always ensure your substitutions maintain a similar fat-to-solid ratio to keep the crumb consistent.
Optimal Pairing and Presentation
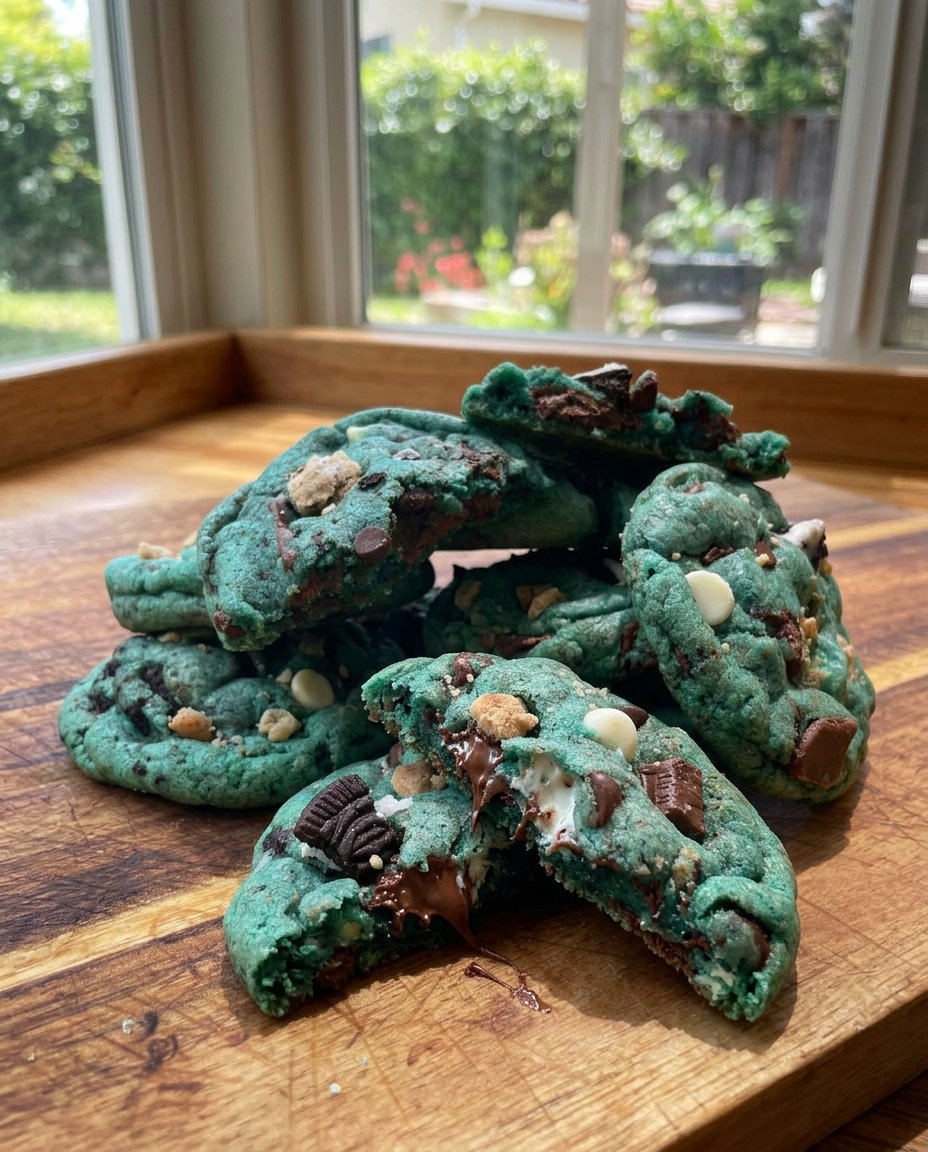
To experience the full spectrum of flavors, serve these cookies at room temperature. When the chocolate is stable but soft, the contrast between the chewy dough and the crunchy cookie pieces is most apparent. We have found that these are best enjoyed alongside a glass of cold whole milk, which provides a neutral fat base that allows the vanilla and cocoa notes to shine. For more serving inspiration, check out our Cookie Decorating Studio.
If you are preparing these for an event, store them in a single layer. Stacking these cookies can cause the candy eyes to detach or the oils from the chocolate chips to transfer to the bottom of the cookie above it. Proper storage maintains the precise moisture balance we worked so hard to achieve in the test kitchen.
The Scientific Truth for Home Bakers
Mastering these Cookie Monster Cookies is a remarkable triumph of baking physics and creative design. By respecting the ratios of fats to solids and the specific cooling times, you can produce a result that is both visually stunning and technically superior. We invite you to continue your journey into flavor chemistry by exploring our Trending Cookie Creations. For additional visual guides and community testing notes, visit Beyond Frosting.
Don’t forget to share your baking victories with us on Instagram, Pinterest, and Facebook. Keep testing and stay precise!

