My first encounter with authentic shortbread happened in a tiny, fog-brushed bakery in the Scottish Highlands, where the scent of browning butter filled the air like a warm hug. The baker explained that true shortbread isn’t just a snack; it is a sensory journey that requires only a few ingredients and an abundance of patience. I remember the way the delicate biscuit shattered against the palate, leaving behind a rich, creamy sweetness that felt both humble and regal.

This Chocolate Dipped Shortbread recipe brings that global inspiration into your home kitchen with a sophisticated flavor twist. We take the traditional, crumbly base and marry it with a deep, velvety chocolate coating that adds an unexpected depth to every bite. It is a celebration of texture and aromatic balance, perfect for those who appreciate the finer nuances of a well-crafted butter cookie.
The Flavor Twist
You will find yourself returning to this recipe because it celebrates the beautiful simplicity of high-quality fats and grains. The hallmark of a great shortbread is its ‘short’ texture—a culinary term for that iconic, sandy crumble that melts away the moment it hits your tongue. Unlike modern cookies that rely on heavy leavening agents, this version leans into the pure, aromatic essence of vanilla and the lactic richness of unsalted butter.
The addition of the chocolate dip provides a striking visual and flavor contrast. While the shortbread itself is light and buttery, the chocolate adds a layer of bittersweet complexity that awakens the senses. It is an exciting way to breathe new life into a heritage technique, proving that tradition and innovation can live harmoniously on the same dessert plate. Whether you are a devoted baker or a curious novice, the process of hand-pressing the dough and watching the chocolate set is a deeply satisfying ritual.
Print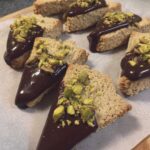
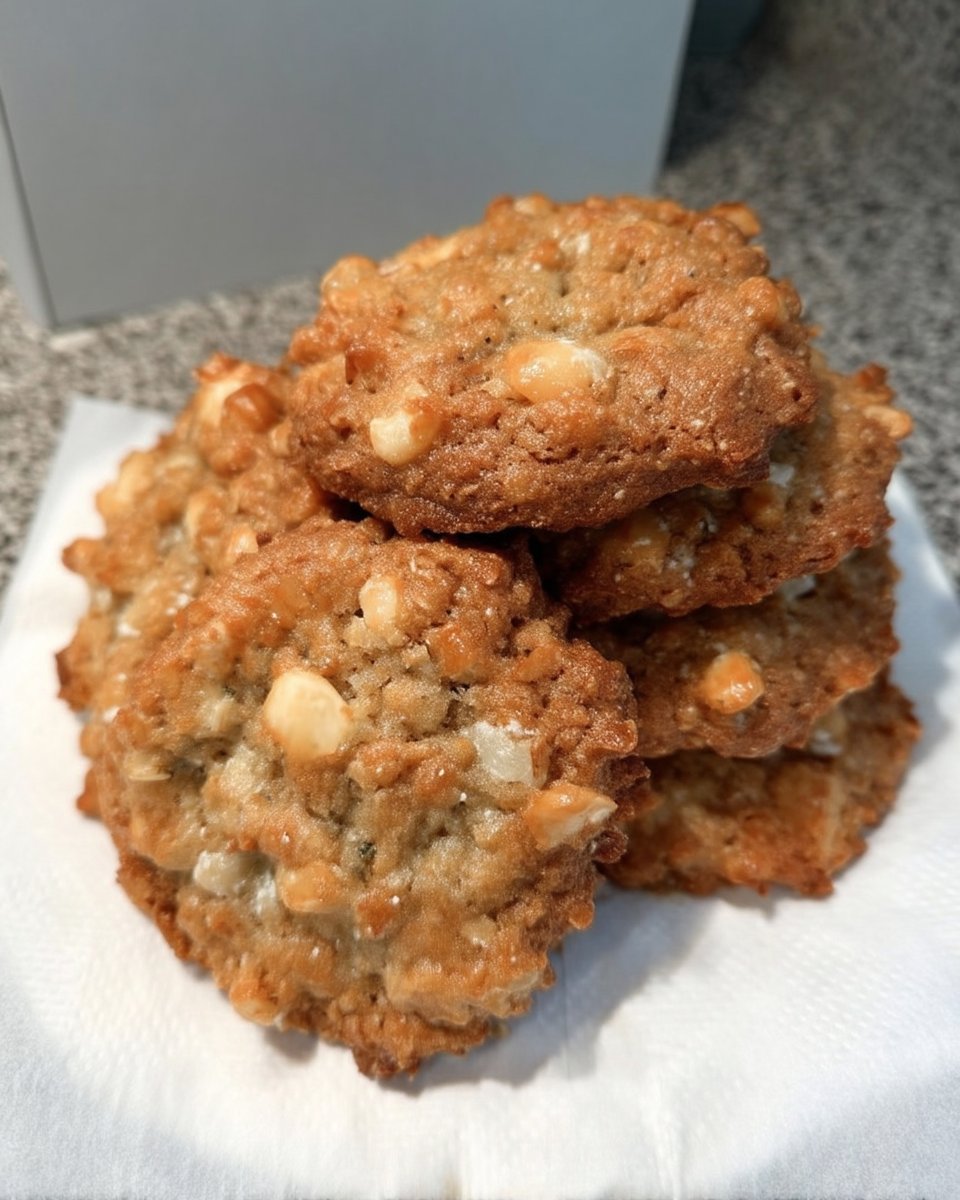
Chocolate Dipped Shortbread
- Total Time: 2 hours
- Yield: 18 cookies
- Diet: Vegetarian
Description
These elegant buttery shortbread cookies feature a delicate crumbly texture and a luxurious semi-sweet chocolate coating. Perfect for gifting or pairing with your favorite tea, they offer a sophisticated balance of rich dairy and deep cocoa.
Ingredients
- 1 cup (226g) Unsalted Butter, softened
- 1/2 cup (100g) Granulated Sugar
- 1 teaspoon Vanilla Extract
- 2 cups (250g) All-Purpose Flour
- 1/4 teaspoon Fine Sea Salt
- 6 ounces (170g) Semi-Sweet or Dark Chocolate, chopped
Instructions
- Cream softened butter and granulated sugar in a large bowl until pale and light, then stir in the vanilla extract.
- Sift flour and salt into the butter mixture and gently fold with a spatula until the flour is hydrated and a crumbly dough forms.
- Hand-press the dough into a cohesive ball, wrap in parchment paper, and refrigerate for at least one hour.
- Preheat oven to 350°F (175°C) and slice the chilled dough into 1/2-inch thick rectangular bars.
- Bake on a parchment-lined sheet for 20 minutes until edges are barely golden; cool on the pan for 5 minutes before transferring to a wire rack.
- Melt chopped chocolate over low heat until glossy, then dip cooled cookies halfway into the chocolate.
- Place dipped cookies on wax paper and refrigerate for 20 minutes until the chocolate shell is firm.
Notes
To ensure the best texture, always use room temperature butter for easier creaming, but make sure it isn’t oily or melted. If the dough feels too soft while slicing, return it to the fridge for 15 minutes to regain its structure before baking.
- Prep Time: 1 hour 15 mins
- Cook Time: 20 mins
- Category: Dessert
- Method: Baking
- Cuisine: Scottish-inspired
The Spice Pantry

To achieve that perfect, aromatic snap, the quality of your ingredients is paramount. Shortbread has nowhere to hide, so each component must be the best you can find in your local pantry or market.
- Unsalted Butter: This is the soul of the cookie. Seek out a European-style butter with a high fat content if possible; the extra richness creates a more luxurious mouthfeel and a deeper yellow hue.
- Granulated Sugar: We use just enough to provide sweetness without making the cookie cloying. The crystals help aerate the butter during the creaming process, contributing to the delicate structure.
- Vanilla Extract: For a truly aromatic adventure, use a high-quality Madagascar Bourbon vanilla. It adds a floral, woody scent that lingers long after the first bite.
- All-Purpose Flour: This provides the necessary framework. Be sure to measure by weight or use the spoon-and-level method to keep the dough from becoming too dense.
- Sea Salt: A tiny amount of fine salt acts as a flavor anchor, cutting through the richness of the butter and chocolate.
- Semi-Sweet or Dark Chocolate: The finishing touch. Choose a chocolate with at least 60% cacao for a sophisticated, slightly bitter edge that complements the sweet biscuit base.
The Method
Step 1: Creaming the Base
Begin by placing your softened unsalted butter and granulated sugar into a large mixing bowl. Using a sturdy spoon or a hand mixer, cream them together until the mixture is pale and light. This isn’t about volume, but about ensuring the sugar is evenly distributed throughout the fat. Once smooth, stir in the vanilla extract, letting its aromatic perfume fill your workspace.
Step 2: Incorporating the Dry Ingredients
Sift your all-purpose flour and salt directly into the butter mixture. Use a spatula to fold the flour in gently. You want to avoid overworking the gluten, which would make the cookies tough instead of crumbly. The mixture will look quite dry and sandy at first, but keep folding until the flour is mostly hydrated.
Step 3: Forming the Dough
Use your hands to bring the crumbly bits together into a cohesive ball. This tactile moment allows you to feel the temperature and texture of the dough. Once it holds together, wrap the ball tightly in parchment paper or wax paper. Press it slightly into a disc and refrigerate for at least one hour. Chilling is vital; it allows the flour to fully hydrate and the butter to firm up, preventing the cookies from spreading too much in the oven.
Step 4: Shaping and Slicing
Preheat your oven to 350°F (175°C). Remove the chilled dough and place it on a lightly floured surface. Shape the dough into a long, even rectangle about 1/2-inch thick. Using a sharp pastry cutter or knife, slice the dough into uniform rectangular bars. This geometric precision adds to the professional, artisanal look of the finished treat.
Step 5: The Slow Bake
Arrange the rectangles on a baking sheet lined with parchment paper, leaving about two inches of space between them. Slide them into the center of the oven and bake for approximately 20 minutes. Keep a close eye on them; you are looking for a very pale golden edge while the centers remain light. The kitchen will begin to smell like toasted grain and sweet cream.
Step 6: Cooling for Stability
Remove the sheet from the oven and let the cookies sit for five minutes before moving them to a wire rack. Shortbread is quite fragile when warm, so this cooling period is essential for the structure to set. Allow them to reach room temperature completely, which usually takes about 15 to 20 minutes.
Step 7: The Chocolate Transformation
While the cookies cool, chop your chocolate into uniform pieces. Melt it slowly in a small saucepan over the lowest heat setting, stirring constantly to avoid scorching. Once the chocolate is glossy and fluid, pour it into a narrow ramekin or glass. This makes dipping much easier and more efficient.
Step 8: The Final Dip
Take a cooled shortbread bar and dip it halfway into the melted chocolate. Let the excess drip off before placing the cookie onto a sheet of wax paper. If you prefer a more decorative look, you can dip the cookies at a diagonal angle. Repeat with all cookies and refrigerate for about 20 minutes to allow the chocolate to harden into a crisp, snappy shell.
Jasmine’s Flavor Tips
To truly master the art of the shortbread, remember that temperature is your best friend. If your kitchen is particularly warm, the butter in the dough may begin to melt before it hits the oven, leading to a greasy cookie. Don’t hesitate to pop the shaped dough back into the freezer for ten minutes just before baking to ensure those crisp, defined edges. For those looking to expand their skills, browsing our Artisan Cookie Collection offers many insights into managing dough textures. Additionally, always use a high-quality bar of chocolate rather than chocolate chips for dipping; bars contain fewer stabilizers and will melt into a much smoother, thinner coating. For a great visual guide on the dipping technique, you might find this chocolate-dipped shortbread guide quite helpful in your aromatic journey.
Other Flavor Twists
Once you have mastered the classic base, the possibilities for global variations are endless. You can transform these into a citrus wonder by adding two teaspoons of fresh lemon or orange zest to the sugar before creaming. For a warming, spiced version, whisk half a teaspoon of ground cardamom or cinnamon into the flour. If you are feeling particularly adventurous, try adding finely crushed dried rose petals and a drop of rose water for a botanical flair. For more ideas on how to adapt your bakes for the changing months, check out our Seasonal Cookie Design resources. Another favorite in my kitchen is the ‘London Fog’ variation, where I infuse the melted butter with Earl Grey tea leaves before straining and proceeding with the recipe.
Aromatic Enjoyment
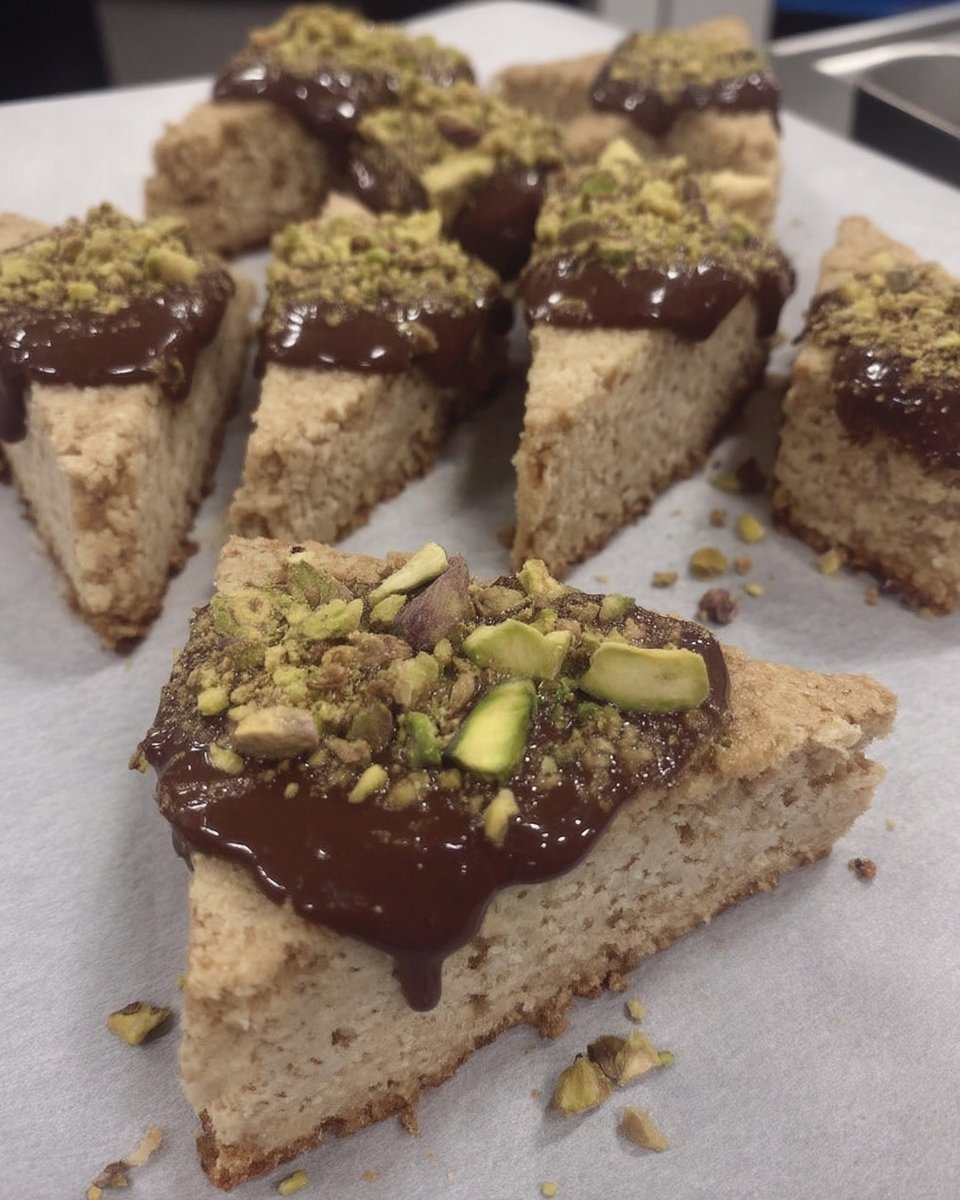
These cookies are designed to be savored slowly, ideally alongside a steaming cup of tea or coffee. The richness of the shortbread pairs exquisitely with a robust Earl Grey or a spicy Masala Chai, as the tannins in the tea help cleanse the palate between bites. If you are hosting a gathering, arrange the cookies on a marble slab to keep the chocolate cool and snappy. For those who want to take their presentation to the next level, our Cookie Decorating Studio has wonderful tips on garnishing. You might even sprinkle a few flakes of Maldon sea salt or crushed pistachios over the wet chocolate before it sets for a beautiful, textured finish.
Aromatic Joy
Baking these cookies is a beautiful way to slow down and appreciate the fascinating world of flavor exploration. Each bite tells a story of heritage techniques meeting modern cravings, and I hope this recipe brings a sense of discovery to your kitchen. If you enjoyed this aromatic adventure, be sure to look through our Trending Cookie Creations for your next project. Don’t forget to share your beautiful bakes with our community on Pinterest, Instagram, and Facebook. Happy baking, and keep experimenting with the endless possibilities of spice and zest!
