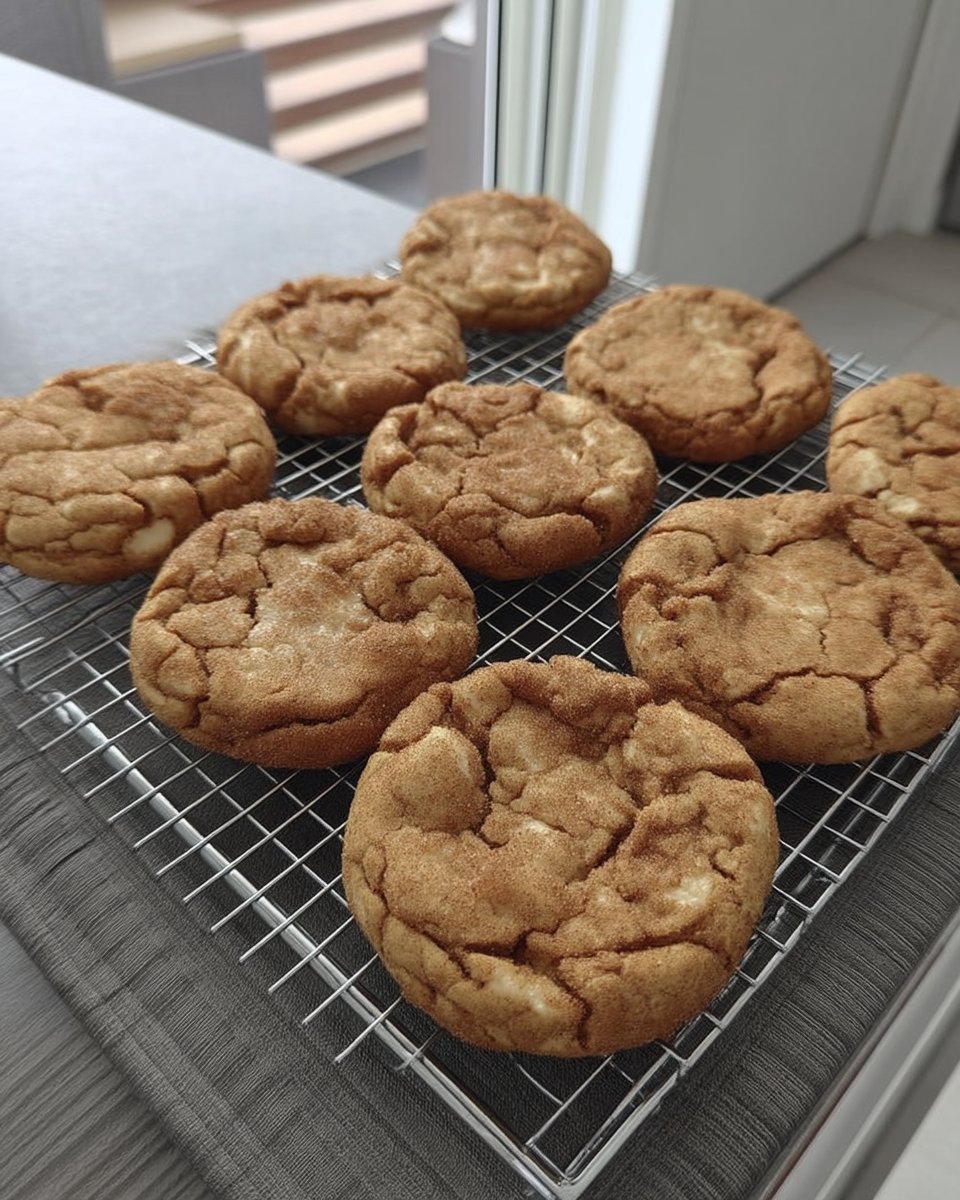
During our most recent test kitchen session, we focused on solving the structural fragility often found in Gluten Free Snickerdoodles 3. We discovered that by combining sweet rice flour with almond flour, we could achieve a chew that rivals traditional recipes. This precision-based approach allowed us to maintain the classic tang of cream of tartar without compromising the cookie’s integrity.

These cookies are the result of rigorous testing to find the ideal hydration levels for gluten-free starches. By allowing the dough to rest, we make sure the flours absorb the fats properly for a soft, stable crumb. The result is a reliable recipe that delivers consistent texture and deep cinnamon flavor every time.
Why You Will Love These Gluten Free Snickerdoodles 3
You will find that the scientific balance in this recipe creates a superior texture that is often missing from gluten-free baking. Many recipes result in a gritty or crumbly finish, but our specific flour blend provides a soft center and a crisp edge that holds up for days. The chemistry of the cream of tartar reacts perfectly with the baking soda to create that iconic Snickerdoodle puff and slight acidic bite.
Bakers who appreciate precision will love how predictably this dough behaves. The 60-stroke mixing technique is a breakthrough discovery from our tests, helping to build a type of structural network even without gluten. This makes the cookies easy to handle and roll in the cinnamon sugar coating. It is a foolproof method for anyone who wants a professional-quality cookie at home.
The flavor profile is another reason this recipe stands out. We used a specific ratio of fine sea salt and vanilla to balance the sweetness of the organic granulated sugar. This creates a sophisticated flavor that is not just sweet, but complex and satisfying. Whether you are baking for a restricted diet or just for the love of a good cookie, these results are truly remarkable.
Print
Gluten Free Snickerdoodles
- Total Time: 55 mins
- Yield: 16 cookies
- Diet: Gluten-Free
Description
Discover the science behind the perfect gluten-free cookie with this meticulously tested snickerdoodle recipe. By combining a unique four-flour blend with a specific 60-stroke mixing technique, these treats achieve a remarkable chewy texture and classic tangy cinnamon flavor.
Ingredients
- Sweet Rice Flour (Koda Farms Mochiko)
- Blanched Almond Flour
- Gluten-Free Oat Flour
- Tapioca Flour
- Cream of Tartar
- Baking Soda
- Unsalted Butter
- Organic Granulated Sugar
- Fine sea salt
- Vanilla extract
- Large egg
- Ground cinnamon
- 2 tablespoons sugar (for coating)
- 1 teaspoon cinnamon (for coating)
Instructions
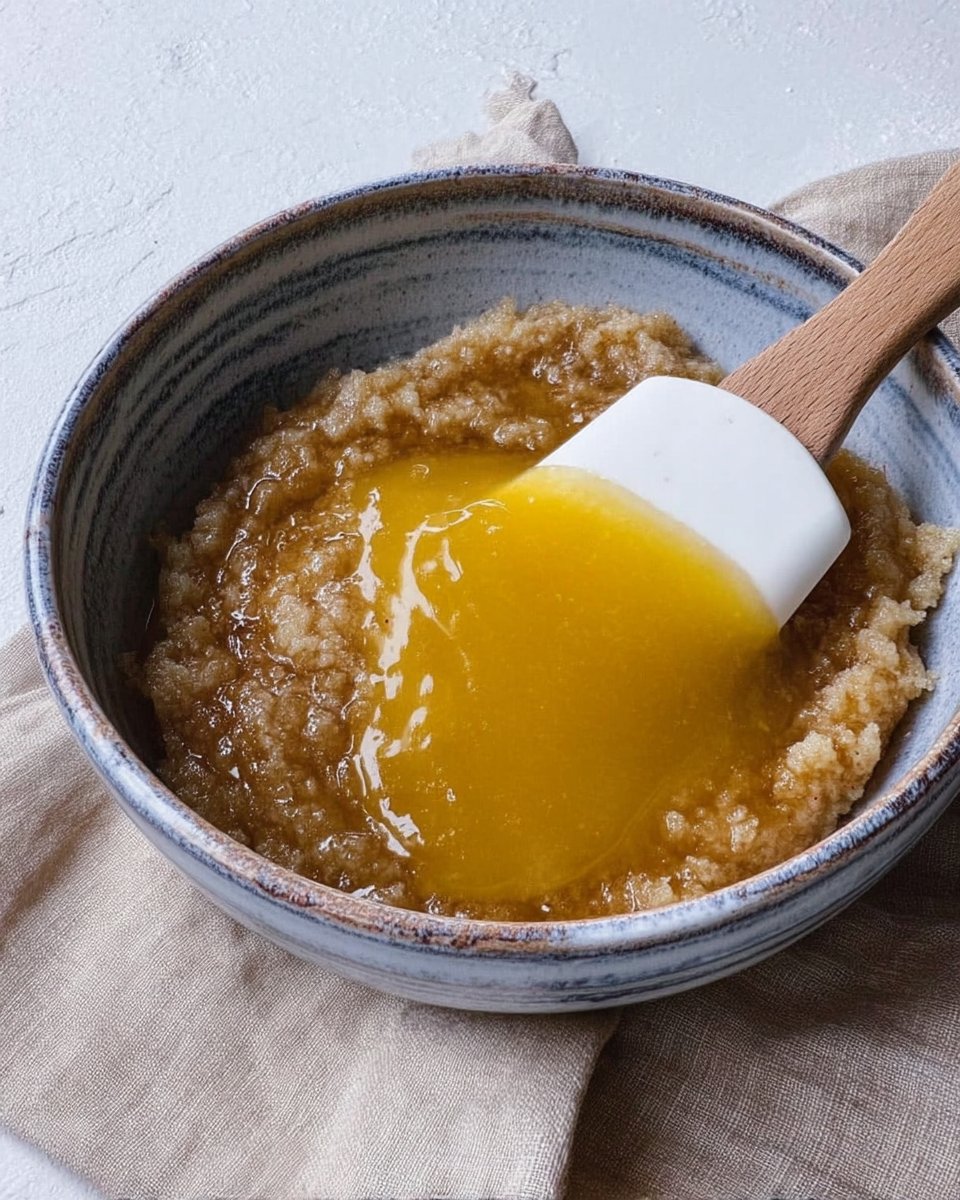
- Place granulated sugar in a large bowl, pour hot melted butter over it, and let the mixture sit for 10 minutes.
- Sift together the sweet rice flour, almond flour, oat flour, tapioca flour, cinnamon, cream of tartar, baking soda, and sea salt.
- Whisk the egg and vanilla extract into the butter-sugar mixture until it is completely smooth and emulsified.
- Stir the dry flour blend into the wet ingredients, then vigorously beat the dough for exactly 60 strokes to build structure.
- Cover the dough and refrigerate for at least 30 minutes to allow the starches to fully hydrate.
- Preheat the oven to 350ºF (175°C) and line rimless cookie sheets with parchment paper.
- Scoop 2.5-tablespoon portions of dough, roll into balls, and coat them thoroughly in the cinnamon-sugar mixture.
- Bake for 8 to 10 minutes in the upper third of the oven, then tap the pan firmly on the counter immediately after removal.
Notes
To ensure the best results, use a digital scale to measure your flours precisely, as volume can vary significantly. If you prefer an even deeper flavor, let the dough rest in the refrigerator for up to 48 hours before baking to maximize starch hydration.
- Prep Time: 15 mins
- Cook Time: 10 mins
- Category: Dessert
- Method: Baking
- Cuisine: American
The Scientific Formula for Flavor
To achieve the perfect structure, we have selected a blend of four flours that work together to mimic the properties of wheat. Each component serves a specific purpose in the chemical makeup of the dough:
- Sweet Rice Flour (Koda Farms Mochiko): This is the foundation of our chew. High in starch, it acts as a binder that prevents the cookie from falling apart.
- Blanched Almond Flour: This provides the necessary fat and protein content. It adds a subtle nutty depth and helps the edges crisp up during the baking process.
- Gluten-Free Oat Flour: This flour adds bulk and structure, providing a slightly toasted flavor that complements the cinnamon.
- Tapioca Flour: We add this to lighten the crumb. It prevents the cookie from becoming too dense or heavy.
- Cream of Tartar and Baking Soda: This combination is the leavening powerhouse. The acid in the cream of tartar reacts with the base in the baking soda to release carbon dioxide, creating the signature airy texture.
- Unsalted Butter: Using melted and hot butter helps dissolve the sugar quickly and starts the starch hydration process immediately.
- Organic Granulated Sugar: This provides sweetness and helps with the browning of the edges through caramelization.
The Methodical Baking Process
Step 1: Emulsifying the Fat and Sugar
Place the granulated sugar in a large bowl. Melt the unsalted butter until it is hot and pour it directly over the sugar. Let this mixture sit for 10 minutes to allow the sugar crystals to begin breaking down and to let the temperature drop slightly before adding the egg.
Step 2: Sifting the Dry Components
While the butter cools, sift together the sweet rice flour, almond flour, oat flour, and tapioca flour. Add the cinnamon, cream of tartar, baking soda, and fine sea salt. Sifting is vital to make sure there are no clumps of leavening agents, which could cause uneven rising or bitter spots.
Step 3: Incorporating the Binder
Once the butter and sugar mixture has cooled sufficiently, whisk in the large egg and the vanilla extract. Continue whisking until the mixture looks smooth and fully emulsified. This step makes sure the fat is evenly distributed so the cookies do not spread unevenly in the oven.
Step 4: The 60-Stroke Technique
Stir the dry flour blend into the wet ingredients. Once they are incorporated, beat the batter vigorously for exactly 60 strokes. Our testing showed that this specific amount of agitation helps the starches in the sweet rice flour form a better bond, resulting in a significantly chewier cookie.
Step 5: Starch Hydration and Chilling
Cover the dough and place it in the refrigerator for at least 30 minutes. This resting phase is critical. It allows the starches to fully hydrate, which prevents a gritty mouthfeel and helps the cookies bake up thicker. You can leave the dough in the fridge for up to 48 hours for even better flavor development.
Step 6: Preheating and Prep
Position your oven rack in the upper third of the oven and preheat to 350ºF (175°C). Line your rimless cookie sheets with parchment paper. In a small bowl, combine the 2 tablespoons of sugar and 1 teaspoon of cinnamon for the coating.
Step 7: Shaping and Coating
If the dough is very firm, let it sit at room temperature for 10 minutes. Use a #24 cookie scoop to form balls of about 2.5 tablespoons. Roll each ball thoroughly in the cinnamon-sugar mixture and place them on the sheets, spaced 2 inches apart to allow for the chemical expansion.
Step 8: Precision Baking
Bake one sheet at a time in the upper third of the oven for 8 to 10 minutes. Look for the edges to be set while the centers remain soft and puffed. Give the pan a firm rap on the counter immediately after removing it from the oven to encourage the centers to collapse into a dense, chewy texture.
Lauren’s Lab Notes for Success
For the most accurate results, I highly recommend using a digital scale to weigh your flours. Volume measurements can vary by as much as 20% depending on how you pack the cup, which can drastically alter the structural balance of the cookie. If you find your cookies are spreading too much, verify your oven temperature with an external thermometer; even a 10-degree difference can change how the fats melt. For more ideas on perfecting your bakes, view our Artisan Cookie Collection.
When working with gluten-free flours, the quality of your ingredients matters significantly. We found that using a high-quality almond flour like Bob’s Red Mill prevents an oily finish. If you want to see how these ratios compare to other methods, you can check out Bojon Gourmet’s gluten-free snickerdoodles for additional perspective on flour alternatives. Always bake a single test cookie first to make sure your oven’s airflow is consistent.
Tested Structural Modifications
If you need a dairy-free option, you can substitute the butter with a high-quality vegan butter stick. Our tests showed that the fat content remains stable enough to maintain the cookie’s rise. For an egg-free version, we found that melting 2 ounces of cream cheese into the hot butter provides a similar protein structure to help the dough hold its shape. For more creative ideas, see our Seasonal Cookie Design category.
You can also experiment with the sugar profile by using maple sugar or coconut sugar in place of the white granulated sugar. Note that coconut sugar has a lower melting point, which may cause the cookies to spread slightly more. If you choose this route, increase the chilling time by another 15 minutes to stabilize the fats before baking.
Pairing and Storage Chemistry

These cookies are best enjoyed once they have cooled completely on a wire rack. This allows the starches to go through a process called retrogradation, where they firm up and create the final chewy texture. Because these cookies are high in moisture-retaining starches, they stay soft for up to five days when stored in an airtight container. For presentation inspiration, browse our Cookie Decorating Studio.
For a sophisticated pairing, serve these with a warm chai tea. The tannins in the tea cut through the sweetness of the cinnamon sugar, while the spices in the tea highlight the warmth of the cookie. If you want to refresh a cookie that has been stored for a few days, a quick 15-second burst in a toaster oven will reactivate the fats and bring back that fresh-baked feel.
Precision Baking for Every Kitchen
Successful gluten-free baking is not about luck; it is about understanding the chemistry of your ingredients. By following these precise measurements and the 60-stroke rule, you can create a snickerdoodle that stands up to any wheat-based version. We hope this recipe brings a sense of victory to your kitchen. To keep up with our latest test kitchen findings, explore our Trending Cookie Creations.
Stay connected with our baking community for more scientific tips and structural secrets:
