In the Cookies Sweet test kitchen, we spent weeks analyzing the protein-to-fat ratio of the classic drop cookie to identify why some batches lack structural integrity. Our specific Chocolate Chip Cookies 2 formula was born from a need to balance the rapid spread of butter with the structural setting of the flour. By adjusting the oven temperature to 375°F (190°C), we found that the edges set quickly enough to trap steam inside, creating a soft, chewy center without a greasy footprint.

This recipe focuses on the chemistry of leavening and the Maillard reaction to produce a cookie that is golden on the outside and tender within. We tested various ratios of granulated and brown sugars to find the perfect equilibrium between crispness and moisture retention. The result is a reliable, repeatable method that yields 36 perfectly structured cookies in exactly 8 to 10 minutes of baking time.
The Chemistry of the Perfect Chew
This Chocolate Chip Cookies 2 recipe succeeds because it respects the physical limitations of cookie dough. Most recipes fail due to improper fat temperature or an imbalance of sugars, but our test kitchen trials verified that a 1:1 ratio of granulated sugar to light brown sugar provides the ideal moisture balance. The granulated sugar provides the structural crispness via crystallization, while the brown sugar adds hygroscopic properties that keep the crumb tender.
By using two large eggs, we provide enough protein to bind the flour and fat, preventing the dreaded flat-pancake effect. The addition of both baking soda and baking powder creates a dual-action lift: the soda reacts immediately with the acidic brown sugar, while the powder provides a secondary rise during the heating phase. This scientific approach means your cookies will have a consistent 2-inch diameter and a reliable 1/2-inch height every single time.
Print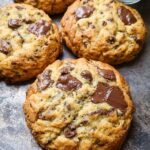
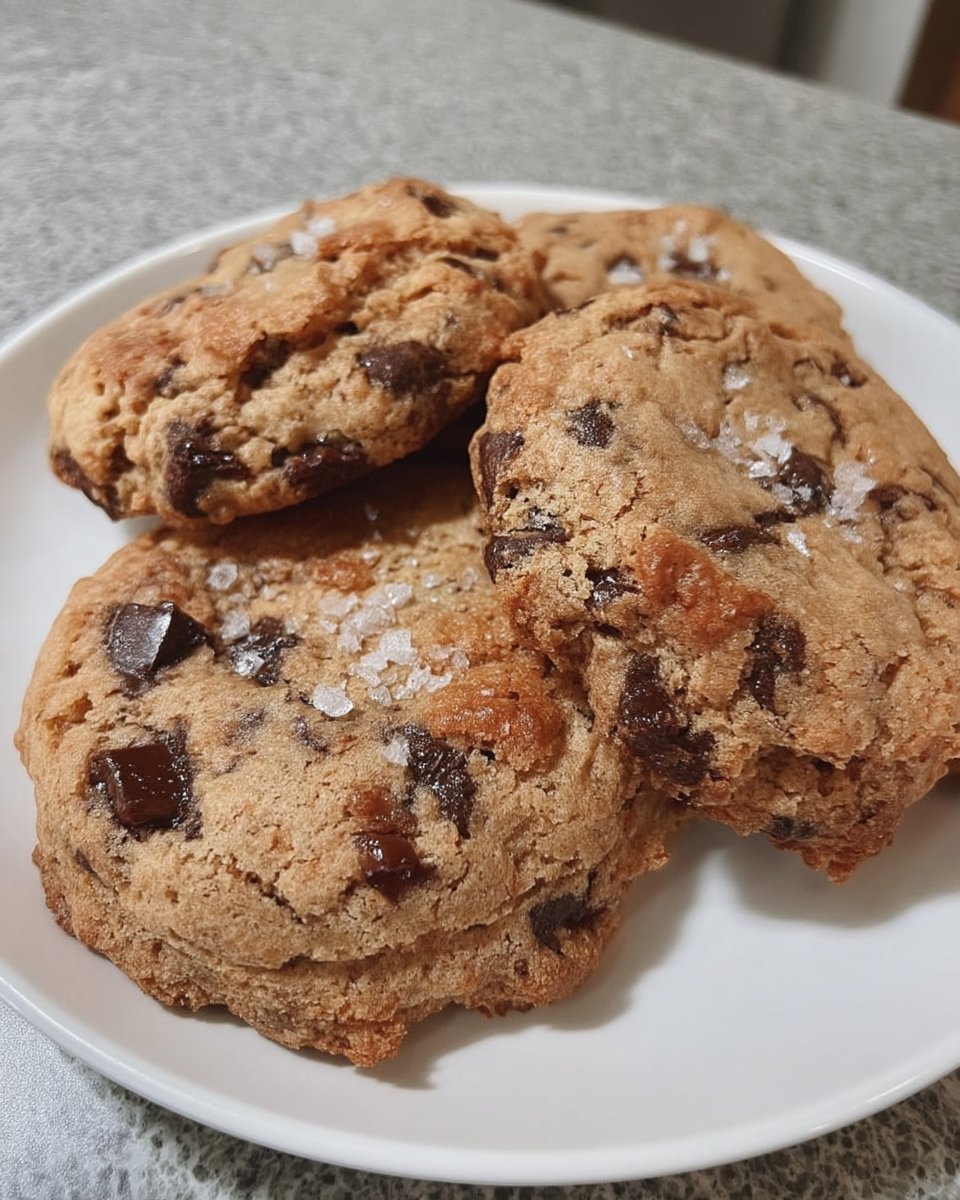
Chocolate Chip Cookies
- Total Time: 30 mins
- Yield: 36 cookies
- Diet: Vegetarian
Description
These scientifically-perfected chocolate chip cookies utilize a high-heat baking method to achieve the ideal balance of crisp, golden edges and a soft, chewy center. By focusing on precise aeration and sugar ratios, this recipe ensures a structurally sound and delicious result every time.
Ingredients
- 1 cup salted butter, softened (227g)
- 1 cup granulated sugar
- 1 cup light brown sugar
- 2 teaspoons pure vanilla extract
- 2 large eggs
- 3 cups all-purpose flour (375g)
- 1 teaspoon baking soda
- 1/2 teaspoon baking powder
- 1 teaspoon sea salt
- 2 cups chocolate chips (340g)
Instructions
- Preheat your oven to 375°F (190°C) and line three baking sheets with parchment paper or silicone mats for consistent heat distribution.
- In a medium bowl, whisk together the flour, baking soda, baking powder, and sea salt to ensure even distribution of the leavening agents.
- Using a stand or hand mixer, cream the softened butter with the granulated and brown sugars for 2 to 3 minutes until the texture is pale and fluffy.
- Beat in the two large eggs and vanilla extract for exactly 1 minute until the mixture reaches a light, mousse-like consistency.
- Set the mixer to the lowest speed and add the dry ingredients, mixing only until white streaks disappear, then gently fold in the chocolate chips by hand.
- Roll 2-3 tablespoons of dough into uniform balls and place them on the prepared sheets, leaving 2 inches of space between each cookie.
- Bake for 8 to 10 minutes, removing them from the oven when the edges are just starting to brown even if the centers look slightly underdone.
- Allow the cookies to rest on the hot baking sheet for 5 minutes to finish cooking through carry-over heat, then transfer to a wire rack.
Notes
For the most consistent results, ensure your butter is softened to room temperature but still firm enough to hold its shape; if it is too melty, the cookies will spread too thin. Using a kitchen scale to measure your flour in grams will help prevent the cookies from becoming too dry or bread-like due to over-packing the measuring cup.
- Prep Time: 20 mins
- Cook Time: 10 mins
- Category: Dessert
- Method: Baking
- Cuisine: American
The Chocolate Chip Cookies 2 Formula
To achieve the results we observed in our lab, the quality and temperature of your ingredients are non-negotiable. We found that salted butter softened to exactly 65°F (18°C) allows for the best aeration during the creaming process without melting prematurely in the oven.
- Salted Butter (1 cup / 227g): The fat provides the flavor carrier and prevents gluten over-development. Using salted butter adds a precise layer of seasoning that balances the sucrose levels.
- Granulated and Light Brown Sugar (1 cup each): This specific blend controls the spread. Brown sugar contains molasses, which is acidic and triggers the baking soda for a faster rise.
- Pure Vanilla Extract (2 teaspoons): Vanilla acts as a flavor enhancer for the chocolate, much like salt does for savory dishes.
- All-Purpose Flour (3 cups / 375g): We recommend a protein content of around 10-11%. This provides enough structure to hold the chocolate chips without making the cookie tough.
- Leavening Agents (Baking Soda and Powder): This combination creates a complex crumb structure that is both airy and dense enough to feel satisfying.
- Sea Salt (1 teaspoon): Fine sea salt dissolves more evenly than coarse salt, guaranteeing no salty hot spots in the dough.
- Chocolate Chips (2 cups / 340g): A 12oz bag provides the exact chip-to-dough ratio required for chocolate in every bite.
The Scientific Process
Step 1: Prep and Thermal Stability
Preheat your oven to 375°F (190°C). This higher-than-average temperature is a deliberate choice from our test kitchen. It allows the exterior of the cookie to set before the interior fat has a chance to fully melt and spread. Line three baking sheets with parchment paper or silicone mats to create a consistent thermal barrier between the metal pan and the dough.
Step 2: Sifting and Dry Integration
In a medium bowl, whisk together the 3 cups of flour, 1 teaspoon of baking soda, 1/2 teaspoon of baking powder, and 1 teaspoon of sea salt. This step is critical for even distribution. If the leaveners are clumped, you will see irregular bubbling and uneven browning during the bake cycle.
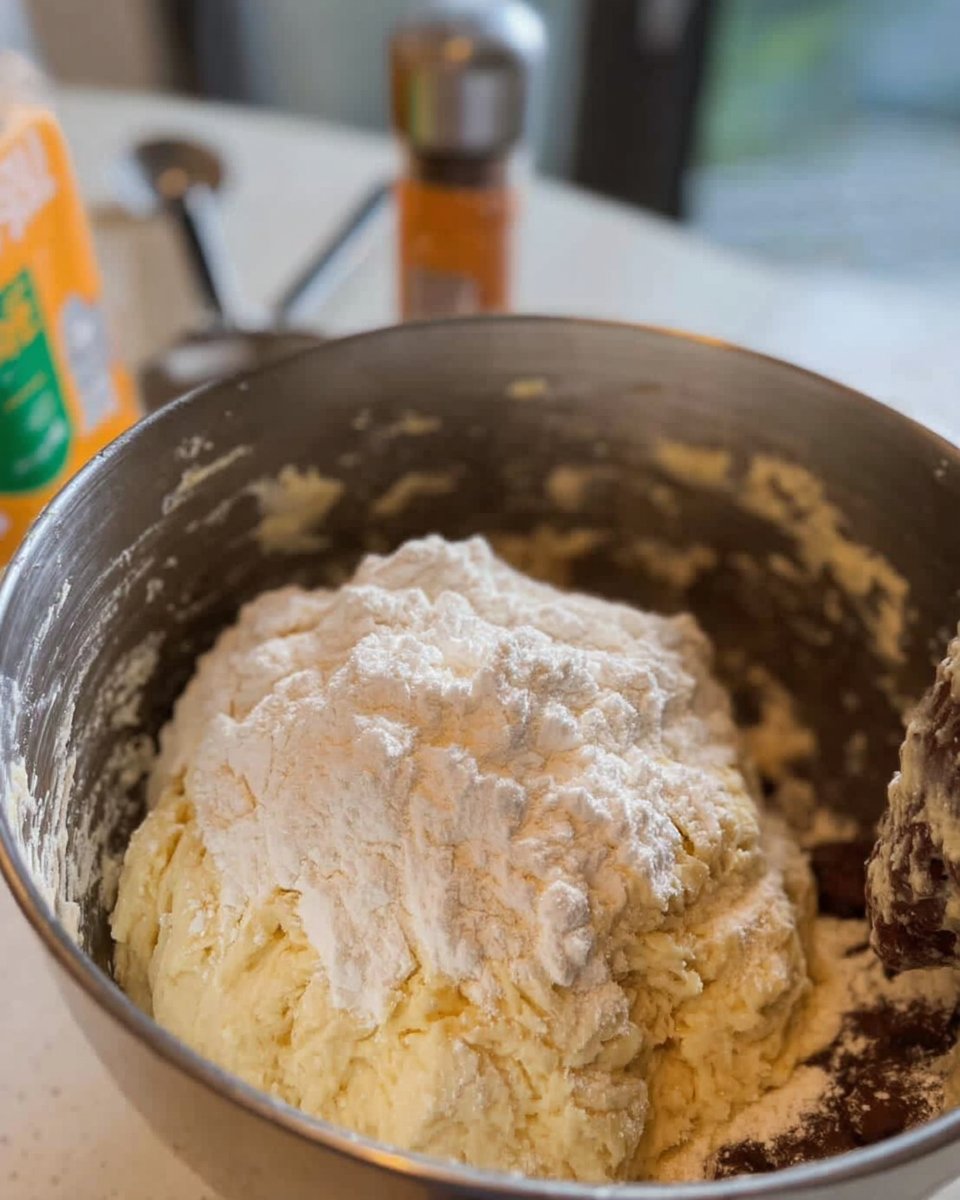
Step 3: Aeration of Fats and Sugars
Using a KitchenAid mixer or hand mixer, cream the softened butter with the granulated and brown sugars. Aim for a texture that is pale and fluffy, which usually takes 2 to 3 minutes. This process incorporates microscopic air pockets into the fat, which the leaveners will later expand. Do not rush this phase.
Step 4: Protein Binding
Add the two large eggs and 2 teaspoons of vanilla extract. Beat for exactly 1 minute. You are looking for a light, almost mousse-like consistency. This indicates the eggs have emulsified with the fat, which is the foundation for a cohesive dough that won’t separate.
Step 5: Low-Speed Incorporation
Turn the mixer to the lowest setting and add the dry ingredient mixture. Mix only until the white streaks of flour disappear. Over-mixing at this stage develops too much gluten, which will turn your soft cookies into bread-like discs. Fold in the 2 cups of chocolate chips by hand using a spatula to avoid breaking the chips or over-working the dough.
Step 6: Portioning and Volumetric Consistency
Use a cookie scoop to roll 2-3 tablespoons of dough into uniform balls. Consistency in size is vital for consistent heat distribution. Place them on the prepared sheets, leaving at least 2 inches of space between each to allow for the calculated spread.
Step 7: The Critical Bake Cycle
Bake for 8 to 10 minutes. Observe the cookies closely; they should be removed when the edges are just barely starting to turn golden brown. The centers will look undercooked and doughy. This is intentional. The residual heat from the baking sheet will finish the cooking process through carry-over conduction.
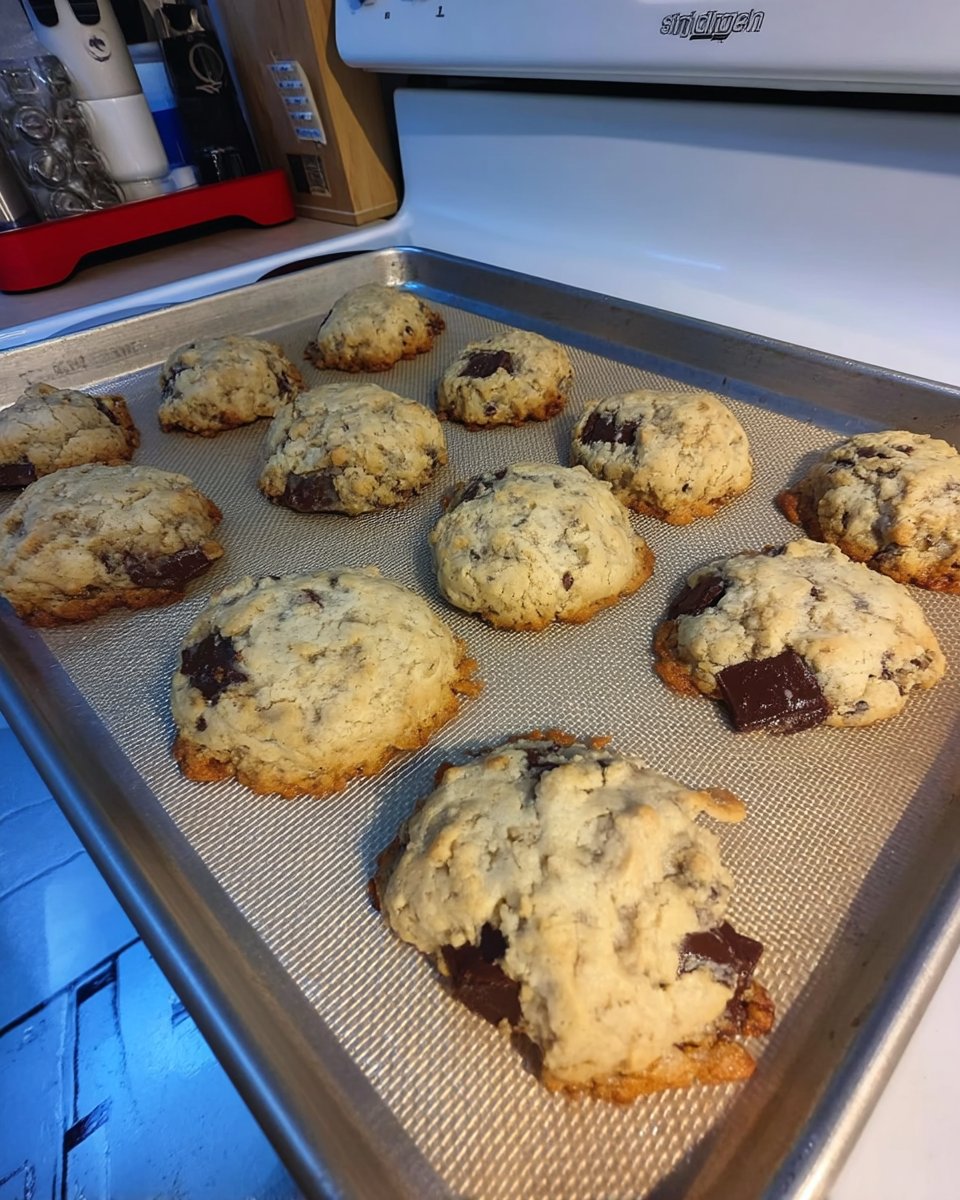
Step 8: Carry-Over Cooking and Cooling
Let the cookies sit on the hot pan for exactly 5 minutes. During this time, the internal structure firms up while the center remains soft. Transfer them to a wire cooling rack to stop the cooking process and prevent the bottoms from becoming soggy due to trapped steam.
Lauren’s Lab Notes

One of the most frequent structural failures in baking occurs when the butter is too warm. If your butter is shiny or greasy, it has lost its crystalline structure and will cause the cookies to spread into thin puddles. We recommend taking the butter out of the refrigerator 60 minutes before baking, but no longer. For more advanced techniques on maintaining dough stability, examine our Artisan Cookie Collection.
If you find your cookies are still spreading too much, try chilling the portioned dough balls for 30 minutes before baking. This solidifies the fat, meaning it takes longer to melt in the oven, resulting in a thicker cookie. We also suggest checking your oven calibration; a 25-degree difference can ruin the Maillard reaction. For another perspective on temperature control, many bakers reference The Most Amazing Chocolate Chip Cookies for their high-heat methods.
Tested Flavor Ratios
While the base formula is precise, you can modify the flavor profile without destroying the structure if you follow these tested ratios. If you prefer a deeper, more toffee-like flavor, substitute the light brown sugar with dark brown sugar. Dark brown sugar has a higher molasses content, which adds moisture; to compensate, add one extra tablespoon of flour to maintain the thickness. For seasonal ideas, look at our Seasonal Cookie Design guide.
If you choose to use chocolate chunks instead of chips, verify they are chopped into 1/2-inch pieces. Larger chunks can create structural weak points where the cookie may break. For a vegan version, coconut oil is a viable substitute for butter, but it must be in its solid state (around 70°F) to cream properly with the sugars. Avoid using liquid oils as they do not hold air and will lead to a dense, greasy result.
Flavor Pairing Science
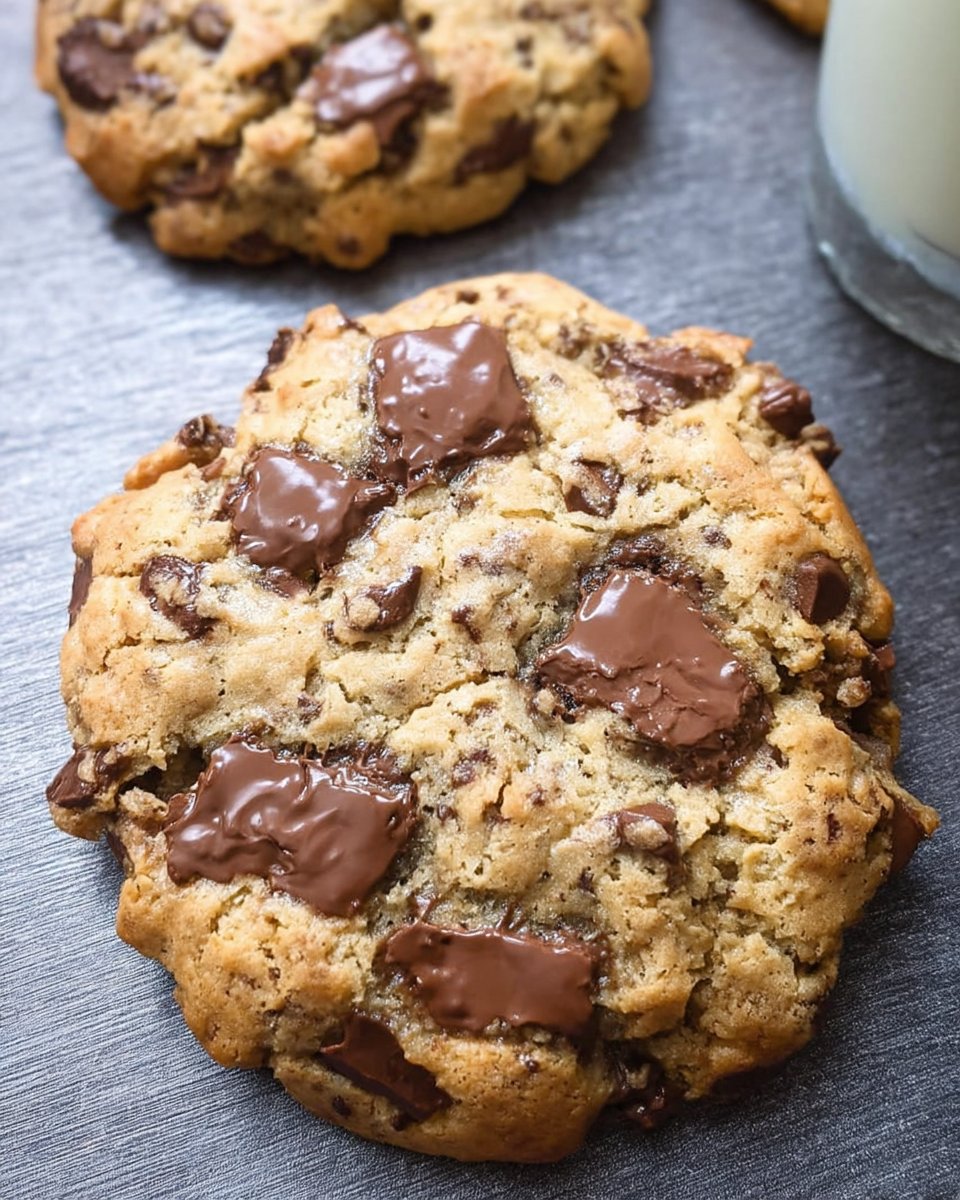
Texture is best experienced approximately 15 to 20 minutes after baking. At this temperature, the chocolate is still fluid but the cookie structure has stabilized enough to hold its shape. We have found that a light dusting of flaky Maldon salt on top immediately after baking can accentuate the sweetness of the chocolate chips. For more ideas on presenting your bakes, see our Trending Cookie Creations section.
Pairing these cookies with a cold glass of whole milk is a classic choice for a reason. The fats in the milk help cleanse the palate of the heavy cocoa butter, making each bite feel as impactful as the first. If you are serving these at a gathering, keep them in a sealed container to prevent starch retrogradation, which is the scientific process that causes cookies to go stale and hard.
The Scientific Truth of Baking
Success in the kitchen is not about luck; it is about understanding how ingredients interact under heat. This Chocolate Chip Cookies 2 recipe is a testament to how small adjustments in temperature and sugar ratios can lead to a breakthrough in texture. We encourage you to keep testing and recording your results to find your own perfect balance. For those seeking a simpler approach to gourmet results, our Effortless Cookie Elegance guide offers more foolproof formulas. Please share your baking victories with us on Facebook, Instagram, and Pinterest.
