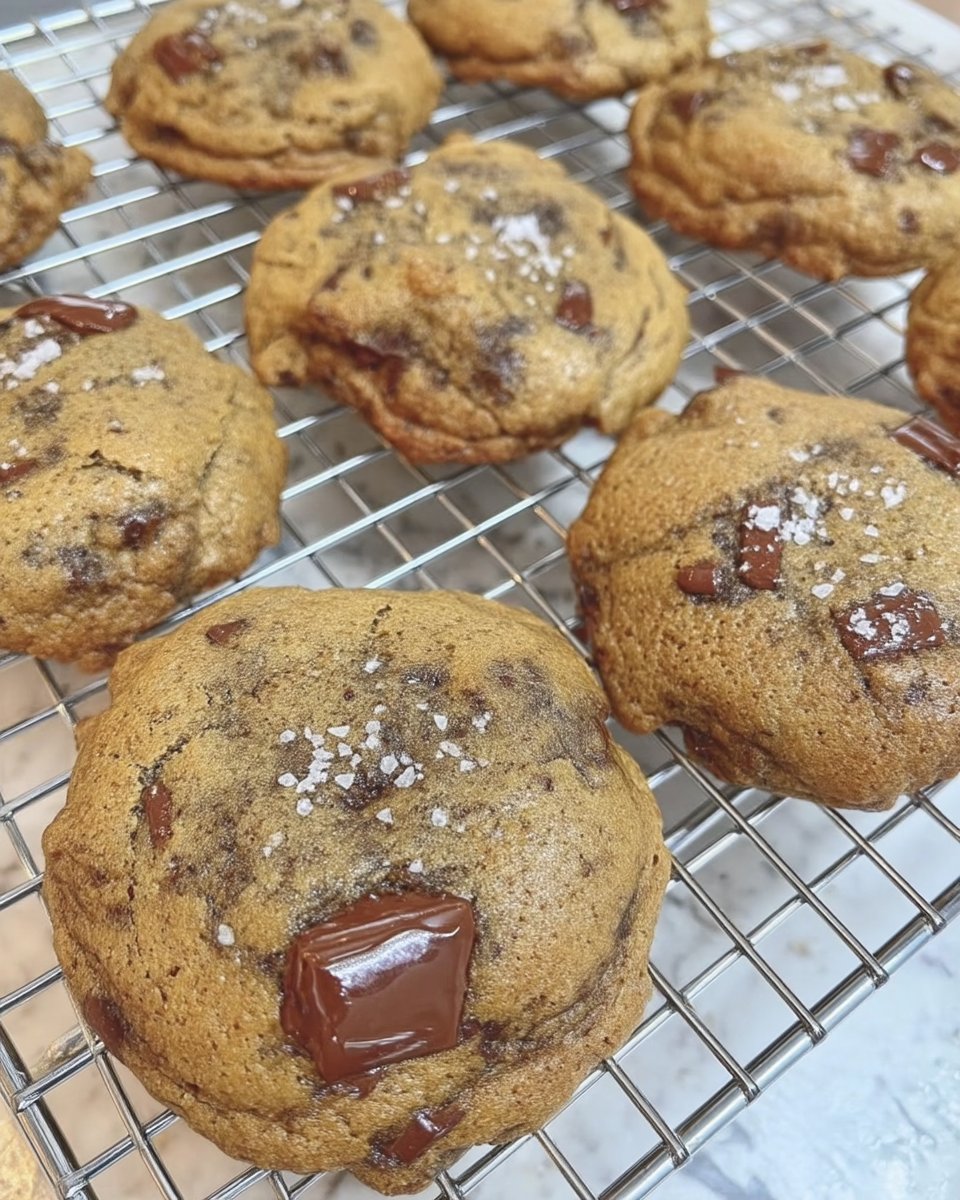
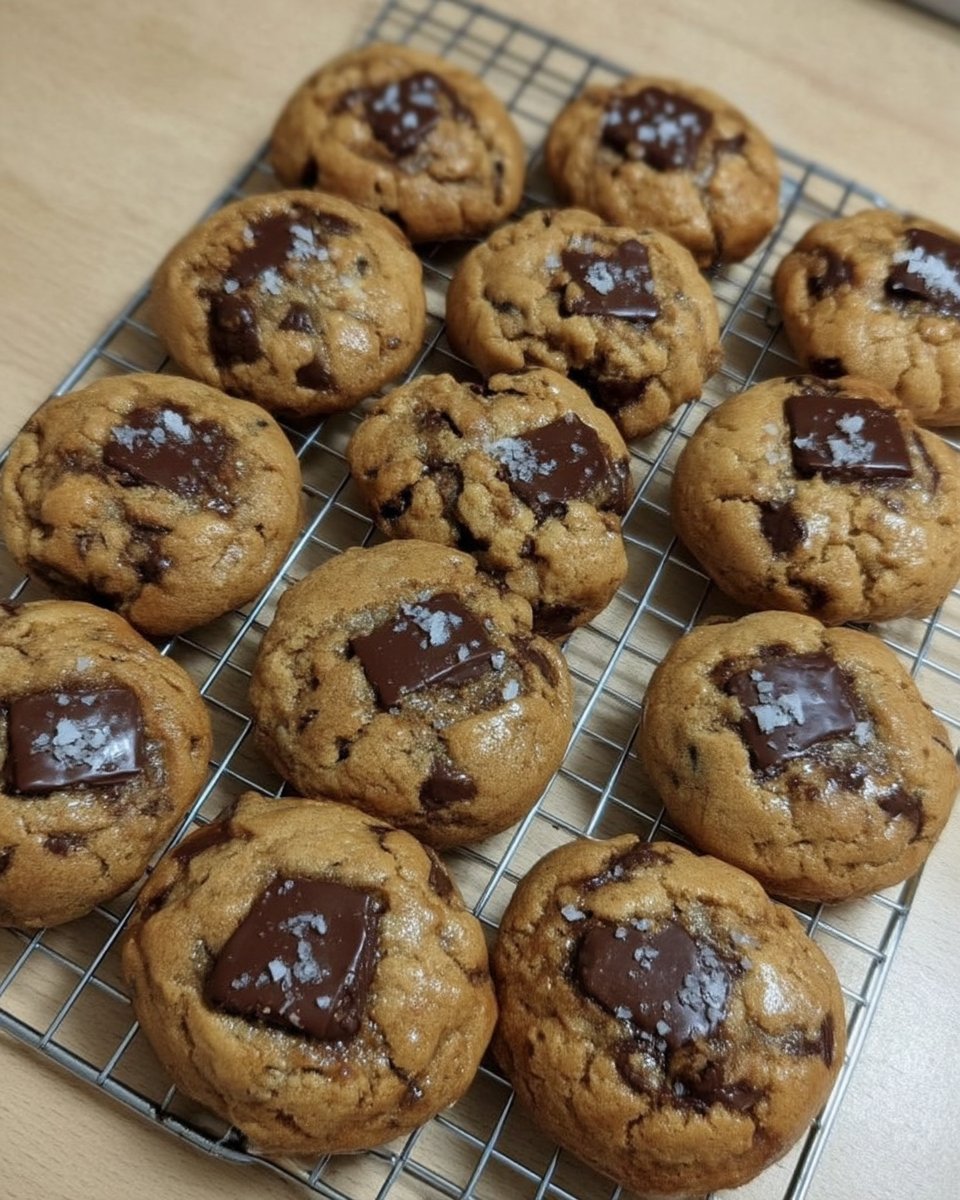
In my Georgia kitchen, a cookie isn’t just a sweet snack; it’s a warm hug after a long day of work. These thick chocolate chip cookies remind me of the heavy, buttery treats we used to pull from the oven on rainy Sunday afternoons when the air was thick with the scent of vanilla and hope. There is something profoundly grounding about a cookie that has real weight to it, standing tall on the cooling rack like a little monument to home-baked comfort.

What makes these particular treats stand out is the height and the heart that goes into the process. We are talking about a cookie that refuses to spread thin, staying gooey and soft in the center while the edges offer a gentle, golden crunch. By using a specific chilling technique and a blend of flours, we create a familiar classic that feels just a little more special than the rest.
A Classic Twist on Thick Chocolate Chip Cookies
You are going to love these because they bring that bakery-style heft right into your own home without any of the stuffy pretense. This recipe celebrates the beauty of a rustic look; those lumps and bumps on the dough aren’t mistakes, they are the little pockets where chocolate and butter mingle perfectly. It is the kind of cookie that feels substantial in your hand, a true piece of Southern hospitality that tells your guests they are worth the extra effort.
Another reason to cherish this recipe is the wonderful texture achieved through patience. While many recipes rush the process, we let the dough rest and find its shape in the cold, which results in a deeper flavor and a much more satisfying bite. It is a reliable, tested method that honors the traditional chocolate chip cookie while giving it a little more room to shine. You don’t need fancy equipment, just a good bowl, a sturdy spoon, and a little bit of time to let the magic happen.
Print
Thick Chocolate Chip Cookies
- Total Time: 2 hours 5 mins
- Yield: 10 cookies
- Diet: Vegetarian
Description
These decadent, bakery-style cookies are prized for their impressive height and soft, gooey centers. By using a specific chilling technique and a blend of flours, you can create a substantial treat that balances a golden crunch with a rich, buttery heart.
Ingredients
- Cold Unsalted Butter, chopped into chunks
- Light Brown Sugar
- White Caster Sugar
- 2 Large Eggs
- 1 tsp Vanilla Extract
- Self-Raising Flour
- Plain Flour
- Salt
- Baking Powder
- Chocolate Chips (Milk, Dark, or a mix)
Instructions
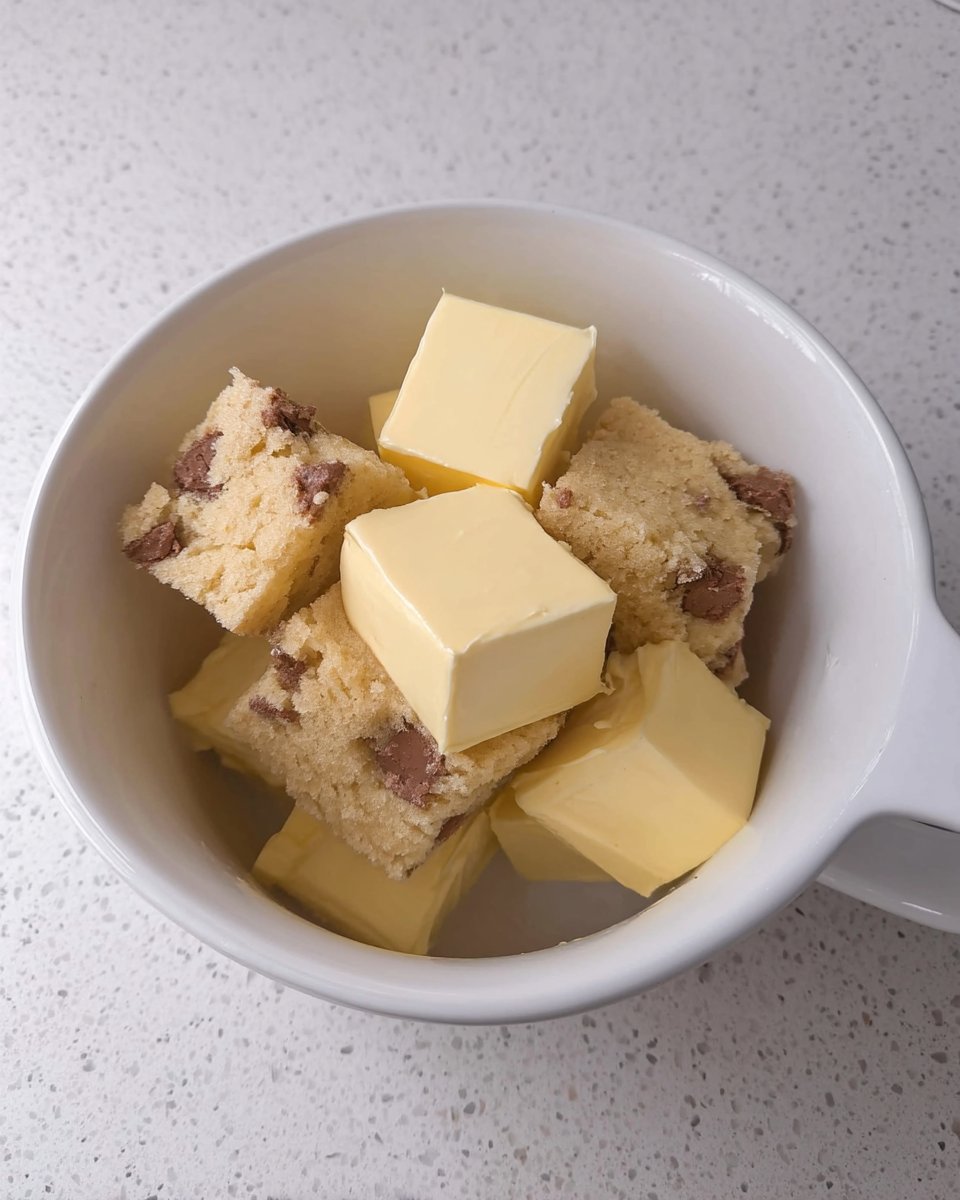
- Chop cold butter into chunks and beat in a large bowl for about a minute until slightly softened but not creamed.
- Add light brown and white caster sugars, beating until just combined.
- Mix in the large eggs and vanilla extract until the mixture is uniform.
- In a separate bowl, whisk together the self-raising flour, plain flour, salt, and baking powder, then gradually fold into the wet ingredients.
- Fold the chocolate chips into the dough by hand to ensure even distribution.
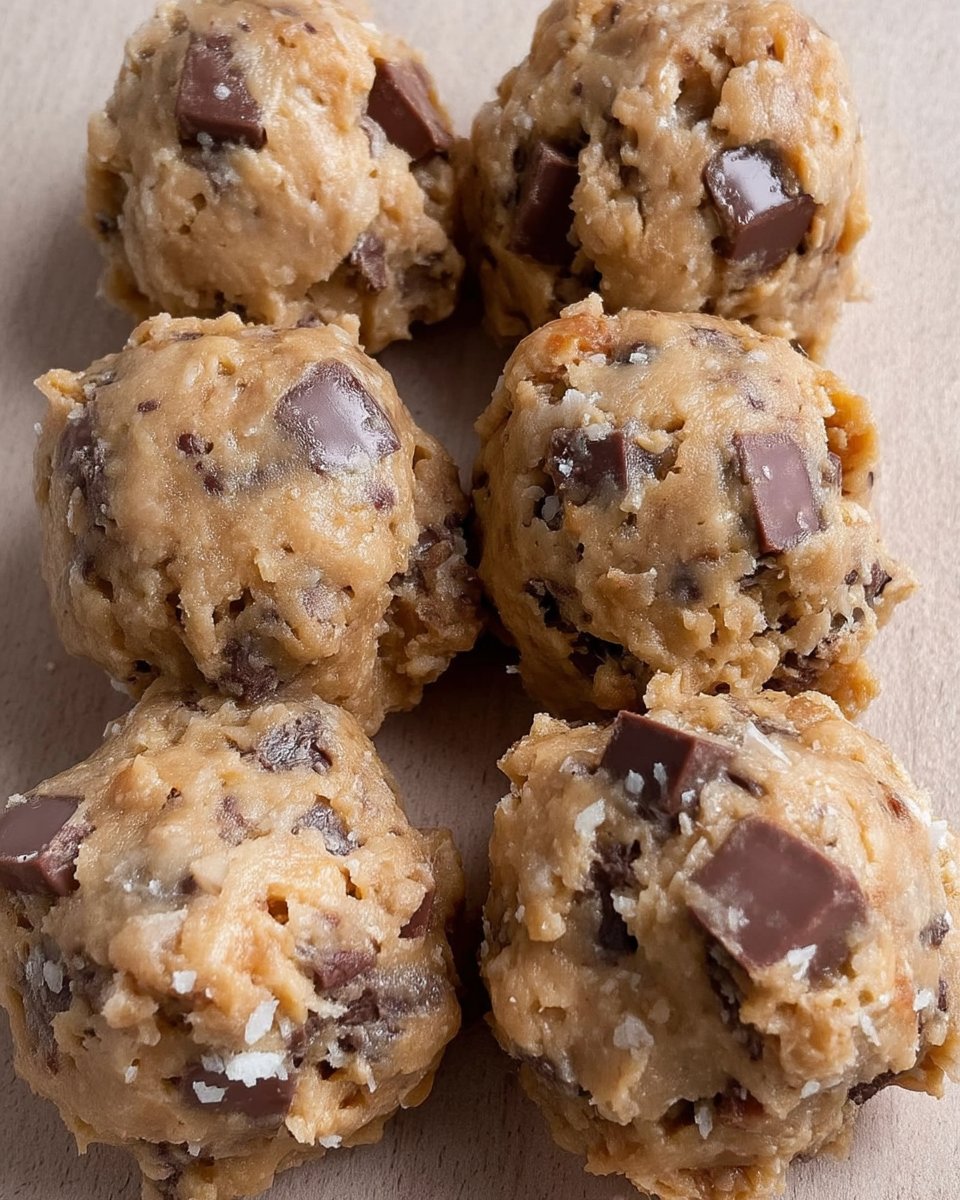
- Shape the dough into 120g balls and place them on a tray lined with greaseproof paper.
- Cover the tray and freeze the dough balls for at least 90 minutes.
- Preheat the oven to 180°C (350°F) and place an empty lined baking tray inside to heat up.
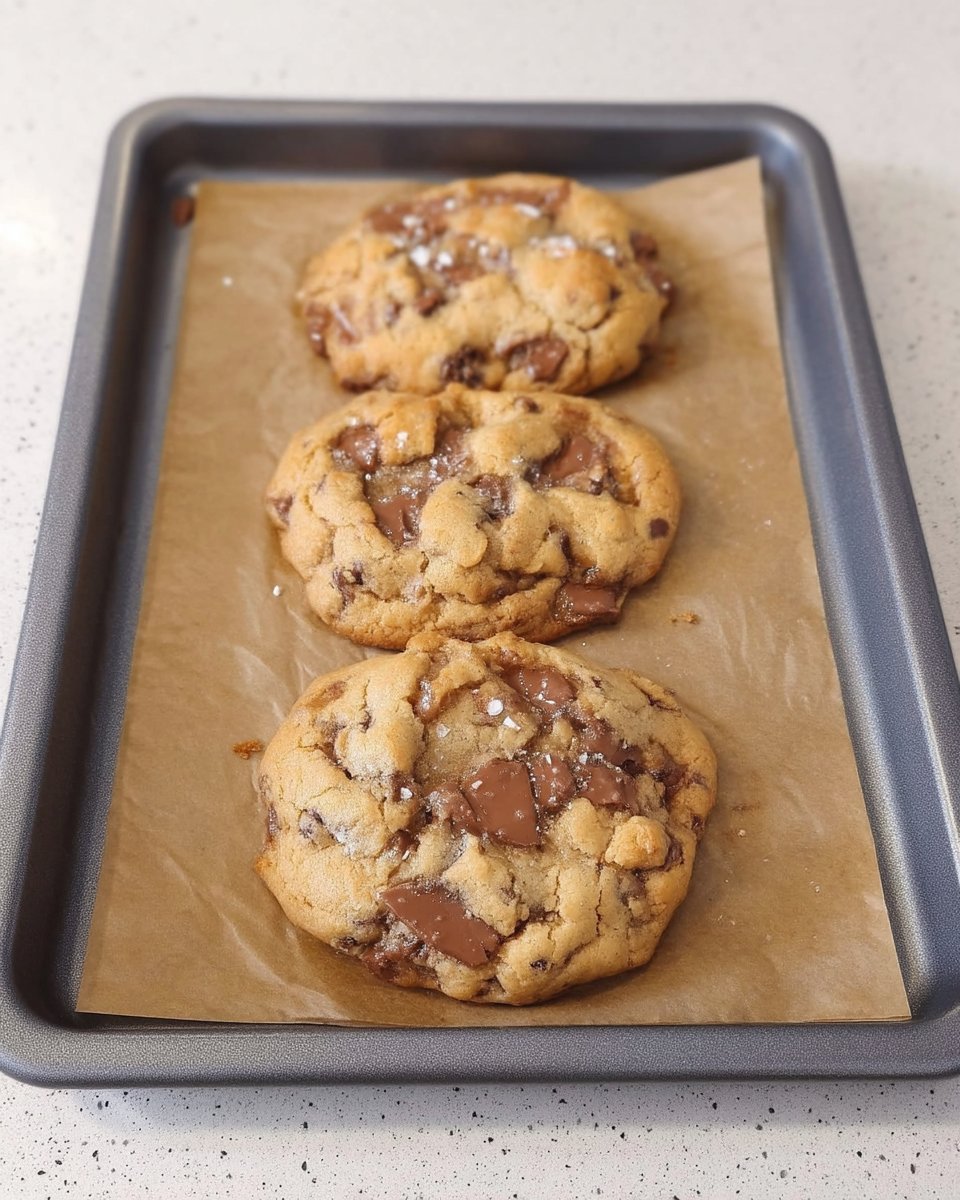
- Transfer the frozen dough balls onto the hot tray and bake for 15 minutes until edges are golden.
- Let the cookies rest on the baking tray for 5 minutes before serving to allow the centers to set.
Notes
For the best results, use high-quality butter and avoid over-mixing the dough once the flour is added to maintain a tender crumb. Chilling the dough is essential; the longer they stay in the freezer, the less they will spread during baking, resulting in that signature thick profile.
- Prep Time: 20 mins
- Cook Time: 15 mins
- Category: Dessert
- Method: Baking
- Cuisine: American
Familiar Ingredients for a Substantial Treat
To get that perfect rise and a center that stays soft for days, we rely on a few pantry staples used with care. The foundation of these thick chocolate chip cookies is a blend of quality fats and sugars that provide both structure and that deep caramel-like sweetness we all crave. Quality matters here, so use the best butter and vanilla you can find to really make those flavors sing.
- Cold Unsalted Butter: We want this just soft enough to break apart but still cool to the touch. This helps the cookies maintain their thickness during the initial blast of heat in the oven.
- Light Brown Sugar: This provides the moisture and the hints of molasses that make the center so chewy.
- White Caster Sugar: This helps give us those slightly crisp, golden edges.
- Self-Raising and Plain Flour: The combination is our secret weapon. The self-raising flour gives us that necessary lift, while the plain flour provides the sturdy base.
- Chocolate Chips: Whether you prefer milk, dark, or a mix of all three, use a generous amount. You want a bit of chocolate in every single bite.
The Comfort Method for Perfect Cookies
Step 1: Prep the Butter
Chop your cold butter into small chunks and place them in a large mixing bowl. Use an electric mixer or a sturdy wooden spoon to beat it for about a minute. You are looking for the butter to be broken up and slightly softened, but you definitely do not want to cream it into a pale, airy paste yet.
Step 2: Sweeten the Foundation
Add both the light brown sugar and the white caster sugar to your butter chunks. Beat them together until they are just combined. Be careful here; over-mixing at this stage will warm the butter too much, which can lead to the cookies spreading more than we want.
Step 3: Add the Bindings
Mix in your two large eggs and that teaspoon of vanilla extract. The mixture might look a little separated or unappealing at this point, but don’t let that worry you. It is a natural part of the process, and everything will come together beautifully once the dry ingredients arrive.
Step 4: Combine the Dry Goods
In a separate bowl, whisk together your self-raising flour, plain flour, salt, and baking powder. Gradually tip this into your butter mixture. Use a folding motion to bring everything together until a thick, heavy cookie dough forms. It should feel substantial and hold its shape well.
Step 5: The Chocolate Fold
Pour in all of your chocolate chips. Use your hands to work them into the dough. This tactile approach makes sure the chips are evenly distributed without overworking the gluten in the flour. It feels like real old-fashioned baking when you get your hands in the bowl.
Step 6: Shape with Intention
Line a baking tray with greaseproof paper. Weigh out portions of dough to 120g each. Roughly shape them into balls with your hands. Remember, we want these to look rustic, so don’t worry about making them perfectly smooth; those ridges will catch the heat and turn beautifully golden.
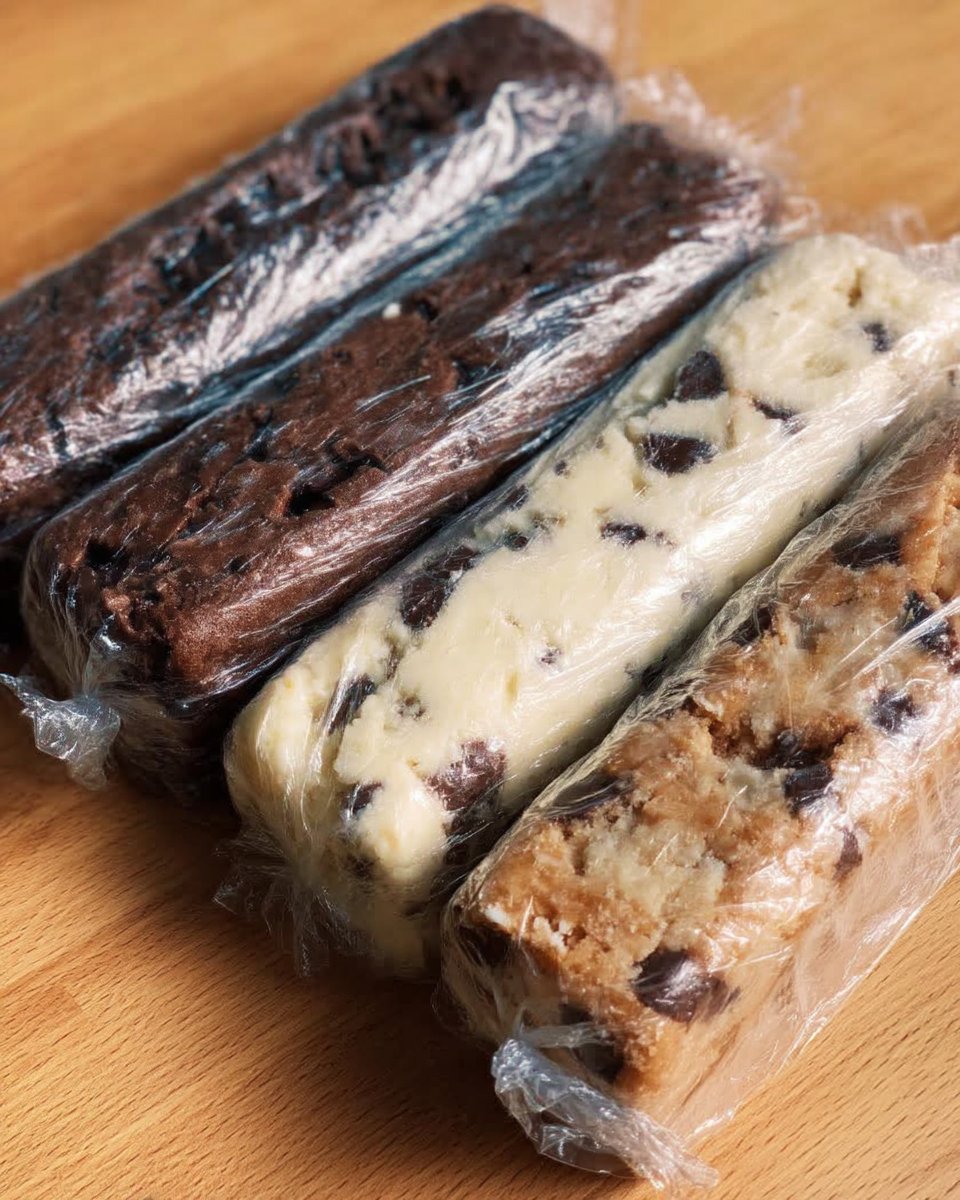
Step 7: The Deep Chill
Cover your tray of dough balls with clingfilm and place them in the freezer for at least 90 minutes. If you have the time, leaving them for up to 48 hours will make the flavors even more complex and the cookies even thicker. This is the secret to that legendary height.
Step 8: The Hot Start
Preheat your oven to 180°C (350°F). About five minutes before you are ready to bake, place an empty, lined baking tray in the oven to get hot. Placing the cold dough onto a hot tray helps the bottom crisp up instantly while the middle stays tender.
Step 9: Bake to Golden
Place three or four frozen dough balls onto the hot tray, leaving plenty of space between them. Bake on the middle shelf for about 15 minutes. You are looking for the edges to be golden and the tops to be just lightly browned. They will look slightly underbaked in the center, which is exactly what we want.
Step 10: Cool and Enjoy
Let the cookies rest on the baking tray for at least five minutes. This allows them to set so they don’t fall apart when you lift them. They are best enjoyed while still warm, when the chocolate is melted and the center is at its most gooey.
Jesse’s Secrets for Flavor Balance
To make sure your cookies stay as thick as possible, never skip the freezing step. The colder the dough when it hits the oven, the less it will spread. Also, if you want a little more depth in your flavor, consider using a high-quality vanilla bean paste instead of extract. It adds those beautiful little flecks and a more intense aroma. For more ideas on how to perfect your technique, take a look at our Artisan Cookie Collection where we talk about the science of dough. Another tip is to use a mixture of chocolate chip sizes; using both large chunks and small chips creates a wonderful variety of textures in every bite. Always store any leftovers in an airtight tin to keep that soft moisture locked in for as long as possible.
Other Spice Ideas and Comfort Variations
While the classic version is hard to beat, I often like to add a pinch of cinnamon or even a tiny bit of nutmeg to the flour mix to give it that Southern spice warmth. If you are feeling adventurous, you can swap the milk chocolate for white chocolate and add some toasted macadamia nuts for a buttery crunch. For those who enjoy a bit of a seasonal twist, our Seasonal Cookie Design guide offers plenty of inspiration for holiday-themed versions. You might also try browning the butter before letting it cool back to a solid state; this adds a nutty, toasted flavor that pairs beautifully with dark chocolate and a sprinkle of sea salt on top.
Cozy Enjoyment for the Whole Family
There is nothing quite like serving these cookies warm with a tall, cold glass of milk. It is the quintessential comfort pairing that makes any afternoon feel like a special occasion. If you are hosting a small gathering, you can arrange them on a wooden board with some fresh berries and a pot of coffee. For those who want to turn this into a real dessert, try serving a warm cookie in a bowl with a scoop of vanilla bean ice cream on top. You can find more presentation tips in our Cookie Decorating Studio. These also make a wonderful gift when stacked in a simple brown paper box tied with a bit of kitchen twine—it’s Southern hospitality at its finest.
The Comfort Truth of Home Baking
At the end of the day, baking is about sharing a little bit of love and tradition with the people around you. These thick chocolate chip cookies are a testament to the fact that you don’t need to change everything to make something feel new and exciting; sometimes, just a little extra height and a lot of heart are all you need. I hope this recipe finds a permanent place in your family’s rotation, just as it has in mine. For more effortless ways to bring sweetness to your home, explore our Effortless Cookie Elegance section. You can also see more of my favorites at Thick Chocolate Chip Cookies. If you enjoyed this bake, please share your results with us on Pinterest, Instagram, or Facebook. Happy baking!
