In our test kitchen, we spent significant time analyzing the moisture loss during the butter browning process to determine why this specific formula maintains such a distinct chew. By measuring the post-browning weight, we discovered that exactly 140 grams of fat and toasted milk solids are the scientific requirement for perfect structural integrity. This level of precision prevents the cookies from becoming thin or greasy, resulting in a robust, professional crumb.

These cookies represent a study in Maillard reaction chemistry, using carefully toasted milk solids to create a deep, nutty profile that white butter simply cannot match. The addition of an extra egg yolk increases the lecithin content, creating a superior emulsification that keeps the center tender while the edges crisp during the bake. This is a formula designed for bakers who value the intersection of flavor chemistry and physical structure.
The Chemistry of a Superior Cookie
This recipe succeeds because it treats every ingredient as a functional component rather than just a flavor addition. The use of brown butter is not just for the aroma; it is a method of removing water content to concentrate the fats, which changes how the flour hydrates. When you remove water through evaporation, you create a cookie that is more stable and less prone to cakey textures.
Furthermore, the specific ratio of light brown sugar to granulated sugar (212g to 50g) is calculated to maximize the hygroscopic properties of the dough. The molasses in the brown sugar pulls moisture from the air, making certain that the cookies stay soft for days after baking. The inclusion of an extra egg yolk provides the necessary fat and protein to bind the structure without adding the extra water found in egg whites. This balance is what creates the contrast between the crispy outer ring and the fudgy, molten center that characterizes the famous Broma Bakery style.
Print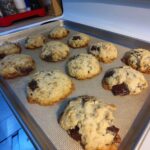
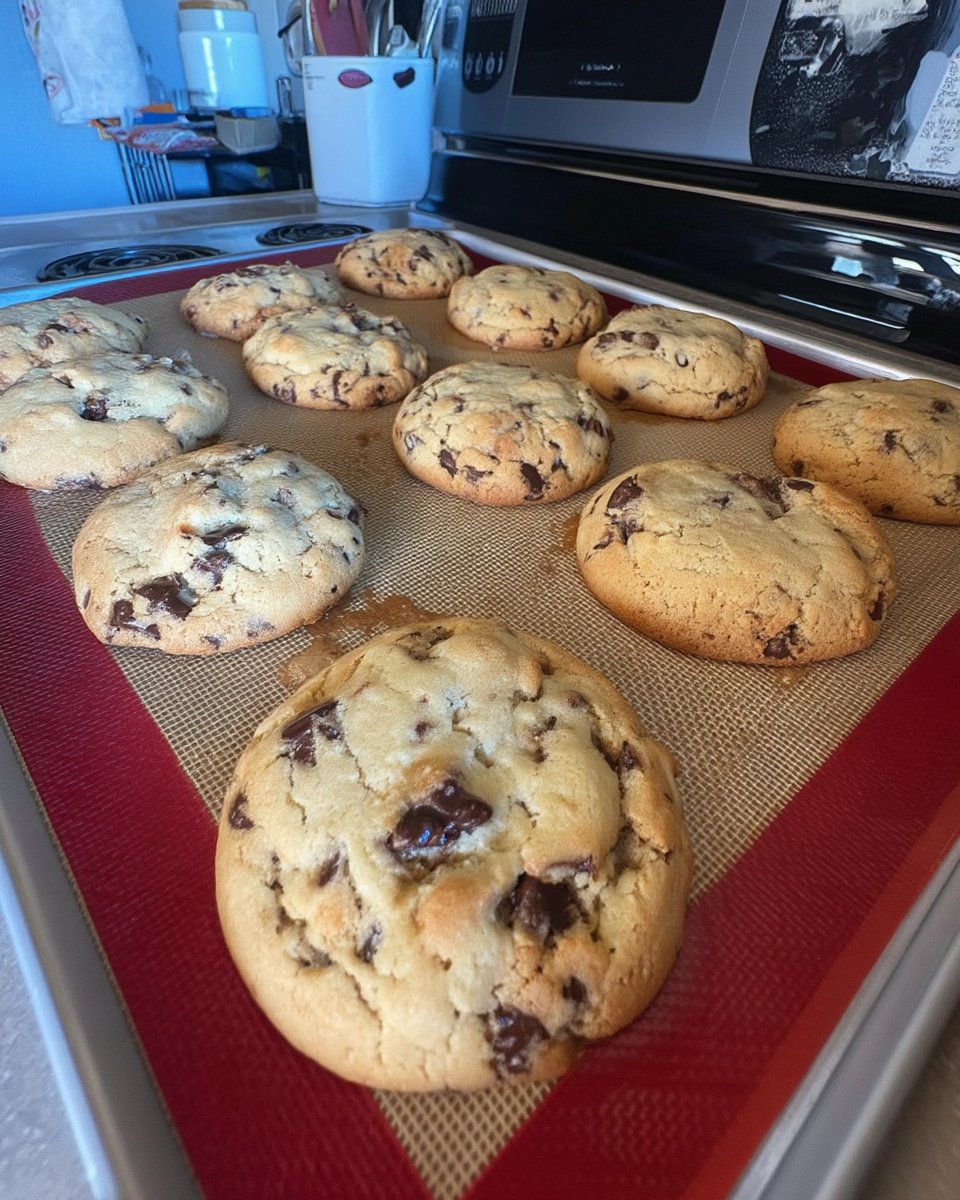
Broma Bakery Chocolate Chip Cookies
- Total Time: 1 hour 27 mins
- Yield: 20 cookies
- Diet: Vegetarian
Description
These scientifically-developed cookies feature deeply toasted brown butter and an extra egg yolk for an exceptionally chewy texture and nutty flavor profile. Balanced with a precise ratio of sugars and high-quality chopped chocolate, they offer a perfect contrast between crispy edges and a molten, fudgy center.
Ingredients
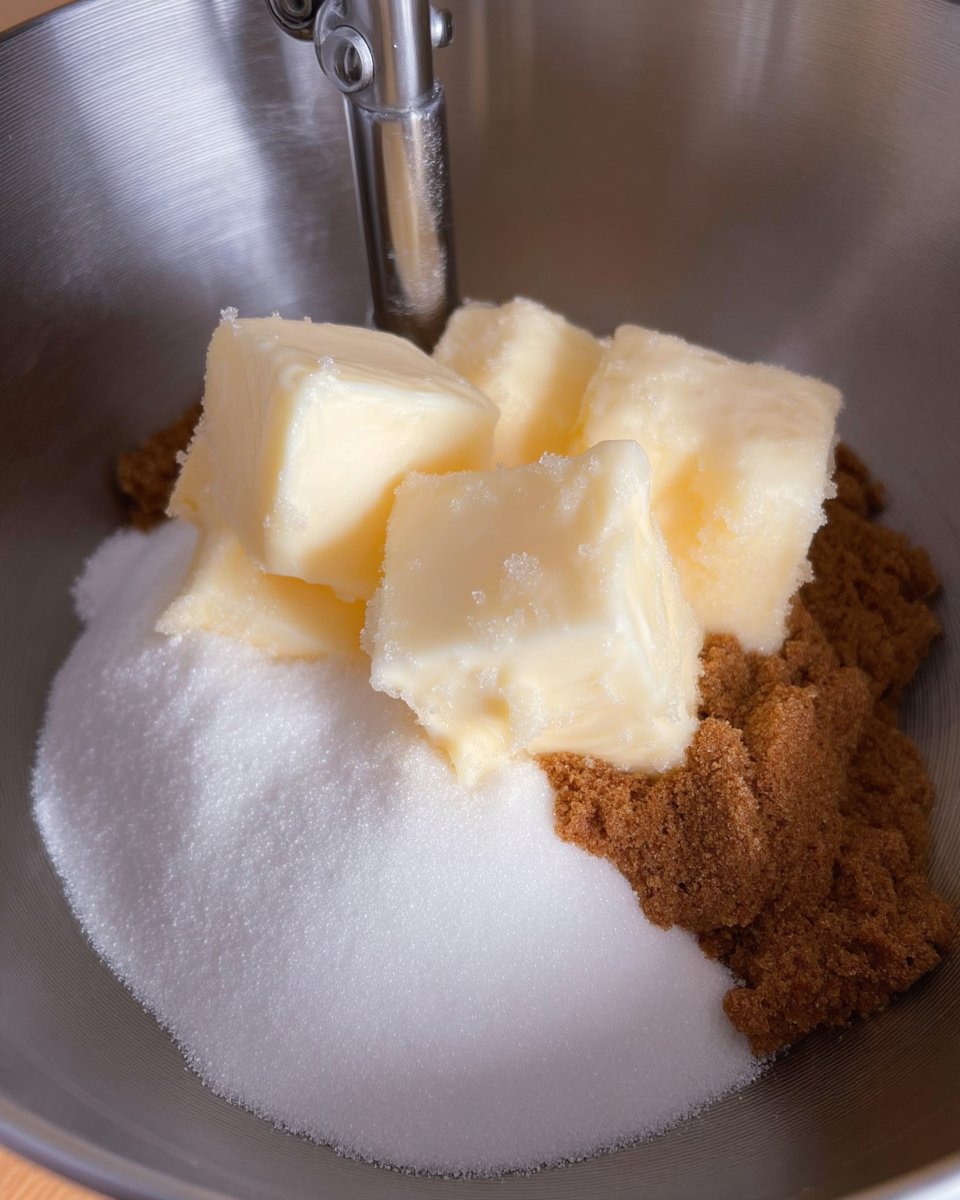
- 168g unsalted butter
- 212g light brown sugar
- 50g granulated sugar
- 220g all-purpose flour
- 1 large egg, room temperature
- 1 large egg yolk, room temperature
- 1 tablespoon pure vanilla extract
- 3/4 teaspoon baking soda
- 3/4 teaspoon kosher salt
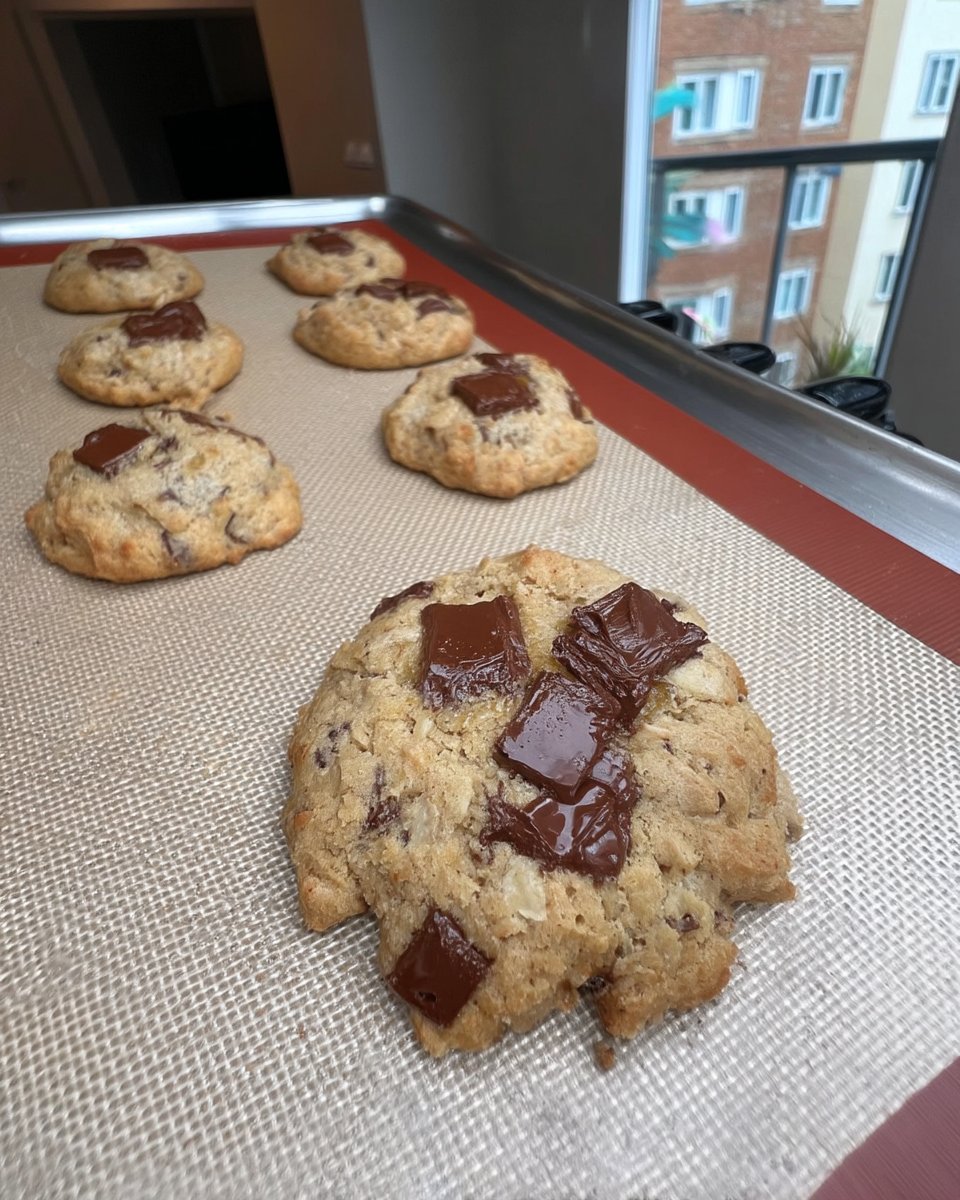
- 210g semisweet chocolate, roughly chopped
Instructions
- Brown the butter in a small saucepan over medium-low heat until it smells nutty and contains goldenspecks; weigh it to ensure you have exactly 140g of fat and milk solids, adding a teaspoon of milk if it is underweight.
- In a large bowl, whisk the warm brown butter with the light brown and granulated sugars, then whisk in the egg, egg yolk, and vanilla for 30 seconds until the mixture is thick and emulsified.
- Sift together the flour, baking soda, and salt, then fold them into the wet mixture using a spatula just until no flour streaks remain.
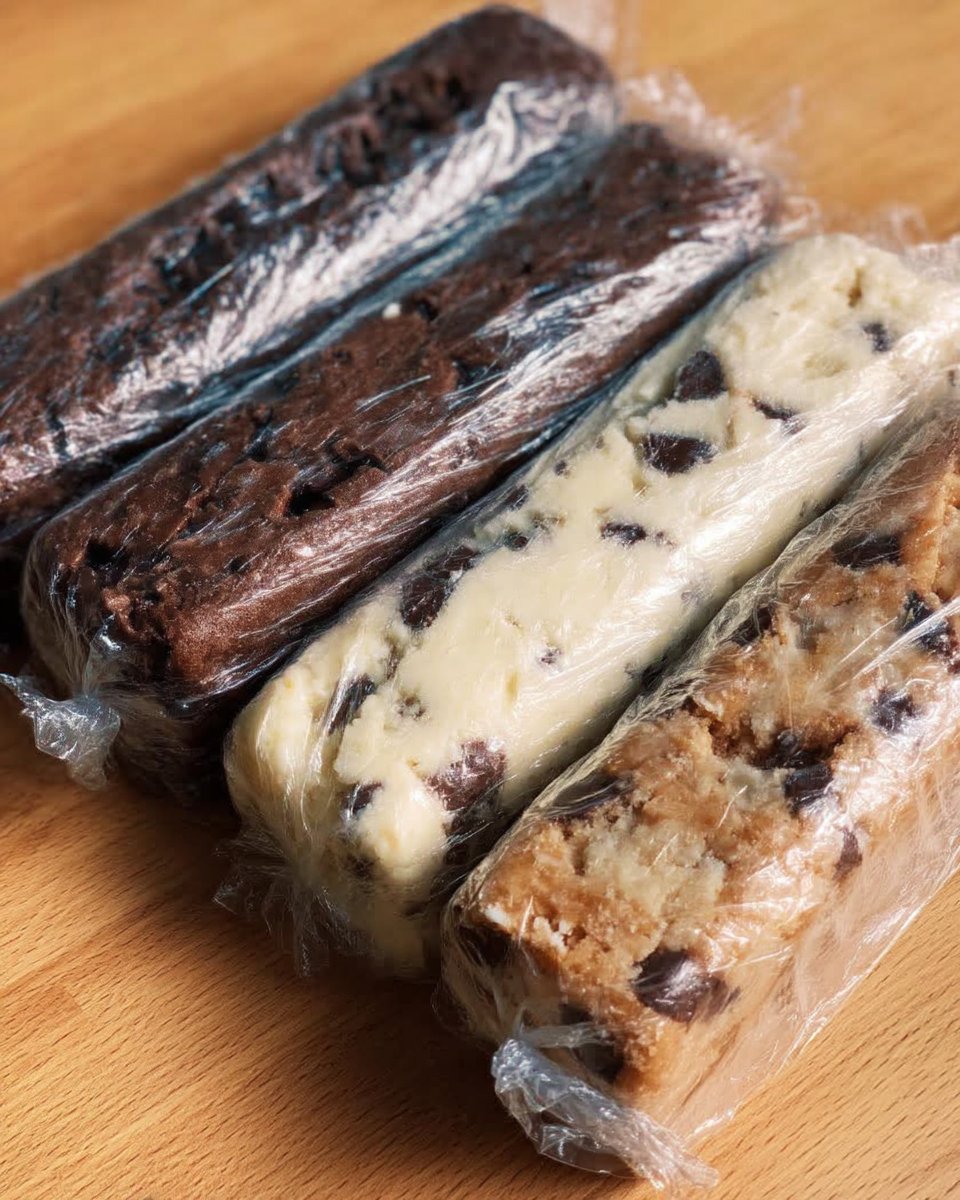
- Fold in the chopped chocolate, cover the dough with plastic wrap directly on the surface, and refrigerate for at least 1 hour, or preferably 24 hours, to allow for full hydration.
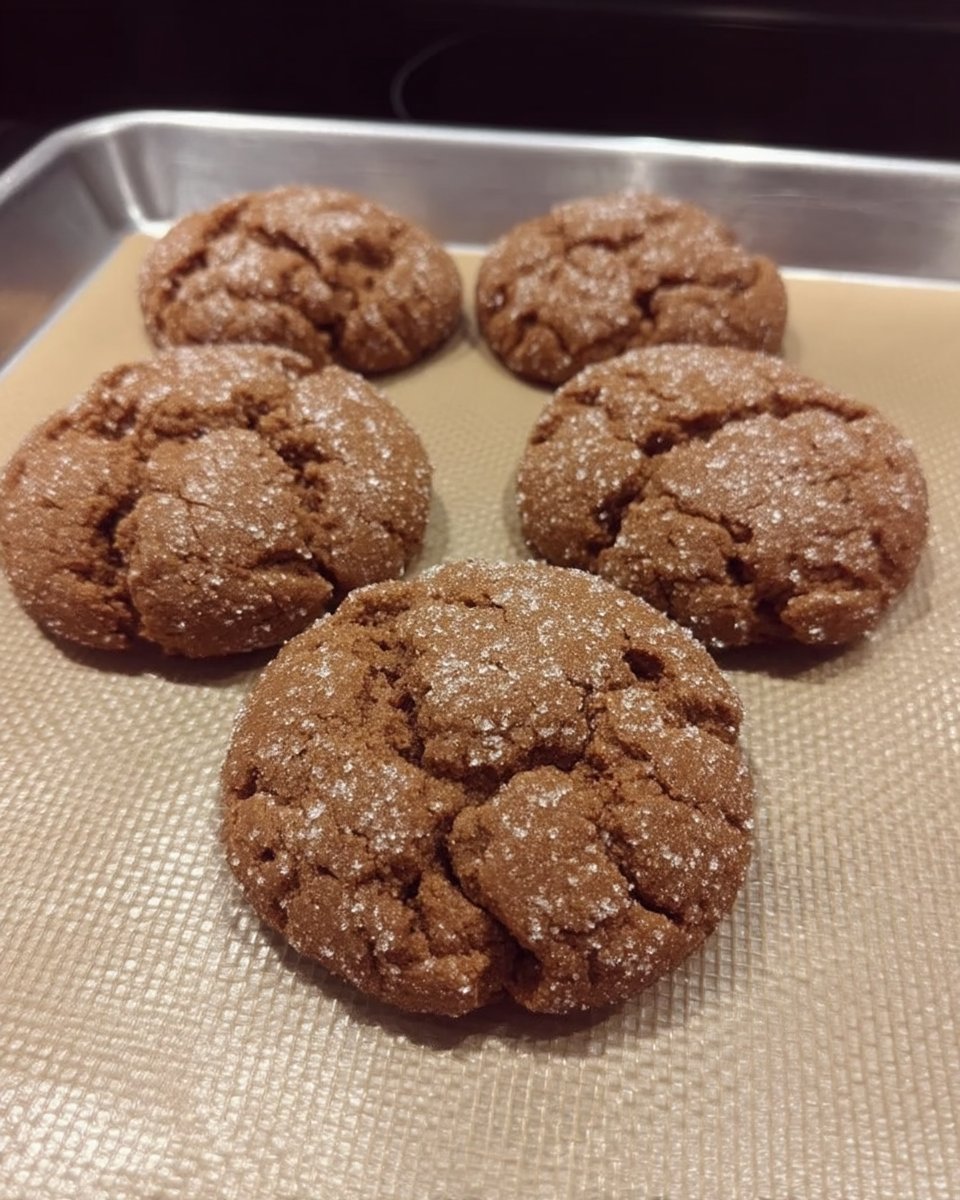
- Preheat your oven to 350°F (175°C), scoop 1.5-ounce portions of dough onto parchment-lined baking sheets, and bake for 11 to 13 minutes until the edges are golden but the centers are still soft.
Notes
For the best results, use a digital scale to measure your ingredients as volume can vary significantly. Cooling the dough is a non-negotiable step that prevents excessive spreading and develops the Maillard reaction for a deeper flavor. If your cookies do not come out perfectly round, use a large circular cutter to gently shape them immediately after removing them from the oven while they are still soft.
- Prep Time: 1 hour 15 mins
- Cook Time: 12 mins
- Category: Dessert
- Method: Baking
- Cuisine: American
The Formula for Success
To achieve the results we observed in the test kitchen, you must use high-quality ingredients and measure by weight (grams) whenever possible. Small deviations in flour volume can lead to a dry cookie that does not spread correctly.
- Unsalted Butter (168g/1.5 sticks): We start with 168 grams to account for the approximately 15-20% water loss during the browning process. Your final yield of liquid gold should be exactly 140 grams.
- Light Brown Sugar (212g): This provides the acidity needed to react with the baking soda and the moisture needed for a chewy texture.
- Granulated Sugar (50g): This facilitates the crisping of the edges through caramelization.
- All-Purpose Flour (220g): A protein content of around 10-11% is ideal here. We tested higher protein bread flours, but they made the cookie too tough.
- Large Egg + Large Egg Yolk: The extra yolk is our secret for a rich, custard-like interior. Make certain these are at room temperature (around 70°F or 21°C) to prevent the brown butter from seizing during mixing.
- Pure Vanilla Extract (1 tablespoon): A high volume of vanilla is necessary to balance the salt and the bitterness of dark chocolate.
- Baking Soda (3/4 teaspoon): This provides the lift and aids in the browning of the dough.
- Kosher Salt (3/4 teaspoon): Essential for cutting through the richness of the fats.
- Semisweet Chocolate (210g): Using roughly chopped chocolate bars instead of chips provides irregular pools of chocolate that improve the mouthfeel.
The Scientific Process
Step 1: Browning the Butter
Place the 168g of unsalted butter in a small saucepan over medium-low heat. As the butter melts, it will begin to foam—this is the water boiling off. Use a silicone spatula to scrape the bottom constantly. Once the foam subsides and you see golden-brown specks (toasted milk solids) and smell a nutty aroma, remove it from the heat. Weigh the butter; if it is less than 140g, add a teaspoon of milk to reach the target weight. Allow it to cool for 5 minutes until it is warm but not scalding (approximately 130°F).
Step 2: Creating the Emulsion
In a large bowl, whisk together the warm brown butter, light brown sugar, and granulated sugar. The warmth of the butter will partially dissolve the sugar crystals. Add the room-temperature egg, egg yolk, and vanilla extract. Whisk vigorously for about 30 seconds until the mixture lightens in color and becomes slightly thickened. This step is vital for a stable emulsion that prevents the fat from leaking out during the bake.
Step 3: Incorporating Dry Ingredients
Sift the all-purpose flour, baking soda, and kosher salt together. Fold the dry ingredients into the wet mixture using a spatula. Stop mixing the moment you no longer see white streaks of flour. Over-mixing at this stage activates too much gluten, which will turn your chewy cookie into a tough, bread-like disk.
Step 4: Adding the Chocolate and Hydrating
Fold in the chopped chocolate or chips. The dough will be soft and somewhat greasy—this is normal. Cover the bowl with plastic wrap, pressing it directly onto the surface of the dough to prevent a skin from forming. Refrigerate for at least 1 hour, though 24 hours is preferred. This cold rest allows the flour to fully hydrate and the fats to solidify, which controls the spread in the oven.
Step 5: Precision Baking
Preheat your oven to 350°F (175°C). Line heavy-duty baking sheets with parchment paper. Scoop 1.5-ounce portions of dough (about 2 tablespoons) and place them 2 inches apart. Bake for 11 to 13 minutes. The edges should be set and golden, but the centers must look slightly underbaked and soft. They will finish cooking on the hot pan after you remove them from the oven.
Lauren’s Lab Notes
One of the most common failures in this recipe is an inconsistent butter weight. If your heat is too high, you will lose too much moisture, leading to a crumbly dough. Always weigh your butter after browning. For more technical guidance on dough stability, see our Artisan Cookie Collection. Another tip: if your cookies aren’t spreading enough, your flour may have been packed too tightly into the measuring cup. Always use the spoon-and-level method or a digital scale. If you are looking for the original inspiration for this specific balance, you can view the Broma Bakery Chocolate Chip Cookies post directly. Finally, use a round cookie cutter to ‘scoot’ the cookies into perfect circles immediately after they come out of the oven while the edges are still malleable.
Tested Structural Modifications
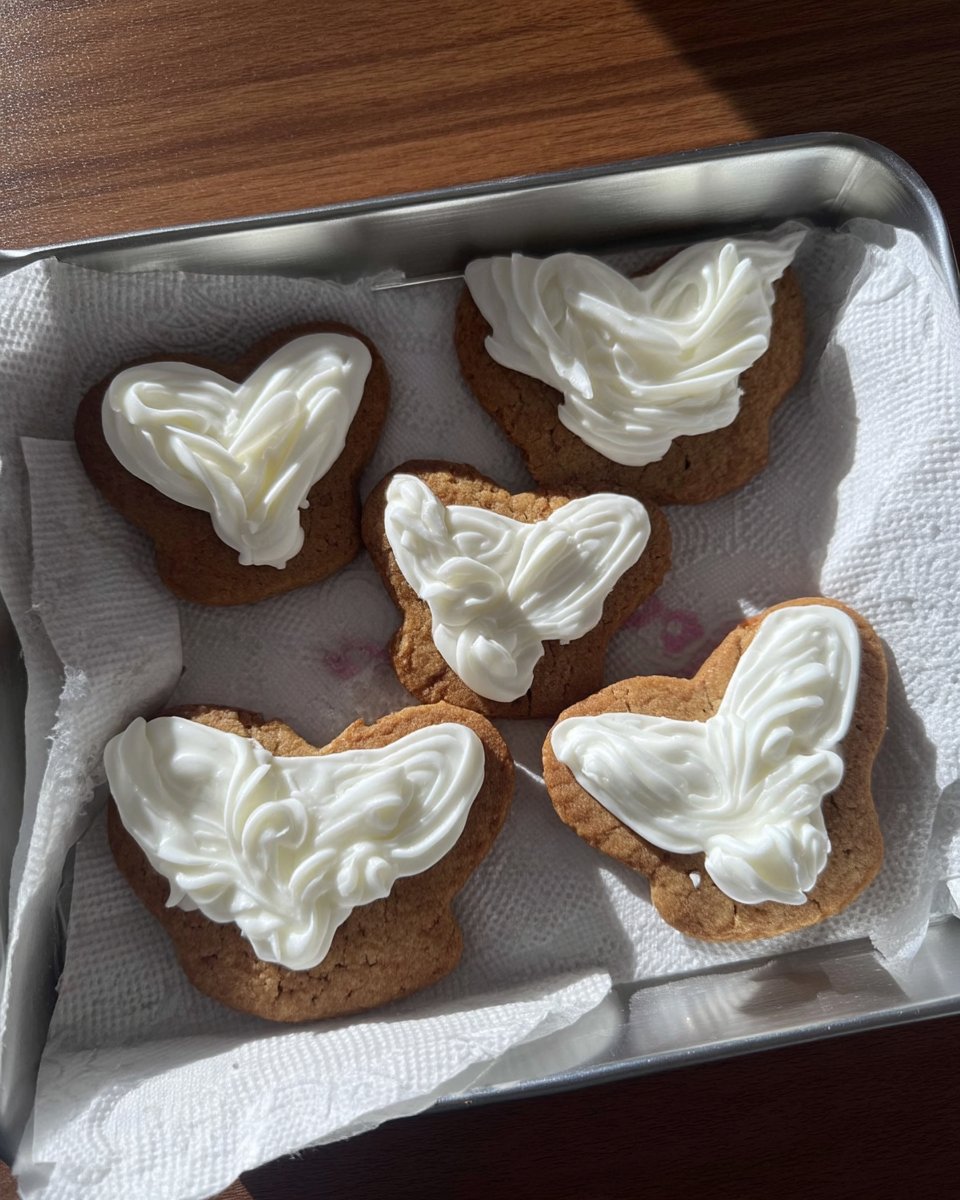
If you wish to modify the flavor profile, you must maintain the fat-to-dry-ratio. For a Nutty Toffee version, replace 50g of chocolate with 50g of toasted pecans. The pecans contain natural oils, so do not add any extra butter. For those interested in decorative changes, our Trending Cookie Creations guide explains how to use different sugar types for various surface textures. You can also replace the vanilla extract with half a teaspoon of espresso powder to accentuate the chocolate notes. This addition does not affect the moisture balance significantly but provides a much deeper flavor profile for dark chocolate lovers.
Flavor Science and Pairing Notes
Temperature is a critical factor in how we perceive flavor. We recommend serving these cookies about 15 minutes after baking, when the internal temperature has dropped to roughly 100°F. At this temperature, the chocolate is still fluid, but the cookie structure has set enough to hold its shape. For a sophisticated presentation, check out our Effortless Cookie Elegance tips. Pairing these with a cold glass of whole milk is a classic choice because the milk fats help cleanse the palate of the heavy cocoa butter, making each bite taste as fresh as the first. A light sprinkling of Maldon sea salt on top is also recommended to trigger the salt-sensitive receptors on your tongue, which actually makes the sugar taste sweeter.
The Scientific Truth
Mastering the Broma Bakery Chocolate Chip Cookies is a victory for any home baker. By respecting the ratios of fat, sugar, and flour, you can move away from guesswork and toward guaranteed success. For more seasonal inspiration, examine our Seasonal Cookie Design gallery. We invite you to share your baking results and test kitchen discoveries with our community. Connect with us on Pinterest, Instagram, and Facebook to join the conversation on baking science. Keep testing, keep measuring, and enjoy the remarkable results of precision baking.
