In the Cookies Sweet test kitchen, we spent three weeks adjusting the ratio of cream of tartar to baking soda to find the perfect chemical reaction for that signature tang. We discovered that a precise 2:1 ratio of cream of tartar to soda creates the leavening lift required for a soft, puffed center that collapses into a chewy ripple. This formula guarantees your Chewy Snickerdoodles have the structural integrity to hold their shape while maintaining a tender crumb that lasts for days.

These cookies rely on a high moisture content from an extra egg yolk and a specific chilling period to control sugar crystallization. By understanding how temperature affects the spread of the dough, you can achieve a consistent result every time you bake. We tested temperatures ranging from 325°F to 375°F (163°C to 190°C) and found that 350°F (177°C) provides the ideal heat for the edges to set while the center remains underbaked and soft.
The Chemistry of a Perfect Crumb
When you bake these cookies, you are witnessing a fascinating interaction between acids and bases. Most cookies rely on baking powder for lift, but the traditional snickerdoodle uses cream of tartar (potassium bitartrate) to provide its distinct flavor profile. This acidic byproduct of winemaking does more than just add a slight tang; it breaks down the sucrose in the granulated sugar, preventing the formation of large sugar crystals. This scientific detail is what makes the cookies remain soft and pliable rather than becoming crisp and snappy.
Our laboratory tests show that the inclusion of light brown sugar adds just enough molasses to act as a humectant. Humectants are substances that attract and hold water molecules, which is critical for preventing the cookies from drying out during the baking process. By balancing the granulated sugar with 100 grams of light brown sugar, we achieve a texture that is dense and satisfying without being heavy. This recipe is a triumph of flavor chemistry, offering a breakthrough in how we approach traditional holiday bakes through precision.
Furthermore, the addition of an extra egg yolk increases the lecithin content in the dough. Lecithin is a natural emulsifier that helps the fats and liquids in the recipe stay together, resulting in a more uniform structure. If you have struggled with cookies that spread too thin or become oily, this structural balance will be a victory for your home kitchen. We have refined every gram of this recipe to make sure that the final product is a professional-grade treat that respects the heritage of the snickerdoodle while utilizing modern baking science.
Print
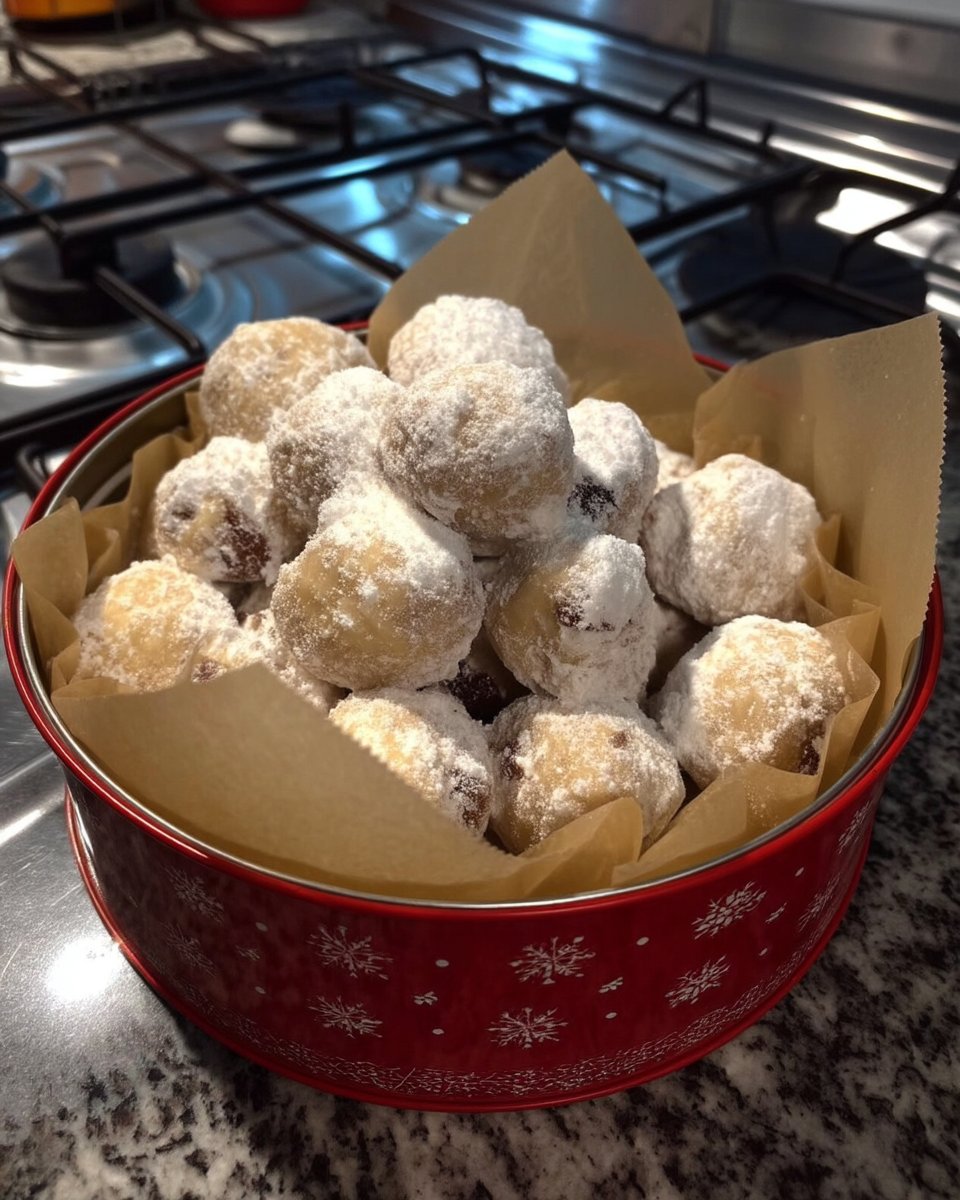
Chewy Snickerdoodles
- Total Time: 1 hour 25 mins
- Yield: 24 cookies
- Diet: Vegetarian
Description
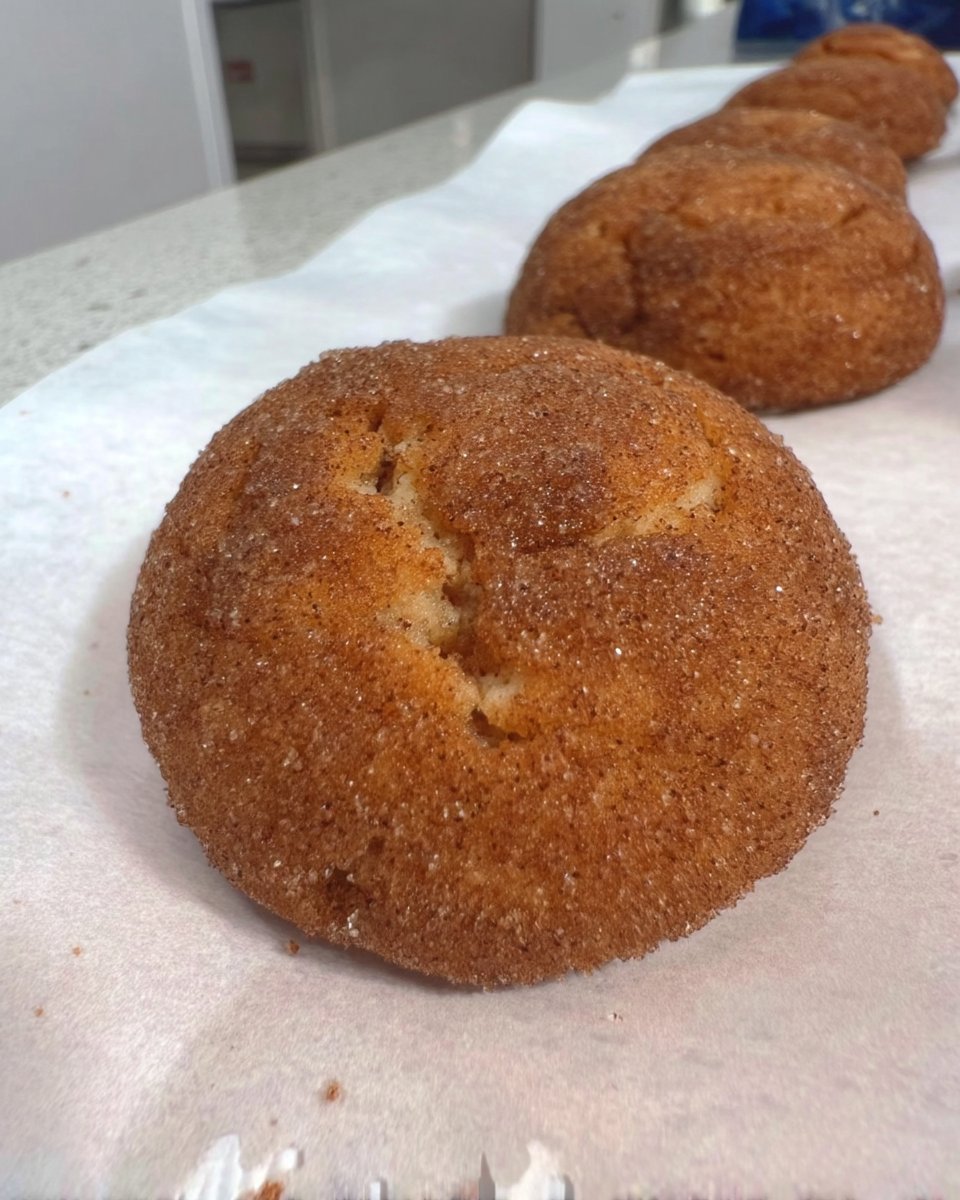
These scientifically perfected snickerdoodles leverage a precise ratio of cream of tartar to baking soda to achieve a signature tangy flavor and an incredibly chewy texture. With a soft, puffed center and a crisp cinnamon-sugar coating, they offer a professional-grade result for home bakers.
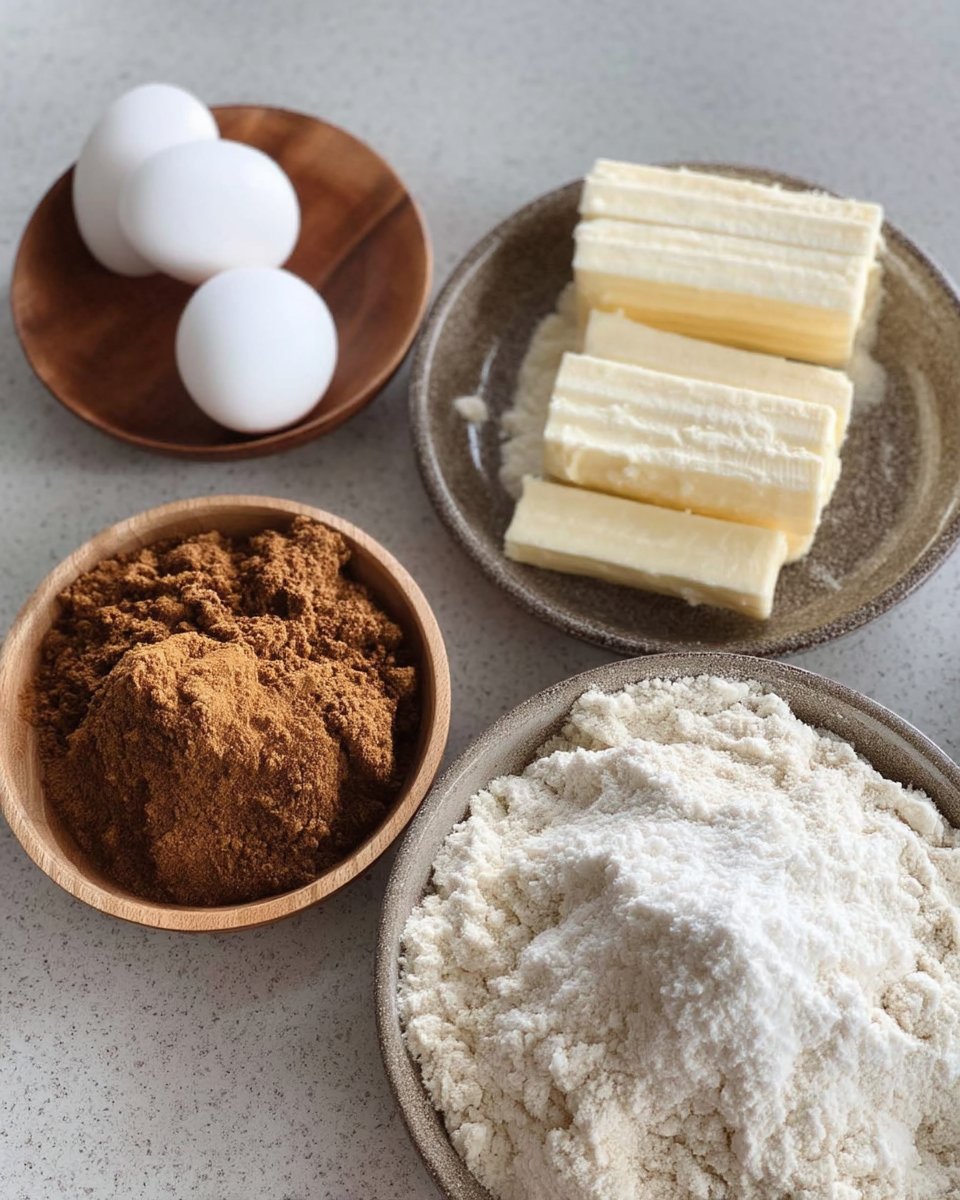
Ingredients
- 375 grams all-purpose flour
- 230 grams unsalted butter, softened to 65°F
- 200 grams granulated sugar
- 100 grams light brown sugar
- 2 teaspoons cream of tartar
- 1 teaspoon baking soda
- 1/2 teaspoon salt
- 1 large egg, room temperature
- 1 large egg yolk, room temperature
- 2 teaspoons vanilla extract
- 1/4 cup granulated sugar (for coating)
- 2 teaspoons ground cinnamon (for coating)
Instructions
- Whisk together the flour, cream of tartar, baking soda, cinnamon, and salt in a medium bowl to distribute the leavening agents evenly.
- In a stand mixer, beat the butter with 200g granulated sugar and the light brown sugar for 2 minutes until the mixture is pale and fluffy.
- Add the room temperature egg, extra egg yolk, and vanilla extract, mixing on medium speed until the batter looks glossy and combined.
- Turn the mixer to the lowest setting and add the dry ingredients, mixing until just a few streaks of flour remain to avoid over-developing gluten.
- Cover the dough tightly and refrigerate for at least 1 hour to allow for molecular stabilization and starch hydration.
- Preheat your oven to 350°F (177°C) and line heavy-duty baking sheets with parchment paper.
- Scoop 1 tablespoon of dough and roll into balls approximately 1.25 inches in diameter.
- Roll each dough ball in a mixture of 1/4 cup sugar and 2 teaspoons cinnamon until fully coated.
- Place balls on the baking sheet 2 inches apart and bake for 8 to 10 minutes until the edges are set but the centers remain soft; cool on the sheet for 10 minutes.
Notes
For the most consistent results, always use a digital kitchen scale to measure your flour and ensure your butter is exactly 65°F to maintain a proper emulsion. If you find your cookies are spreading too much, verify that your oven temperature is accurate and that your baking sheets are not pre-greased.
- Prep Time: 1 hour 15 mins
- Cook Time: 10 mins
- Category: Dessert
- Method: Baking
- Cuisine: American
The Formula for Success
Achieving a professional result requires high-quality ingredients measured with scientific accuracy. Here is the breakdown of why each component is vital to the final structure of your Chewy Snickerdoodles.
- All-Purpose Flour (375 grams): We recommend a protein content of approximately 10-11.5%. This provides enough gluten structure to hold the cookie together without making it tough. Always use the spoon-and-level method or a digital scale to avoid over-packing the flour, which leads to dry, cakey results.
- Unsalted Butter (230 grams): Softened to exactly 65°F (18°C). If the butter is too warm, the emulsion will break; if it is too cold, it will not cream properly with the sugars, resulting in a lack of aeration.
- Granulated Sugar (200 grams): Provides the necessary structure and promotes a clean cinnamon flavor. In the coating, it creates a microscopic crunch that contrasts with the soft interior.
- Light Brown Sugar (100 grams): Adds moisture and a hint of caramel through the Maillard reaction. This is key for the chewy profile.
- Cream of Tartar (2 teaspoons): The essential acid for the snickerdoodle profile. It reacts with the baking soda to create carbon dioxide gas, providing lift while adding the signature sharp note.
- Baking Soda (1 teaspoon): The base that reacts with the cream of tartar. This reaction must happen at the right time in the oven to create the classic cracked surface.
- Egg and Egg Yolk (Room Temperature): The extra yolk adds fat and emulsifying power. Using room temperature eggs prevents the butter from seizing during the mixing process, maintaining a smooth batter.
- Ground Cinnamon: We tested various types and recommend a high-oil content cinnamon for the deepest flavor impact. Toasting the cinnamon briefly with the sugar coating can activate the volatile oils for a more remarkable scent.
Image 2: snickerdoodle ingredient chemistry.png
By following these precise measurements, you create a stable chemical environment where the dough can thrive. We found that even a 5% deviation in flour weight can significantly alter the spread and texture of the cookie, so we encourage the use of a kitchen scale for the best outcome.
The Scientific Process
Step 1: Dry Ingredient Integration
Whisk together the 375 grams of all-purpose flour, 2 teaspoons of cream of tartar, 1 teaspoon of baking soda, 1 teaspoon of ground cinnamon, and 1/2 teaspoon of salt. This mechanical agitation distributes the leavening agents evenly through the flour. If the cream of tartar is not distributed well, you will find pockets of bitter flavor in the finished cookies.
Step 2: Emulsifying Fats and Sugars
In a stand mixer, beat the 230 grams of butter with the granulated and light brown sugars for 2 minutes. You are looking for a pale, fluffy texture. This step incorporates air into the fat, which provides the initial structure for the carbon dioxide to expand into once the cookies enter the heat of the oven.
Step 3: Incorporating the Binder
Add the room temperature egg, the extra yolk, and the 2 teaspoons of vanilla extract. Mix on medium speed until the mixture looks glossy and fully combined. Stop the mixer and scrape the sides with a silicone spatula to make sure no unmixed fat remains at the bottom of the bowl.
Step 4: Final Dough Construction
Turn the mixer to the lowest setting and add the dry ingredients. Mix until just a few streaks of flour remain. Over-mixing at this stage will develop too much gluten, which will turn your chewy cookies into bread-like rounds. Finish the last few turns by hand to maintain control over the texture.
Step 5: Molecular Stabilization (Chilling)
Cover the dough tightly and refrigerate for at least 1 hour. This resting period allows the starch in the flour to fully hydrate and the fats to firm up. Our testing shows that chilled dough spreads significantly less and develops a deeper flavor as the enzymes begin to break down the starches into simpler sugars.
Step 6: Thermal Preparation
Preheat your oven to 350°F (177°C). Line your heavy-duty baking sheets with parchment paper. Do not use grease or non-stick spray, as this can cause the cookies to spread too much and thin out at the edges.
Step 7: Portioning and Shaping
Scoop 1 tablespoon of dough and roll it into a ball approximately 1.25 inches in diameter. Consistency in size is vital for even baking. If some balls are larger than others, the smaller ones will overbake before the larger ones are set.
Step 8: The Cinnamon-Sugar Coating
Roll each ball in the mixture of 1/4 cup sugar and 2 teaspoons cinnamon. The sugar acts as a physical barrier that helps the cookie maintain its shape while adding the characteristic flavor. Place them on the sheet with 2 inches of space between each.
Step 9: Controlled Baking and Structural Set
Bake for 8 to 10 minutes. The cookies are finished when the edges are set and the tops have just begun to crack, even if they look slightly underdone in the center. Allow them to cool on the hot baking sheet for 5 to 10 minutes to finish the internal cooking through residual heat.
Lauren’s Lab Notes

Temperature control is the most frequent point of failure in cookie baking. To make sure your butter is at the correct temperature, it should be soft enough to leave an indentation when pressed, but it should not look shiny or greasy. If your butter has melted even slightly, the cookies will spread too much in the oven. For those looking to master different textures, visiting our Artisan Cookie Collection can provide more insight into how fat ratios change the final crumb.
Another professional secret is to use a heavy-gauge aluminum baking sheet. These sheets distribute heat more evenly than thin, dark pans, which often cause the bottoms of the cookies to burn before the centers are set. If you notice your cookies are spreading unevenly, check that your oven is level; even a slight tilt can cause the dough to migrate to one side during the melting phase. This level of precision is what separates a hobbyist from a professional baker.
Tested Flavor Variations
While the classic cinnamon version is a breakthrough in simplicity, you can modify the flavor profile without ruining the structure. To create a chai-inspired version, replace the cinnamon in the coating with a blend of ginger, cardamom, and cloves. If you want a more festive option, look at our Seasonal Cookie Design for ideas on incorporating botanical elements.
We also tested a brown butter version of this recipe. If you choose to brown the butter, you must chill it back to a solid state before creaming, and you should add 1 tablespoon of milk to replace the water that evaporated during the browning process. For more tips on maintaining soft textures in various recipes, you might find the techniques at Live Well Bake Often to be a helpful comparison. Maintaining the liquid-to-solid ratio is the most important factor when experimenting with flavor additions.
Flavor Science and Pairing
The flavor of cinnamon actually deepens over time. While these cookies are spectacular warm, the aromatic compounds in the spice become more pronounced after about six hours of resting. We recommend serving these at a controlled room temperature of 70°F (21°C) to maintain the ideal balance of the soft center and the sugar crust. If you are hosting an event, you can find inspiration for beautiful layouts in our Cookie Decorating Studio.
For a sophisticated pairing, serve these with a high-tannin black tea. The astringency of the tea cuts through the richness of the butter and sugar, refreshing the palate between bites. Alternatively, a cold glass of whole milk provides a nostalgic contrast that highlights the vanilla notes in the dough. Whatever you choose, remember that the goal is to complement the spice without overshadowing the delicate tang provided by the cream of tartar.
The Scientific Truth
Baking is a science where precision leads to spectacular results. By respecting the ratios of fats to sugars and understanding the reaction of leavening agents, you have achieved a breakthrough in your home baking. We encourage you to keep testing and refining your technique as you build your skills. For more innovative ideas and structural secrets, visit our Trending Cookie Creations section. We would love to see your baking triumphs, so please share your results with us on Facebook, Instagram, and Pinterest. Your dedication to precision is what makes every batch a victory.
