In the test kitchen, we found that the difference between a gritty paste and velvety butter lies entirely in frictional heat. By processing peanuts until they reach a specific temperature, the cell walls break down completely to release their natural oils. This recipe for sugar free peanut butter relies on that thermal principle rather than additives to achieve the perfect emulsion.

You need only high-quality peanuts and a high-powered blender to execute this formula. While commercial brands rely on stabilizers, we use mechanical force to create a spread that is naturally low-carb and intensely flavored. It is the ideal foundational ingredient for precise baking or simple snacking.
The Physics of Flavor
Control is the primary advantage of making your own nut butter. You dictate the roast level of the peanuts, which directly correlates to the depth of flavor—darker roasts provide more complex pyrazines, while lighter roasts remain sweet. Additionally, by omitting sugar and stabilizers, you ensure the structure of your baked goods isn’t compromised by hidden ingredients.
Print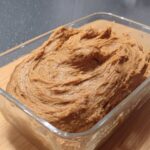
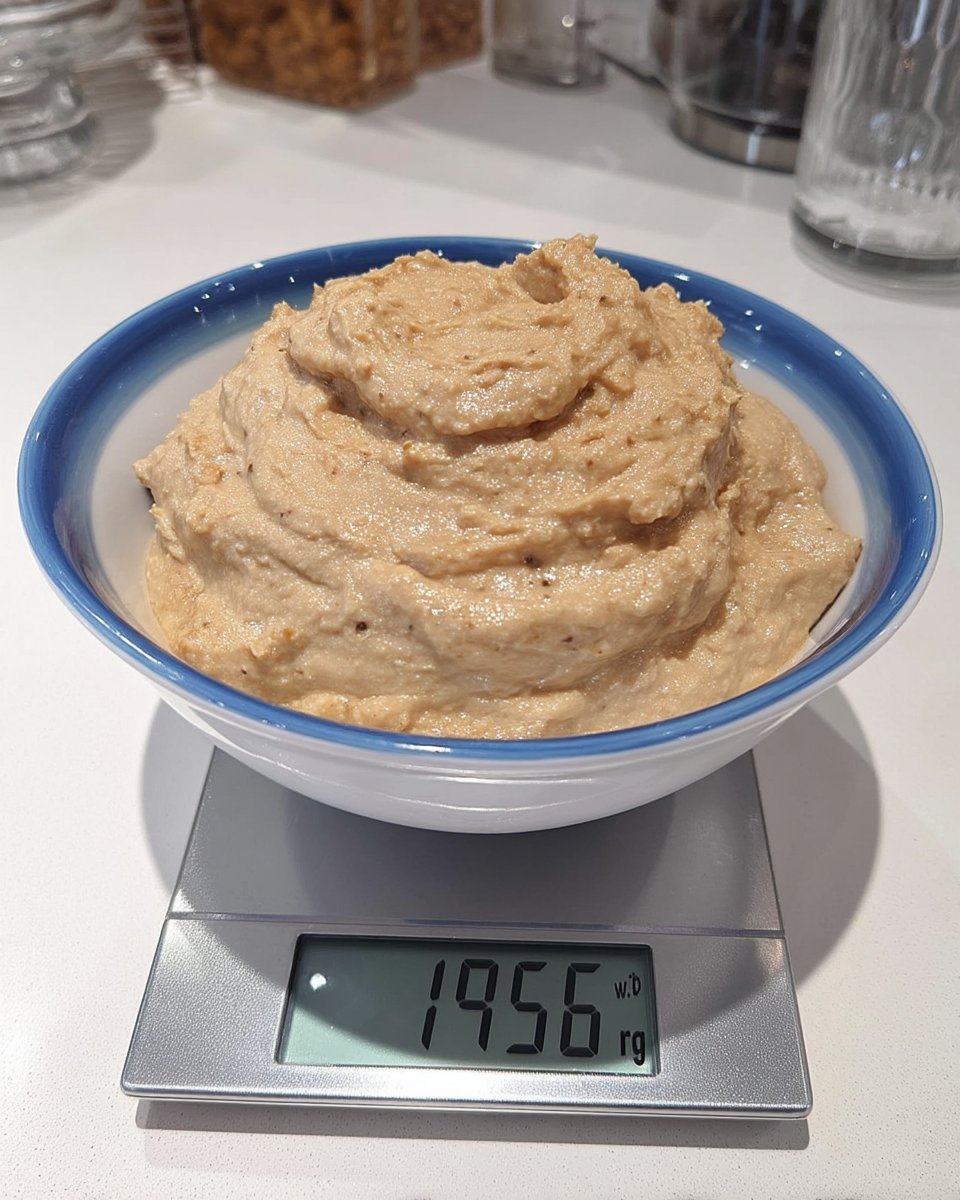
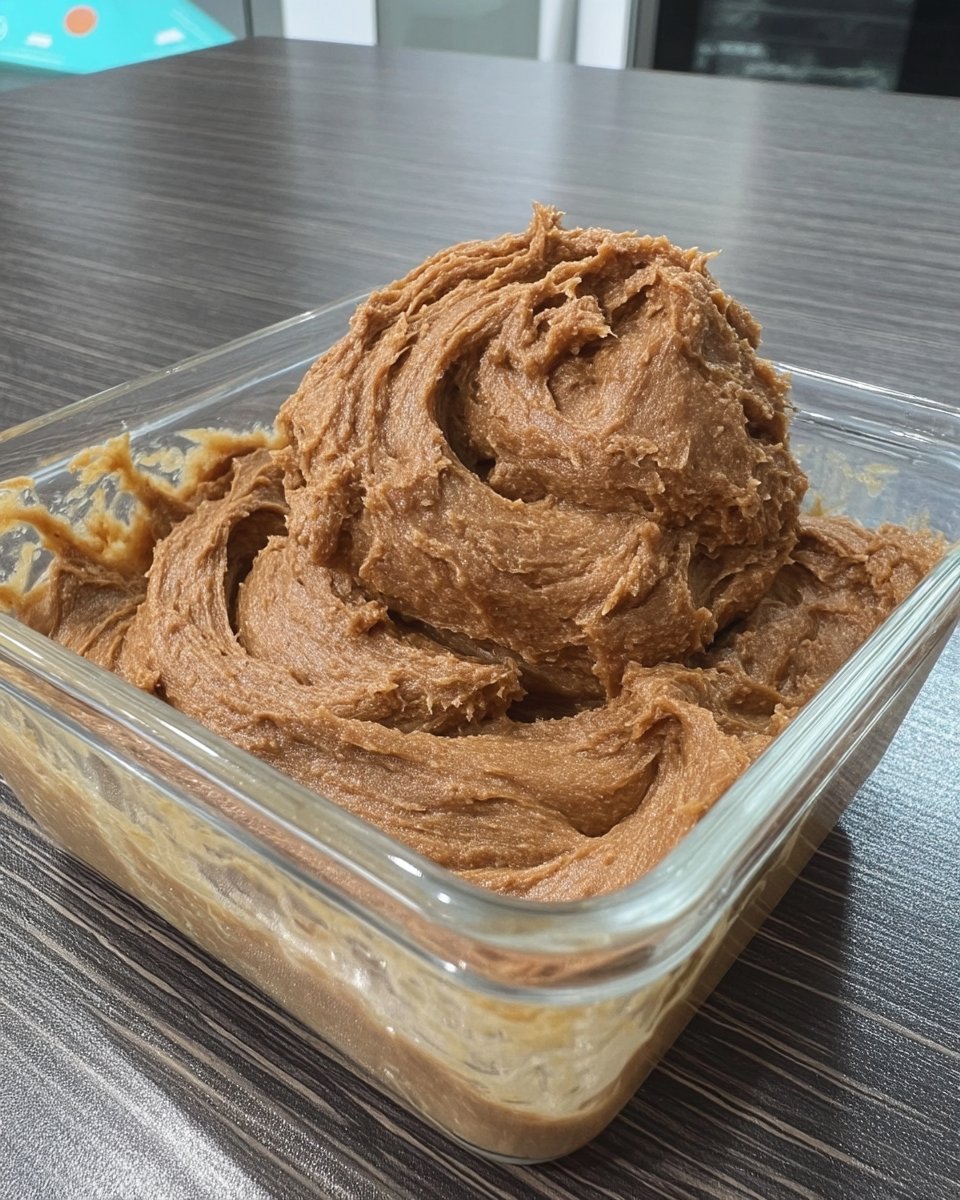
Sugar Free Peanut Butter
- Total Time: 10 mins
- Yield: 1.5 cups
- Diet: Keto, Vegan, Gluten-Free
Description
Create a velvety, professional-grade peanut butter at home using thermal principles and mechanical force. This pure, sugar-free spread relies on high-quality roasted peanuts and a touch of oil to achieve a perfect, pourable emulsion without any artificial stabilizers.
Ingredients
- 2 cups dry roasted, unsalted peanuts
- 2 tablespoons peanut oil or avocado oil, divided
- 1 pinch fine sea salt (optional)
- Liquid sugar-free sweetener, such as allulose syrup (optional)
Instructions
- Place the roasted peanuts into a high-performance blender or food processor and process on high for one minute until they reach a coarse meal consistency.
- Scrape down the sides of the container and add one tablespoon of the oil to help the blades move and begin the emulsification process.
- Process for another minute, then scrape the sides again; repeat this cycle until the friction-generated heat transforms the mixture from a thick paste into a smooth liquid.
- Incorporate the remaining tablespoon of oil along with salt or sweetener if desired, then process for one final minute until the butter is glossy and pourable before transferring to a glass jar.
Notes
To maintain the best texture, store your homemade peanut butter in an airtight glass jar at room temperature for immediate use, or refrigerate it to extend its shelf life. Since this recipe lacks commercial emulsifiers, natural oil separation will occur; simply stir the contents thoroughly or store the jar upside down to redistribute the fats naturally.
- Prep Time: 5 mins
- Cook Time: 5 mins
- Category: Spread
- Method: Blending
- Cuisine: American
The Formula

- Peanuts (2 cups): We recommend dry roasted, unsalted peanuts. Roasting reduces moisture content, ensuring a smoother grind and concentrated flavor. If starting with raw peanuts, roast at 350°F (175°C) for 10–15 minutes until golden.
- Peanut Oil (2 tbsp, divided): While peanuts contain their own oil, adding a small amount of exogenous peanut oil acts as a lubricant to jumpstart the processing in the blender blades. Neutral oils like avocado oil also work if you want to avoid adding more peanut flavor.
- Salt (Optional): A pinch of fine sea salt enhances the perception of sweetness without adding sugar, balancing the fat on the palate.
- Sweetener Alternative (Optional): To keep this truly sugar free, avoid the honey mentioned in some traditional methods. Instead, use a liquid sugar-free sweetener like allulose syrup if you require sweetness, or simply omit it entirely for a purely savory profile.
The Method
Step 1: Initial Processing
Place your roasted peanuts into a high-performance blender (like a Vitamix) or a food processor. Process on high for exactly one minute. The mixture will look like coarse crumbs or a dry meal at this stage.
Step 2: Incorporate Lubrication
Scrape down the sides of the bowl to ensure no dry peanuts are stuck above the blade line. Add 1 tablespoon of the oil. This addition helps reduce friction on the motor and encourages the peanuts to begin clumping together.
Step 3: The Frictional Heat Phase
Process for another minute, then scrape down. Repeat this cycle. You will notice the mixture transitioning from a ball of dough to a smooth paste. This change happens as the friction heats the oils, lowering their viscosity.
Step 4: Final Emulsification
Add the remaining oil (and any optional salt or sugar-free liquid sweetener) if the texture is not yet pourable. Process for one final minute until the butter is glossy and fluid. Transfer to a sealed glass jar immediately.
Lauren’s Lab Notes
- Temperature is Key: If your peanuts are cold, they will take longer to release oil. We find that processing warm (but not hot) peanuts yields the smoothest result fastest.
- Equipment Limits: If using a standard food processor, this process may take 10 minutes rather than 2–3. Give your motor a break between pulses to prevent overheating.
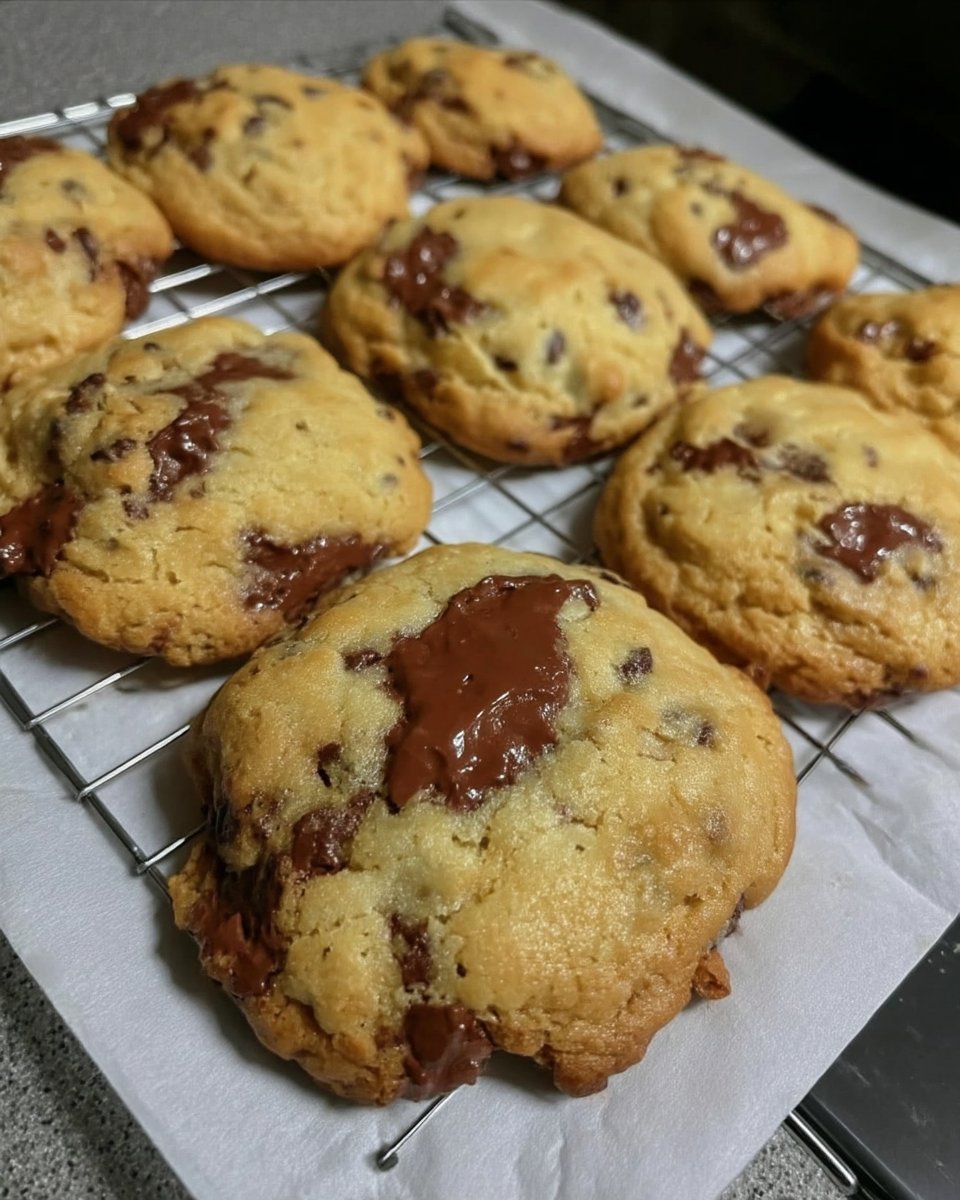
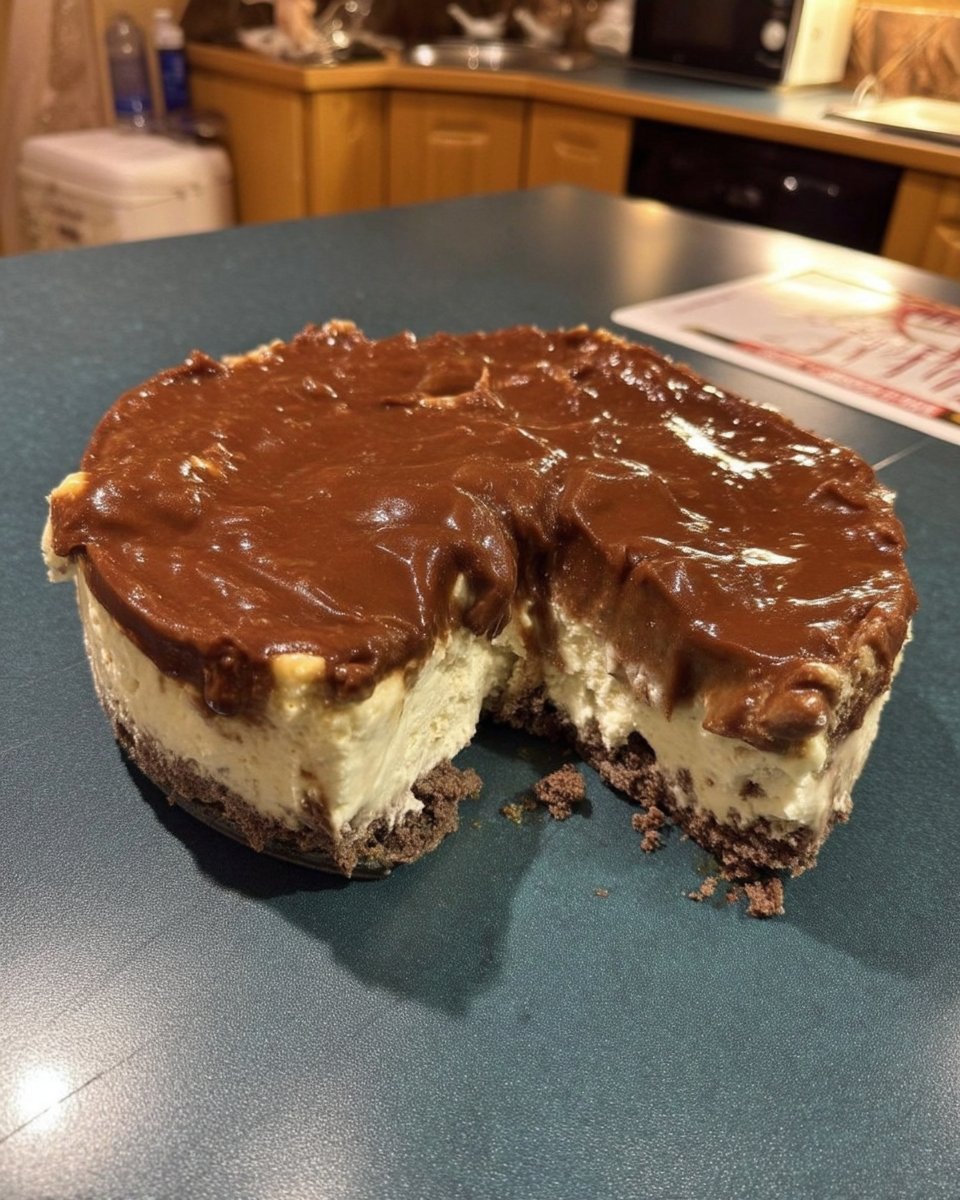
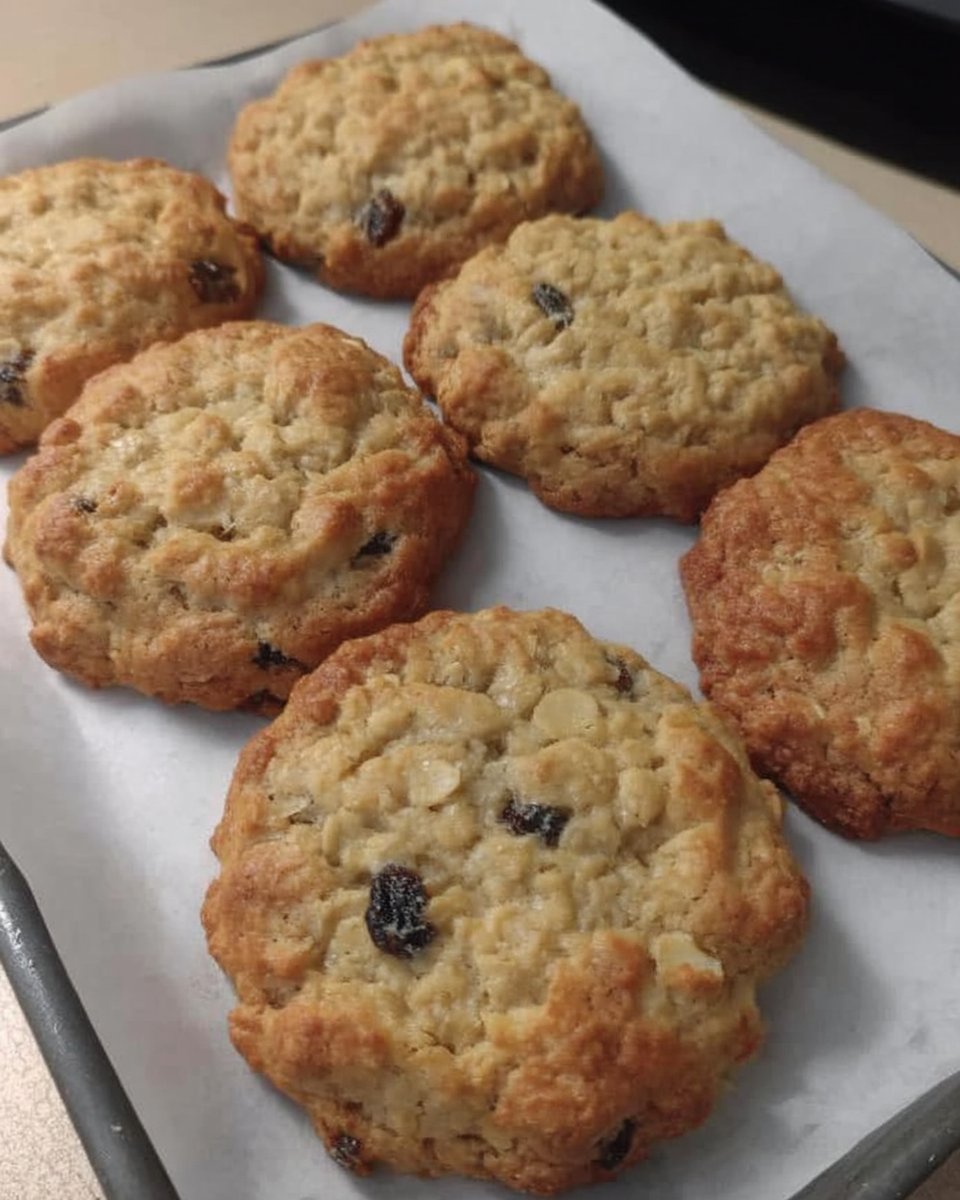
- Baking Applications: This stabilizer-free butter is perfect for recipes in our Artisan Cookie Collection, where fat ratios must be exact.
- Oil Separation: Because we don’t use hydrogenated oils, separation is natural. Store the jar upside down in the fridge to force the oil to travel back through the butter before opening.
Tested Variations
- Chunky Texture: For a crunchy version, reserve 1/4 cup of peanuts. Process the rest to smooth, then pulse the reserved nuts in at the very end for 10 seconds.
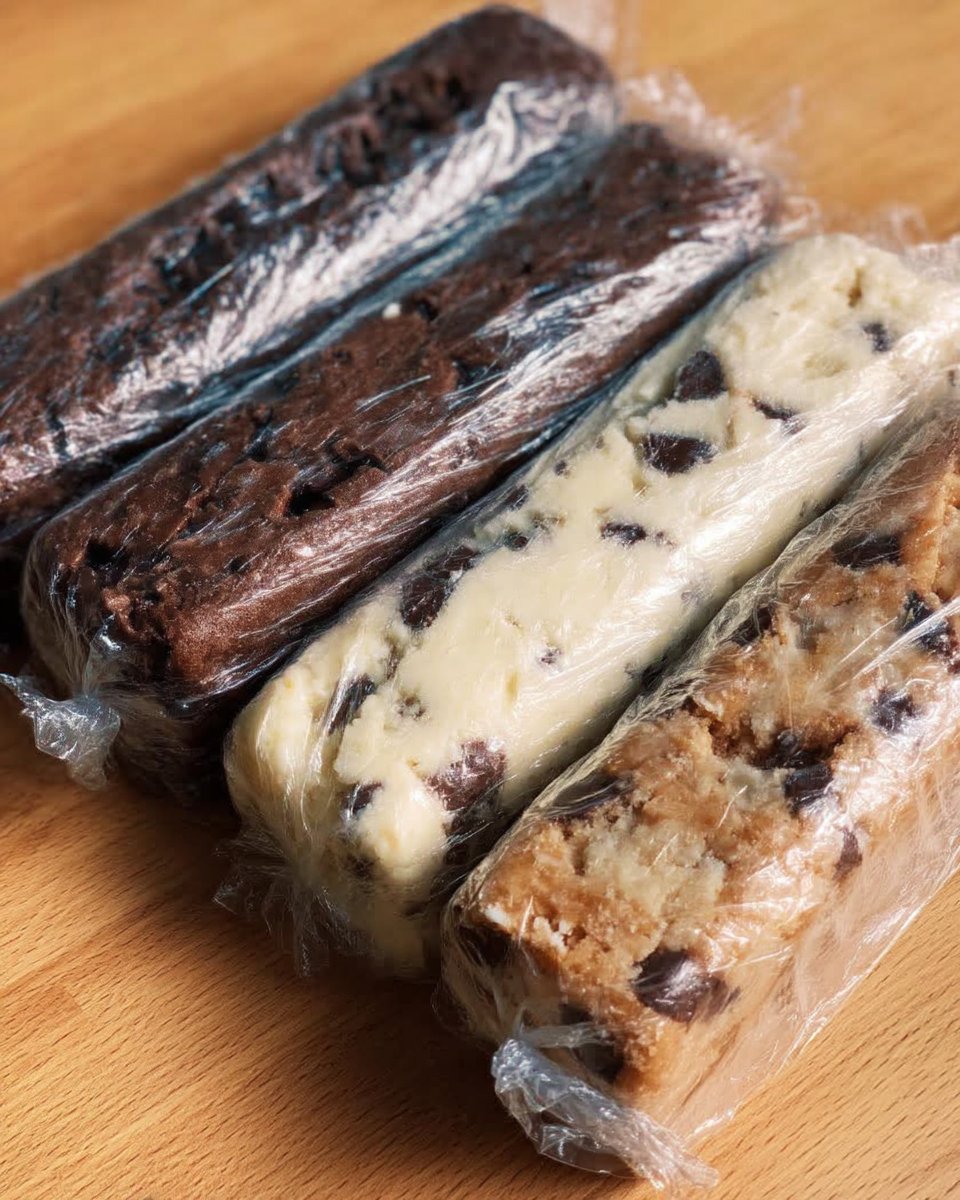
- Chocolate Infusion: Add 1 tablespoon of unsweetened cocoa powder and a teaspoon of sweetener for a dessert profile. This pairs well with ideas from our Trending Cookie Creations.
- Spiced Chai: Add 1/2 teaspoon of ground cinnamon and a pinch of cardamom. The spices will bloom in the warm oil of the butter.
Pairing Notes
This butter is chemically distinct from store-bought versions because it lacks palm oil. This makes it melt more readily on warm toast. It is also an excellent binder for energy bites or a topping for oat bowls. For an elegant presentation, drizzle it over desserts like those found in Effortless Cookie Elegance.
The Scientific Truth
Making sugar free peanut butter is a lesson in food physics—applying force to change a solid into a liquid. It allows you to control the nutritional profile completely, ensuring a keto-friendly and vegan result that tastes superior to processed alternatives. Once you master this emulsion, you can experiment with other nuts like cashews or almonds.
For more inspiration on using nut butters in decoration, visit our Cookie Decorating Studio. We also recommend checking out The Sugar Free Diva for other perspectives on sugar-free homemade spreads.
Follow us for more precision baking on Pinterest, Instagram, and Facebook.
